By Guest Author Caroline King.
Although building a garden wall is best left to the experts, installing a decorative wall for your garden is something you can do yourself. In either case, you’ll need to think carefully about techniques, materials, and costs.
Will your garden wall be stone, brick, or concrete?
Garden walls can be used for creating raised beds or landscaping your garden. They can be made from a variety of materials, each with pros and cons.
Concrete blocks are easy to work with. Plus, they’re strong, durable, and affordable. However, they don’t look very pleasing. Adding a stone veneer or cladding can improve the look but requires more time and money.
Red brick is a classic wall building material, with its lovely, warm feel. Plus, it’s easy to buy and is strong and durable. However, building with traditional brick is a more skilled job and will cost more than concrete.
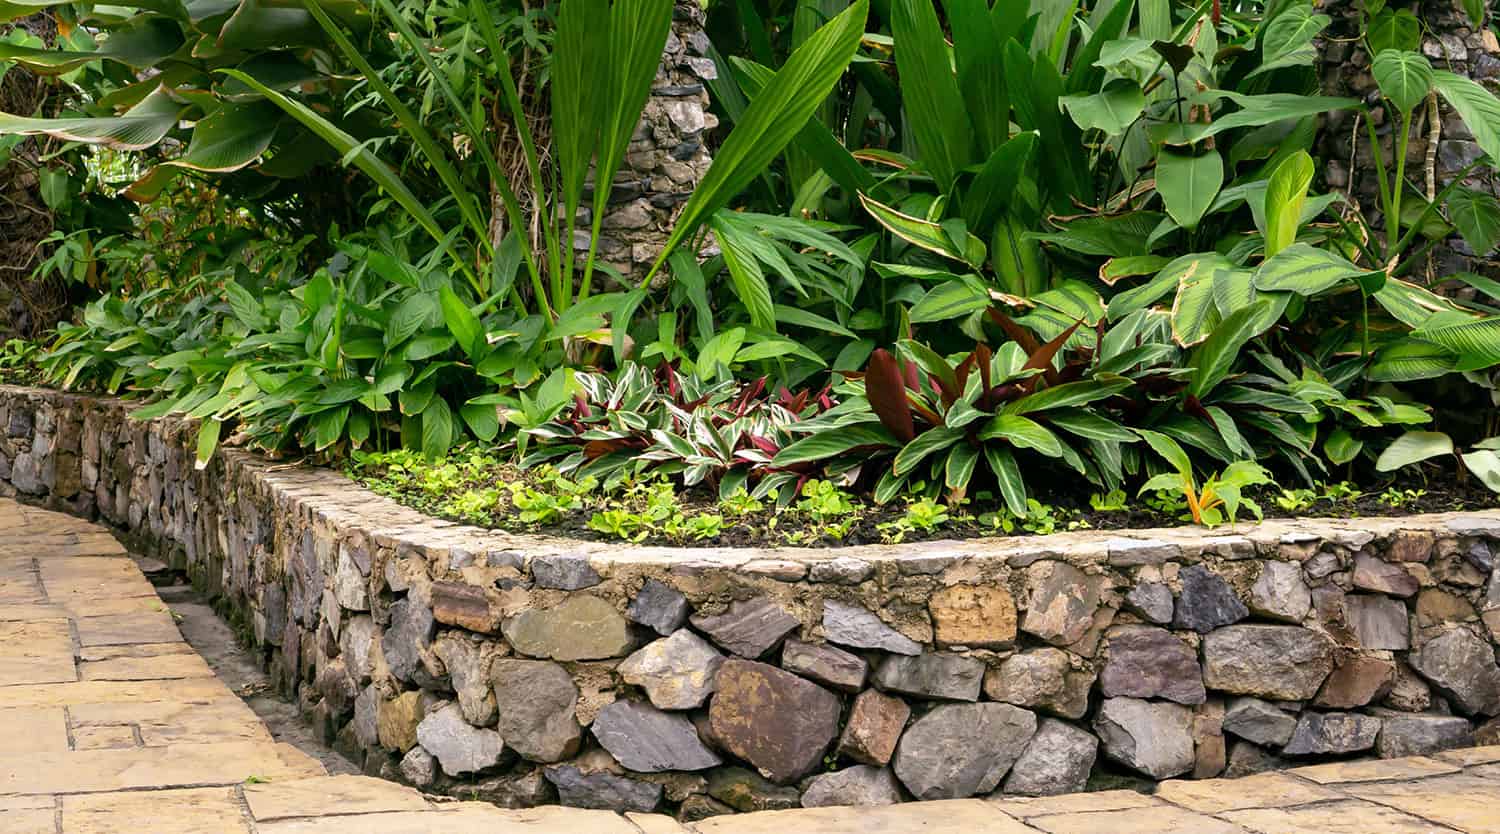
Natural stone is another option. Smaller stone blocks are easier to work with, as stone can be heavy. Stone blocks can be used in a similar way to traditional bricks, and you’ll have more variety of color and texture. Stone is ideal if you want a rustic or natural finish to your wall, but small stone blocks may not come in uniform sizes.
Precast concrete is an alternative option, giving you more flexibility with shape and style. It’s cheaper to buy than natural stone or brick, and it can mimic these materials.
Calculate time and costs
If you’re building the wall yourself, you will need to factor in the cost of tools: a trowel, spirit level, and string. You may also need a spade, bucket, and work gloves (the materials are very rough on your hands).
There are many factors to consider in the cost to build a garden wall. The time it takes to build your wall is not only dependent on the preparations, building technique, and length of the wall. You also need to think about delays due to bad weather that can affect ground conditions and drying times.

How to Build a Garden Wall
Here are the main steps to follow for three different garden wall types: Brick, Concrete, and Natural Stone.
Building A Brick Garden Wall
If you want to build a garden wall out of brick, you’ll need to decide on what bricklaying technique to use. The stretcher bond technique is the most common way to build a wall due to its strength. Each brick on your second course will finish in the middle of the blocks on your first course. If your wall is purely decorative, you may find it easier to use the stacker bond technique, where each block is stacked directly on top of the one below. Both of these techniques require mortar to hold them together and skill to keep them horizontally and vertically level. And your first course of bricks are the most important to lay. See more about bricklaying techniques.
You’ll usually need to dig out a base – known as a footing – for any wall. This should be cemented and leveled off. Once the footing has dried, you can lay your first bed of mortar. Each brick you lay will need a small amount of mortar on one end before being gently tapped down onto the mortar bed. To keep your courses level and on track, set out a string guideline at the height you want your course to be.
Prep the area
- Start by using two lines (clothesline or string works) and two pegs (stakes to hold the string) to mark out the area where you want to dig your footing.
- When digging, make sure the size of the trench is the same length as your garden wall’s measurements. It should also have a minimum depth of 35cm (about 14 inches) for a wall that is one meter high or less.
- The two pegs should be inserted into the ground to the same level where the concrete will be poured.
- A 5cm (about 2 inch) layer of compacted hardcore should then be added and tamped down until firm.
- Once everything is in place, pour the concrete so that it’s at least 15cm (about 6 inches) deep in the trench. When doing this, move your shovel around to get rid of air bubbles.
Building the brick wall
- Begin by applying a thin layer of mortar onto the foundation before placing the corner brick first. Then spread out the rest of the first layer, making sure there is a meter between each brick. Then, use a spirit level before filling in the gaps with the rest of the bricks.
- The second layer should then be installed, making sure that each brick has around 1cm (0.393 inches) of mortar applied. You also use a small pointing trowel to finish the joints before the mortar sets.
- The remaining bricks should then be added in the same way. As you add the bricks, check and adjust them with a spirit level to ensure they are level.
- Once all of the bricks are in place and level, finish off the wall with a layer of capping bricks to prevent frost damage. This also adds a nice aesthetic.

Building a Concrete Garden Wall
Prep the area
- Before building your concrete garden wall, you need to plan the footing. Keep in mind that the concrete footing should be double the width of the wall.
- To dig the trench, use a trenching shovel and make sure you dig below the frost area to prevent damage to the concrete wall.
- Once the trench is complete, pour the concrete in the trench until it reaches 6 inches below the ground level. This should then be left for 2 to 3 days to dry.
- After the concrete is dry, snap a chalk line down the middle of the area where you want the bottom concrete blocks to be placed. Then mark two more chalk lines on each side of the first line.
Building the concrete wall
- The best way to build a concrete garden wall is by dry-fitting it. This involves placing the first block in between the chalk lines and then adding a temporary 3/8-inch plywood spacer which will later be replaced by mortar.
- Once the first course has been laid out and the blocks are in the right position, mark out the two end blocks. Then remove all of the blocks.
- The next step involves laying a mortar base. Use a hose to wet the concrete footing slightly. Then place two layers of mortar along the chalk line. Each row should be around 1 inch high and a half an inch wide.
- Once the mortar is in place, the first course of blocks can be added, with the last being a closure block. When placing them, press down firmly, making sure the holes in the blocks are facing vertically.
- You can then begin the second course with two half-sized 8-inch blocks on each end. The rest of the blocks will then be laid on top of the bottom row.
- The rest of the blocks can then added. During this process, remove any excess mortar as you add the concrete blocks.
- Once all of the blocks have been added, apply a layer of mortar to the top layer of bricks. Then install cap blocks, alternating across the block joints.
Building a Stone Garden Wall
Prep the area
- The first step of building a stone wall is marking the area where the front of the wall will be built. Use a mason’s line and wood stakes for this, measuring out the width as half of the wall height. Place the wood stakes at either end of where you want the wall built and then tie the string around each end.
- Once the line is in place, dig the trench. Try to dig down to at least 12 inches and create a flat, level trench to accommodate the gravel base.
- Then, add landscape fabric into the trench, making sure it covers the bottom of the trench completely.
- Add around 5 inches of compactible gravel along with a coarse layer of sand which should be levelled out and flattened to build the wall’s base.
Building the stone wall
- When laying the first course of stones, place them flat along the front edge of the trench, adding or removing sand as you go.
- The second layer of stones should be staggered in a similar way to bricklaying.
- When you come to the third layer, start installing ‘deadman’ stones – these are longer stones that help to keep the stone wall in place. Add these every 4 feet or so and continue with flat stones for the rest of the course.
- Once all the stones are in place, finish the top of the wall by gluing capstones on the top row.
Author’ Bio: Caroline King is a writer and blogger who specializes in providing home improvement tips and advice. She’s currently renovating her own home in the UK and documenting her journey on Instagram. Caroline also writes about culture for Contrary Life and pet care at Good Doggy Guide.

