Although fall and winter seem like difficult seasons for propagating houseplants, it’s still possible to grow beautiful new plants with the right techniques. You can successfully propagate houseplants during these colder months with careful attention to light, temperature, and moisture. Here are some helpful tips for easy propagation.
Choose the Right Plants for Fall and Winter Propagation
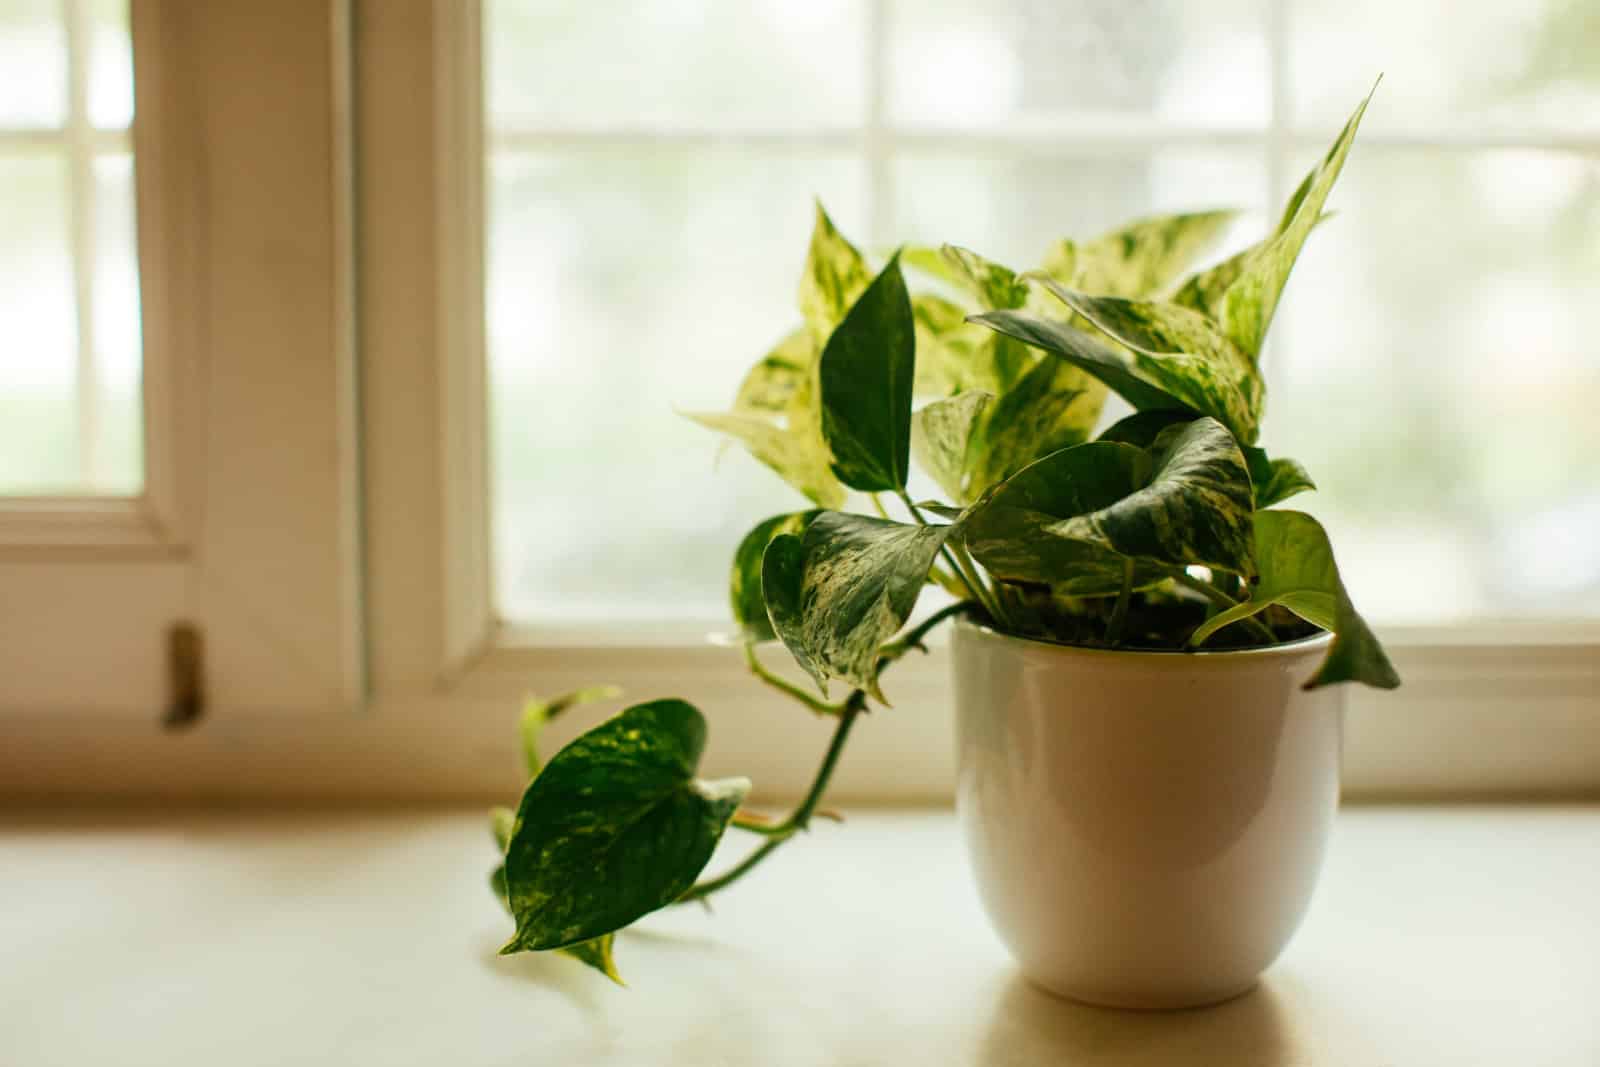
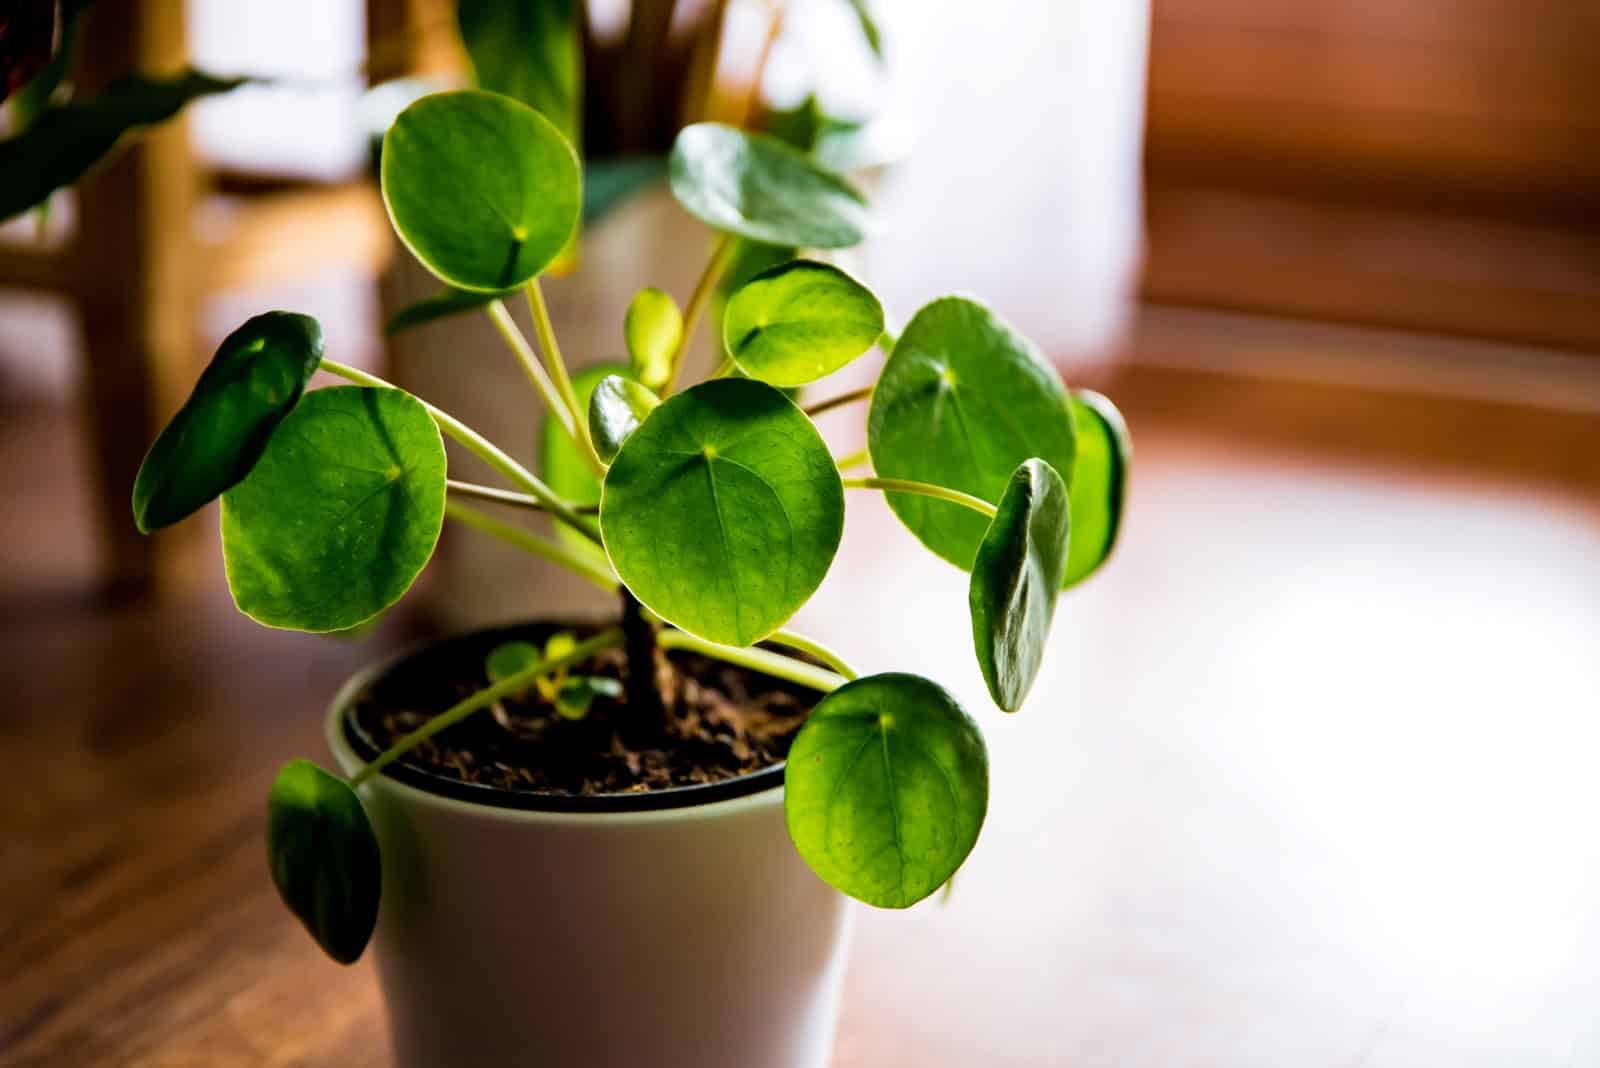
Certain houseplants fare better when propagated during the colder months. Opt for low-maintenance plants like pothos, spider plants, or succulents. These species adapt well to the lower light and cooler temperatures typical of fall and winter. ZZ and snake plants are also great options, as they thrive with minimal care and are resilient to varying indoor conditions.
Advertisement
Cuttings Are Your Best Bet
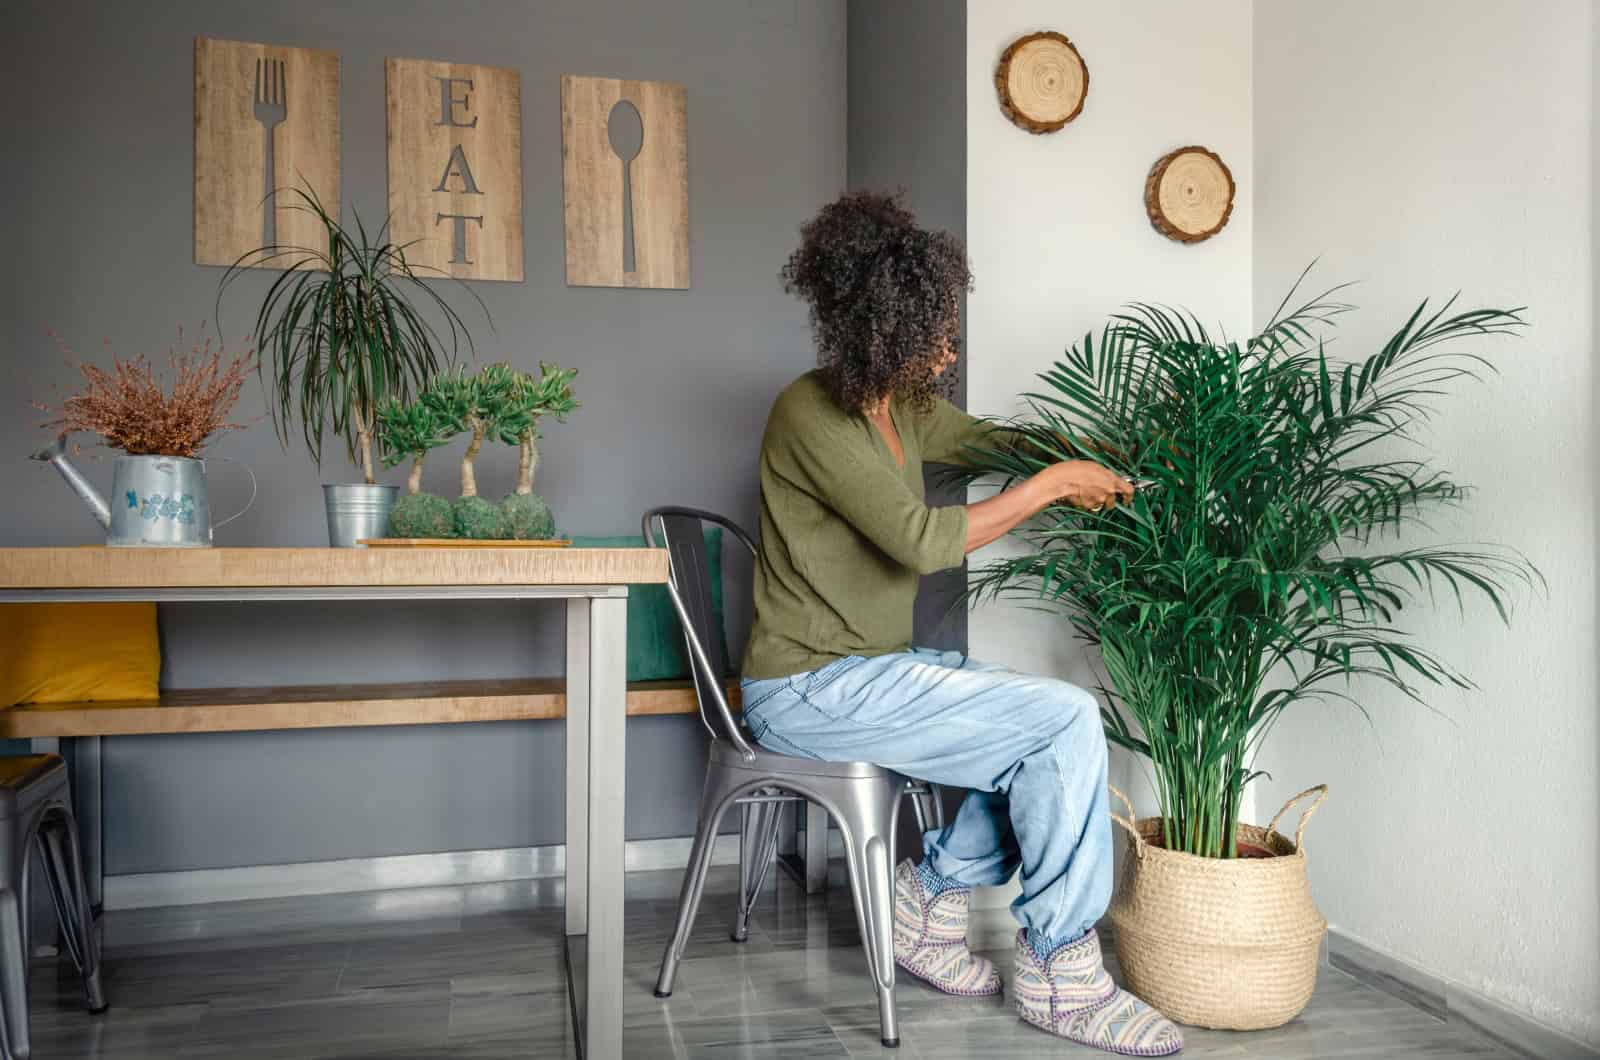
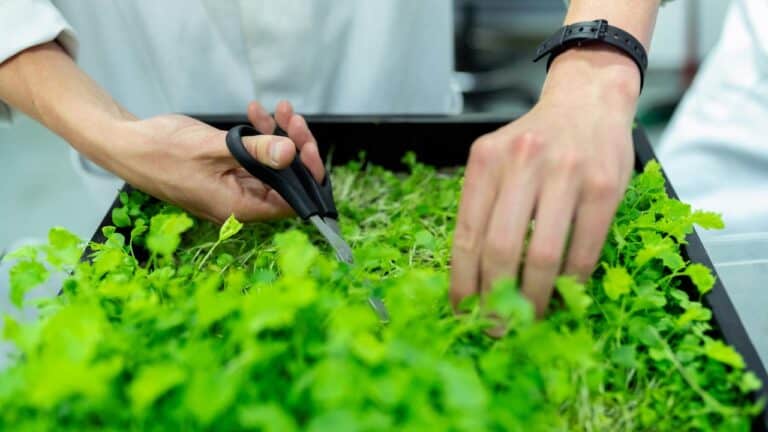
Taking cuttings from healthy plants is the easiest and most effective propagation method during these months. Select mature, healthy plants with no signs of pests or disease to ensure you start with a strong cutting. Focus on non-flowering stems, typically stronger and more adaptable for rooting. Always use sterilized, sharp scissors to avoid infection and prevent the spreading of diseases between plants. Make your cut just below a node, where new roots will form.
Warm Temperatures for Root Development

Most houseplants are tropical and can thrive in temperatures from 65°F to 75°F during the day, with nighttime temperatures ideally about 10°F cooler. Many plants struggle to grow and experience stress when exposed to temperatures below 50°F, so keeping them in a warm, stable environment is essential. Avoid placing them in drafty spots or near cold windows to prevent sudden temperature drops that can negatively affect their development.
Use Clean, Well-Draining Soil
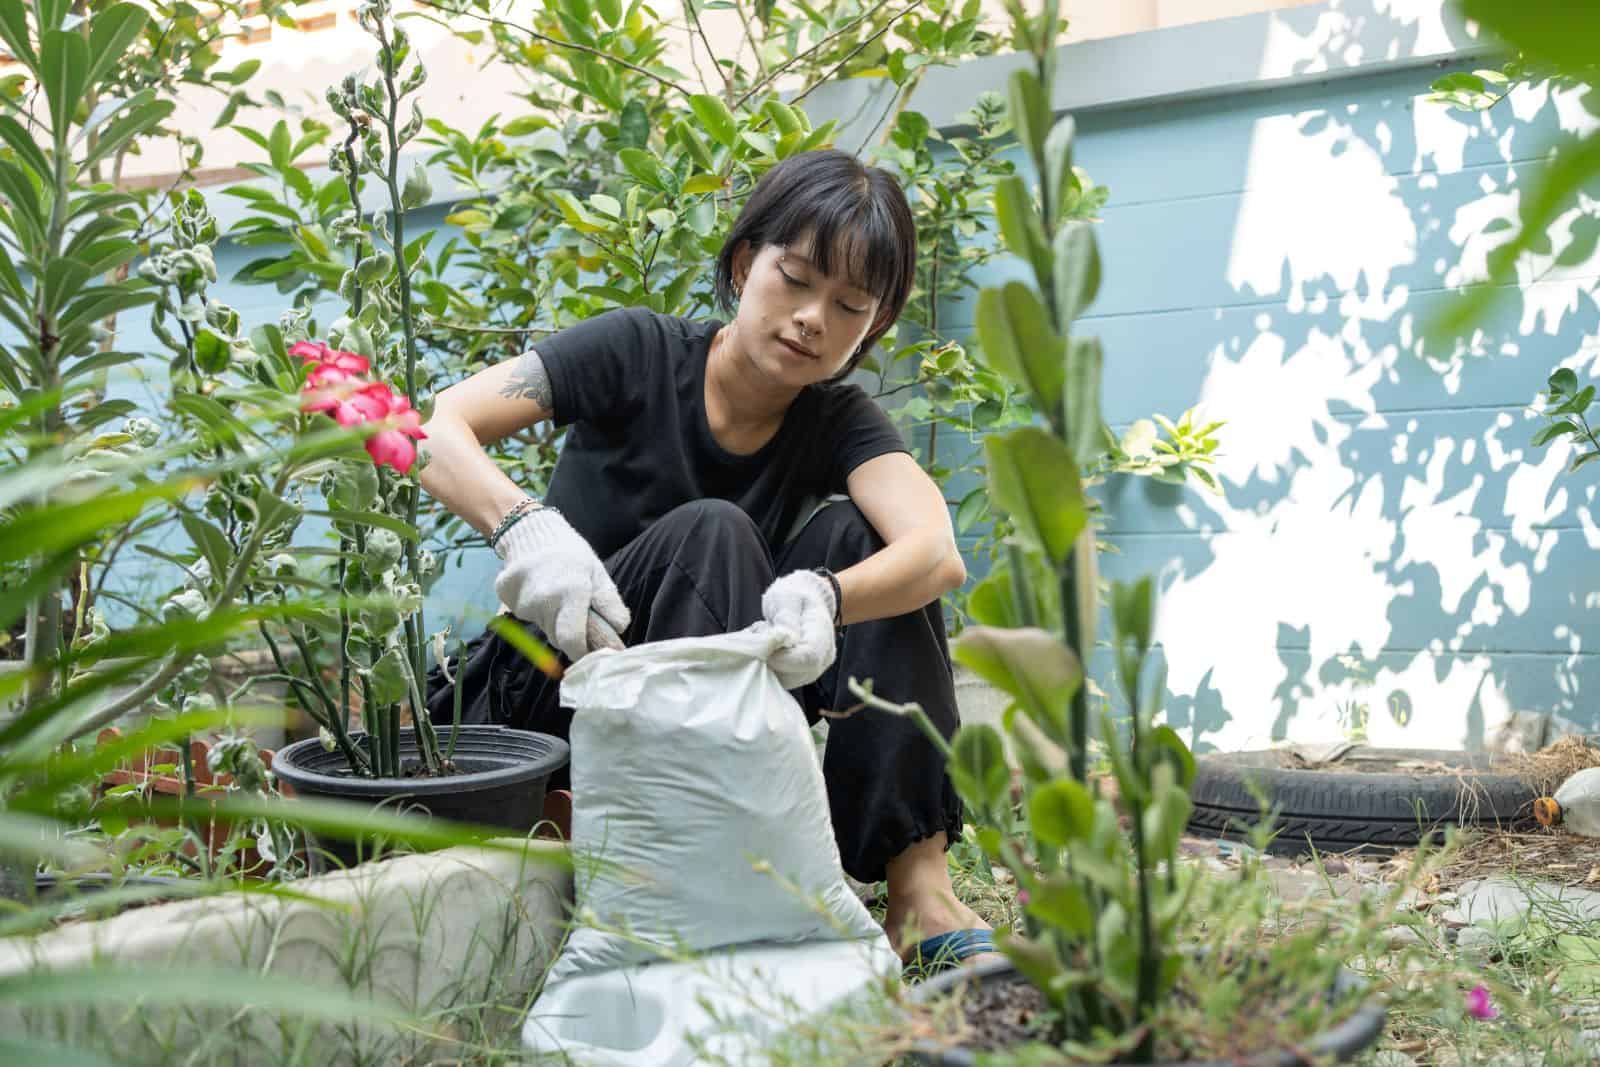
Select a well-draining potting mix with a pH level between 6.0 and 7.5 to support healthy root development. A mix tailored for cuttings or seedlings is perfect, offering the right combination of moisture retention and drainage for young plants. These blends typically feature peat moss, perlite, and vermiculite, which ensure proper airflow around the roots while keeping moisture levels balanced.
Consider Water Propagation
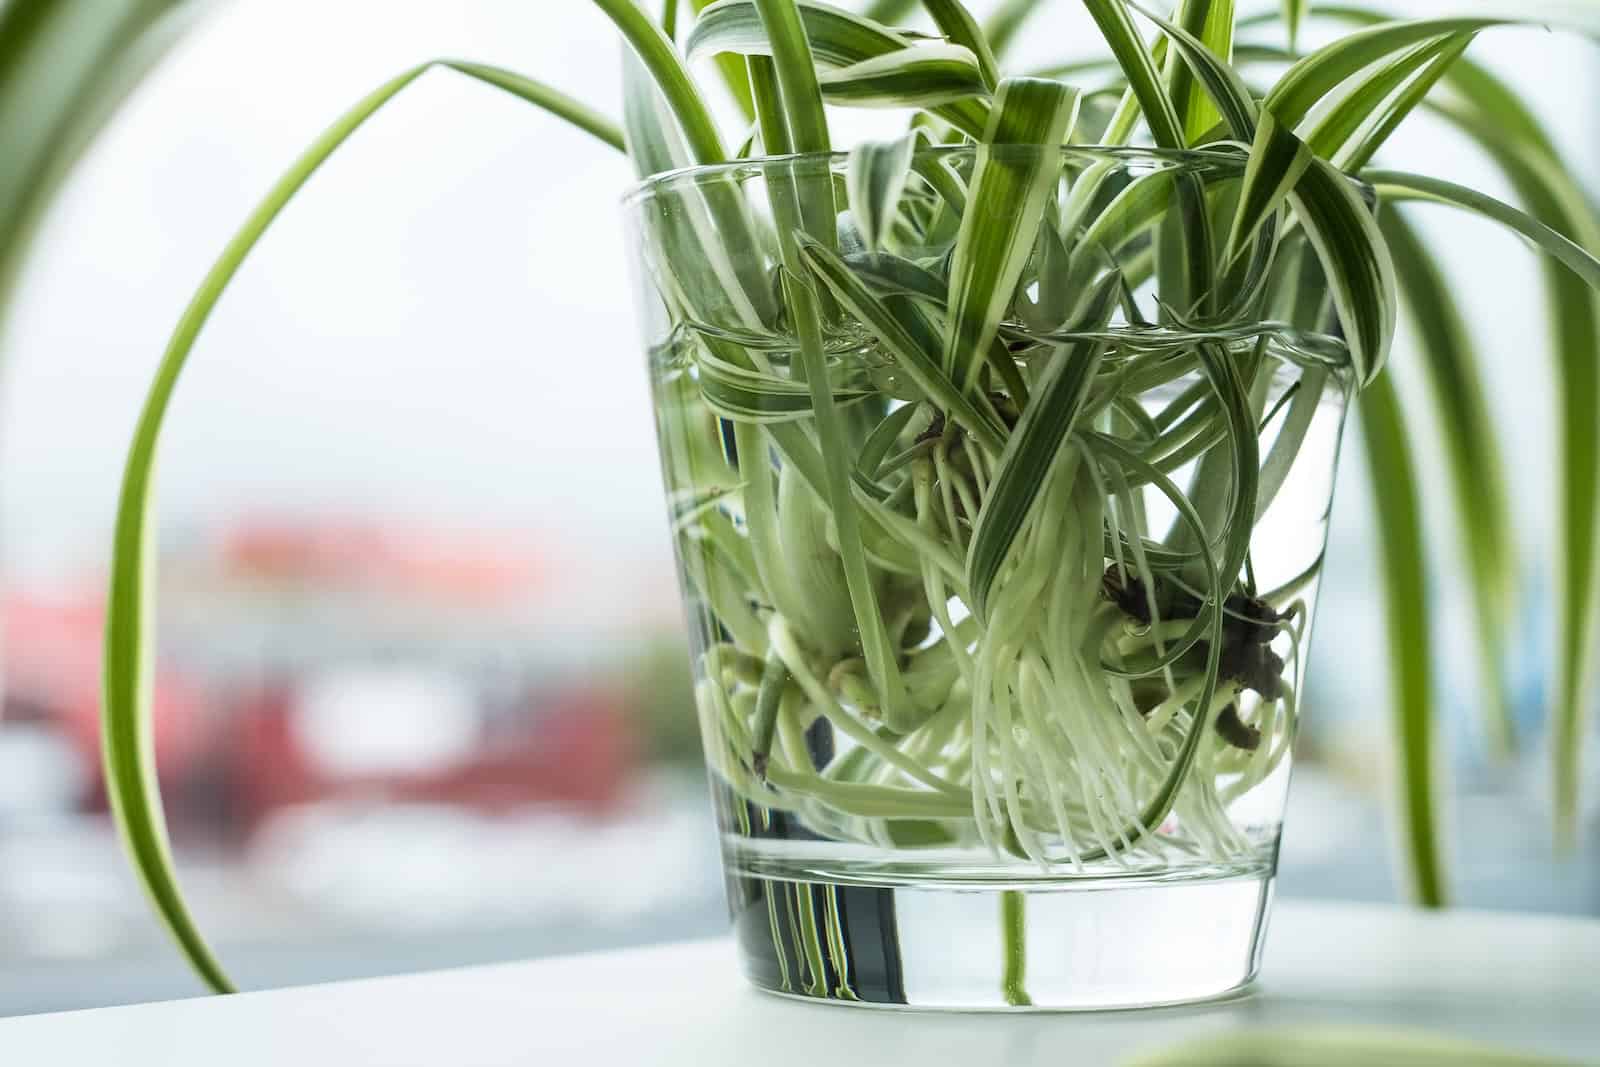
Water propagation is a reliable method for many plants during the colder months. To start, place your cuttings in a jar or glass of water, making sure the nodes (the areas where roots will form) are fully submerged. This ensures that the cutting can absorb enough moisture to support root growth. Change the water every few days to prevent stagnation and minimize the risk of rot or bacterial growth.
Provide Plenty of Indirect Light

Fall and winter bring shorter days and lower light levels, which can affect the growth of your cuttings. To compensate, position your cuttings near a window that receives bright, indirect light. Direct sunlight can be damaging, potentially scorch the leaves. If natural light is insufficient, supplement with a grow light to provide the necessary energy for photosynthesis. Opt for full-spectrum LED grow lights, which mimic natural sunlight to keep your plants healthy.
Humidity Is Key
Dry indoor air in fall and winter can stress plants, as the lower humidity levels can lead to dehydration and hinder their growth. To ensure proper moisture levels, try positioning a humidity tray filled with water and pebbles close to your cuttings. The water will slowly evaporate, raising the humidity around the plants. You can also use a small room humidifier to keep the air moist.
Avoid Overwatering
Overwatering is one of the most common mistakes during colder months. While cuttings need moisture, excessive water can lead to root rot. It’s essential to ensure the soil is not overly soggy and to allow the top layer to dry out slightly between waterings. If propagating in water, change it regularly to keep it fresh and bacteria-free.
Be Patient with Rooting Times

Fall and winter propagation can take longer due to the lower temperatures and reduced light levels during these seasons. These conditions slow down the growth process, meaning that cuttings may take anywhere from 2 to 6 weeks, or even longer in some cases, to establish roots, depending on the specific plant species. Patience is key during this period, as hurrying the process can result in weak or poorly developed roots.
Fertilize Lightly Once Roots Form

After roots develop, you can feed your new plant with a diluted, balanced liquid fertilizer to support its growth. Choose a fertilizer with an NPK ratio of 10-10-10, offering balanced proportions of nitrogen, phosphorus, and potassium to support strong root growth, healthy foliage, and overall plant vigor. Be sure to dilute the fertilizer to about a quarter of the recommended strength, as young plants are more sensitive to concentrated nutrients.
Repot Once Ready
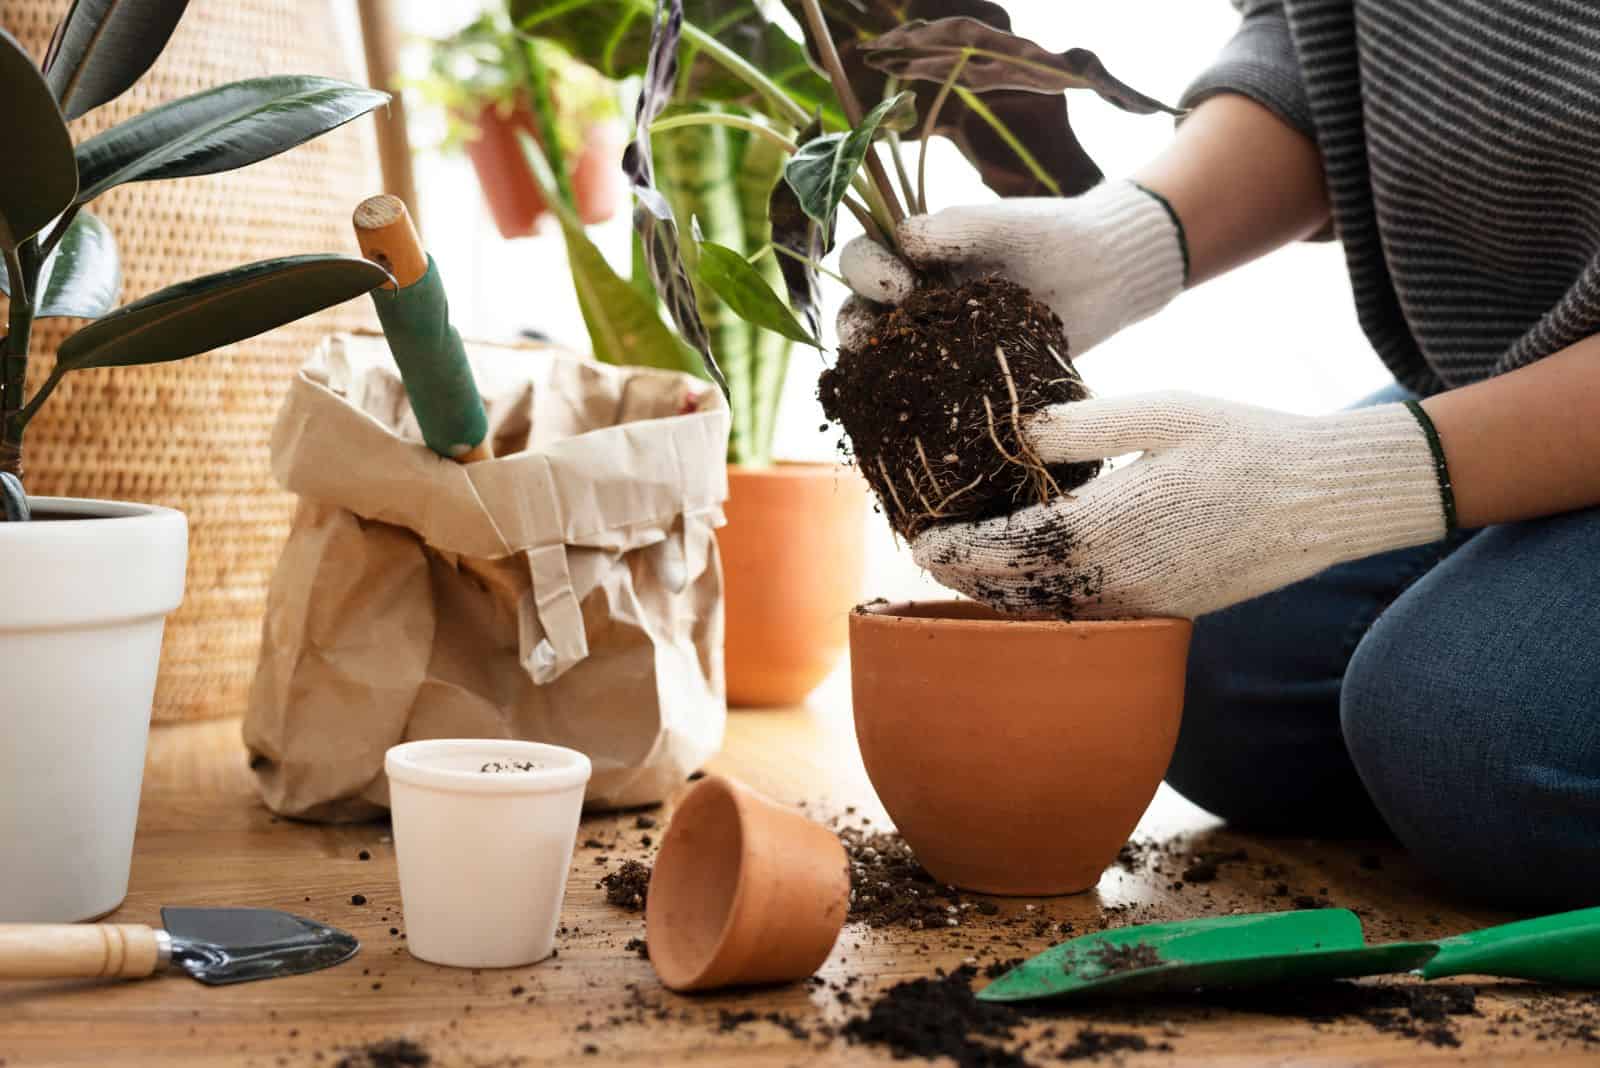
Once your cutting has developed a strong root system and shows signs of new growth, it’s time to repot it into a larger container. Choose a pot that offers enough space for the roots to grow and spread. The new pot should be slightly larger than the current one, as excessive space may lead the plant to prioritize root growth over developing healthy foliage.
Monitor Growth Progress

Keep an eye on your propagated plants as they grow, paying close attention to any changes in their condition. Regularly check for signs of overwatering, such as yellowing leaves or a soggy root system, which can lead to root rot. Also, be vigilant for pest infestations, such as spider mites or aphids, which can be more common in indoor environments during the colder months.