Growing your own food at home is not just a trend, it’s a lifestyle. One of the easiest and most rewarding plants to start with is the humble potato. They are versatile in the kitchen, packed with nutrients, and surprisingly simple to grow, even if you’re short on space. This post will guide you through the process of growing potatoes in containers, ensuring you have a bountiful harvest even in the smallest of spaces.
1. Choosing the Right Container
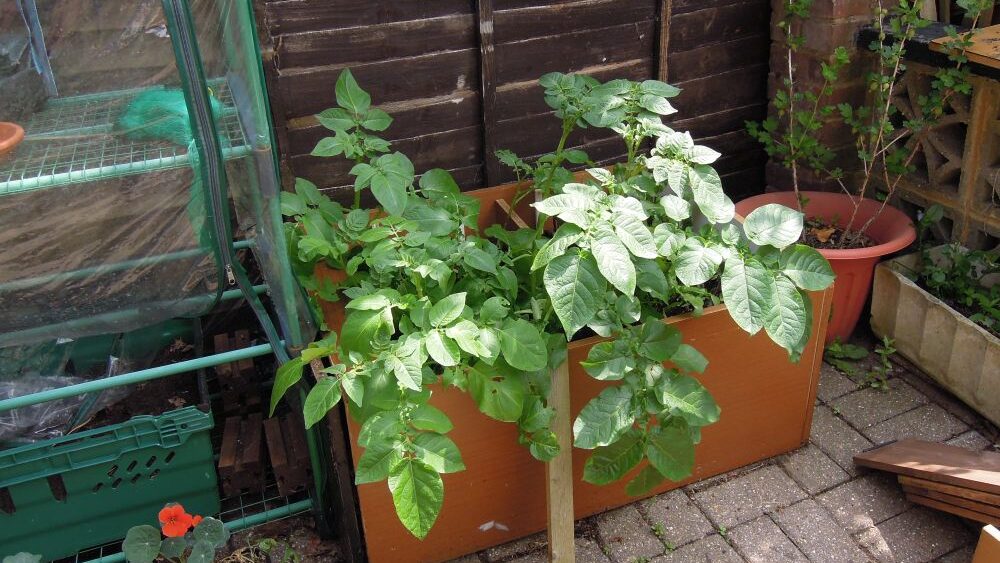
When it comes to growing potatoes, the size of the container matters. A good rule of thumb is to choose a container that can hold at least 10-15 gallons of soil. This could be anything from a large planter to a stackable potato tower or even a simple garbage can. The more soil the container can hold, the more room the potato has to grow, which can result in a bigger harvest.
Advertisement
Ensure the container has adequate drainage holes to prevent waterlogging. Too much water can cause the potatoes to rot. If your chosen container doesn’t have holes, you can easily create some using a drill. Put the container in a spot that gets at least six hours of sunlight a day for the best results.
2. Selecting Your Seed Potatoes
Potatoes grow from other potatoes. You can’t plant a potato from the grocery store, as these are often treated to prevent sprouting. Instead, purchase certified seed potatoes from a garden center or online. Choose varieties that are suited to container gardening such as ‘Yukon Gold’, ‘Red Pontiac’, or ‘Kennebec’.
Seed potatoes are whole potatoes or pieces of potatoes that have at least two “eyes” or sprouts from which the new plants will grow. Before planting, it’s common to cut larger seed potatoes into smaller pieces, each with at least one eye. Allow these pieces to dry for a few days to prevent rotting.
3. Preparing Your Soil

Potatoes prefer well-draining, loose soil. A mixture of equal parts peat moss, potting soil, and perlite or vermiculite works well. Avoid using garden soil as it can be too heavy and may contain diseases.
Add a few inches of soil to the bottom of your container before planting the seed potatoes. Potatoes need a lot of nutrients to grow, so mix in an all-purpose slow-release fertilizer according to the package instructions.
4. Planting Your Potatoes

Plant your seed potatoes about 4 inches deep in the soil, with the eyes facing up. Space them about a foot apart for best results. Once planted, cover with another 4 inches of soil.
As the potato plants grow, you’ll add more soil, a process known as “hilling”. This encourages the plant to produce more tubers and prevents any potatoes near the surface from turning green from exposure to the sun.
5. Watering Your Potatoes
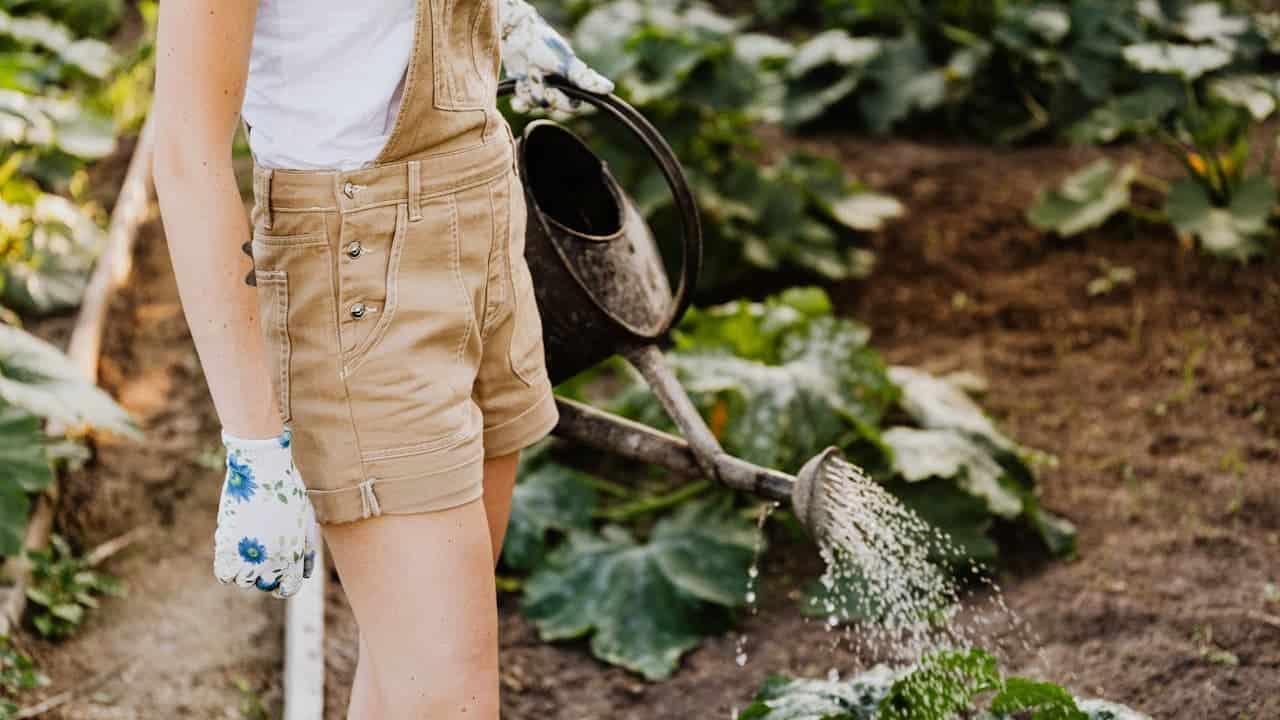
Potatoes need a consistent supply of moisture, especially during the time when they are flowering and immediately after, as this is when the tubers are forming. Water the soil thoroughly when it feels dry an inch below the surface.
Avoid overwatering, as this can lead to rot. If your container has good drainage, this should not be a problem. A light mulch on top of the soil can help retain moisture.
6. Monitoring for Pests and Diseases
Potatoes can be susceptible to several pests and diseases, including Colorado potato beetles, aphids, and late blight. Regularly check your plants for signs of damage and treat promptly.
Rotate where you plant potatoes each year to help prevent disease buildup. If you’re growing in containers, this is as simple as changing out the soil each year.
7. Hilling Your Potatoes
As mentioned earlier, hilling, or adding soil around your potato plants as they grow, encourages more tuber growth and prevents greening. When the plant is about 6 inches tall, add enough soil so that only the top few leaves are showing.
Repeat this process every few weeks until your container is full. This process not only encourages more growth but also helps support the plant.
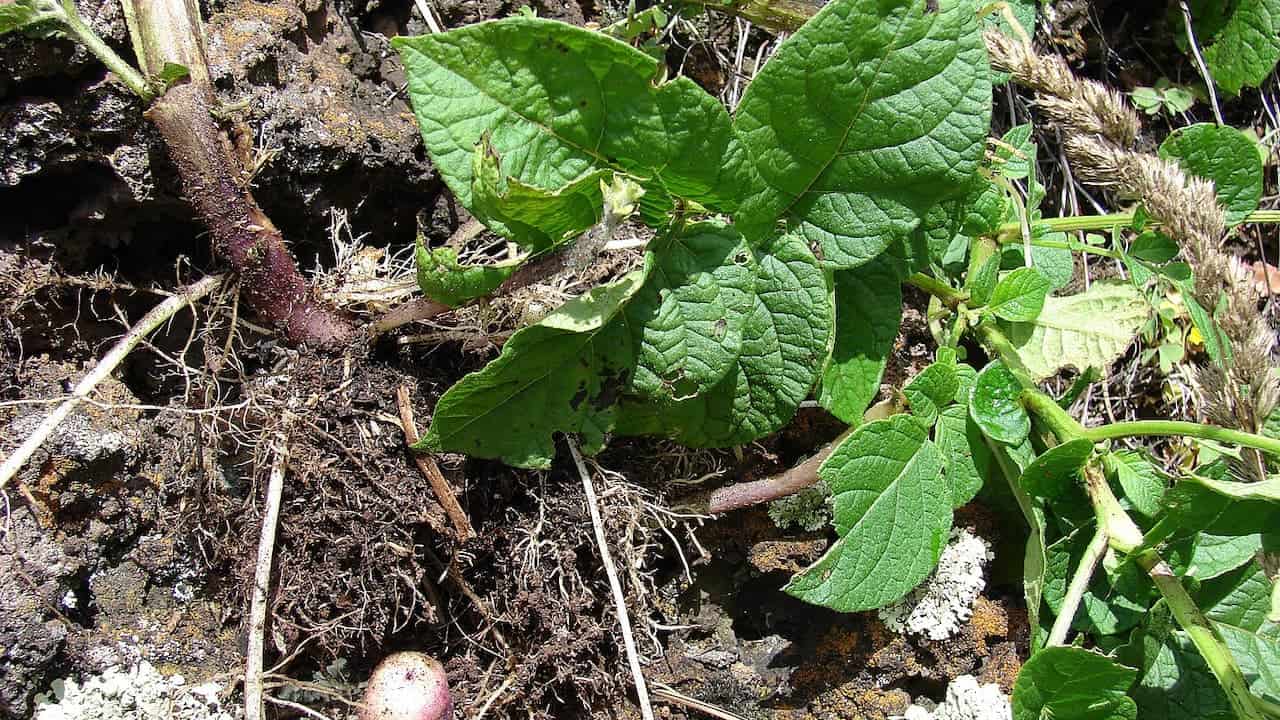
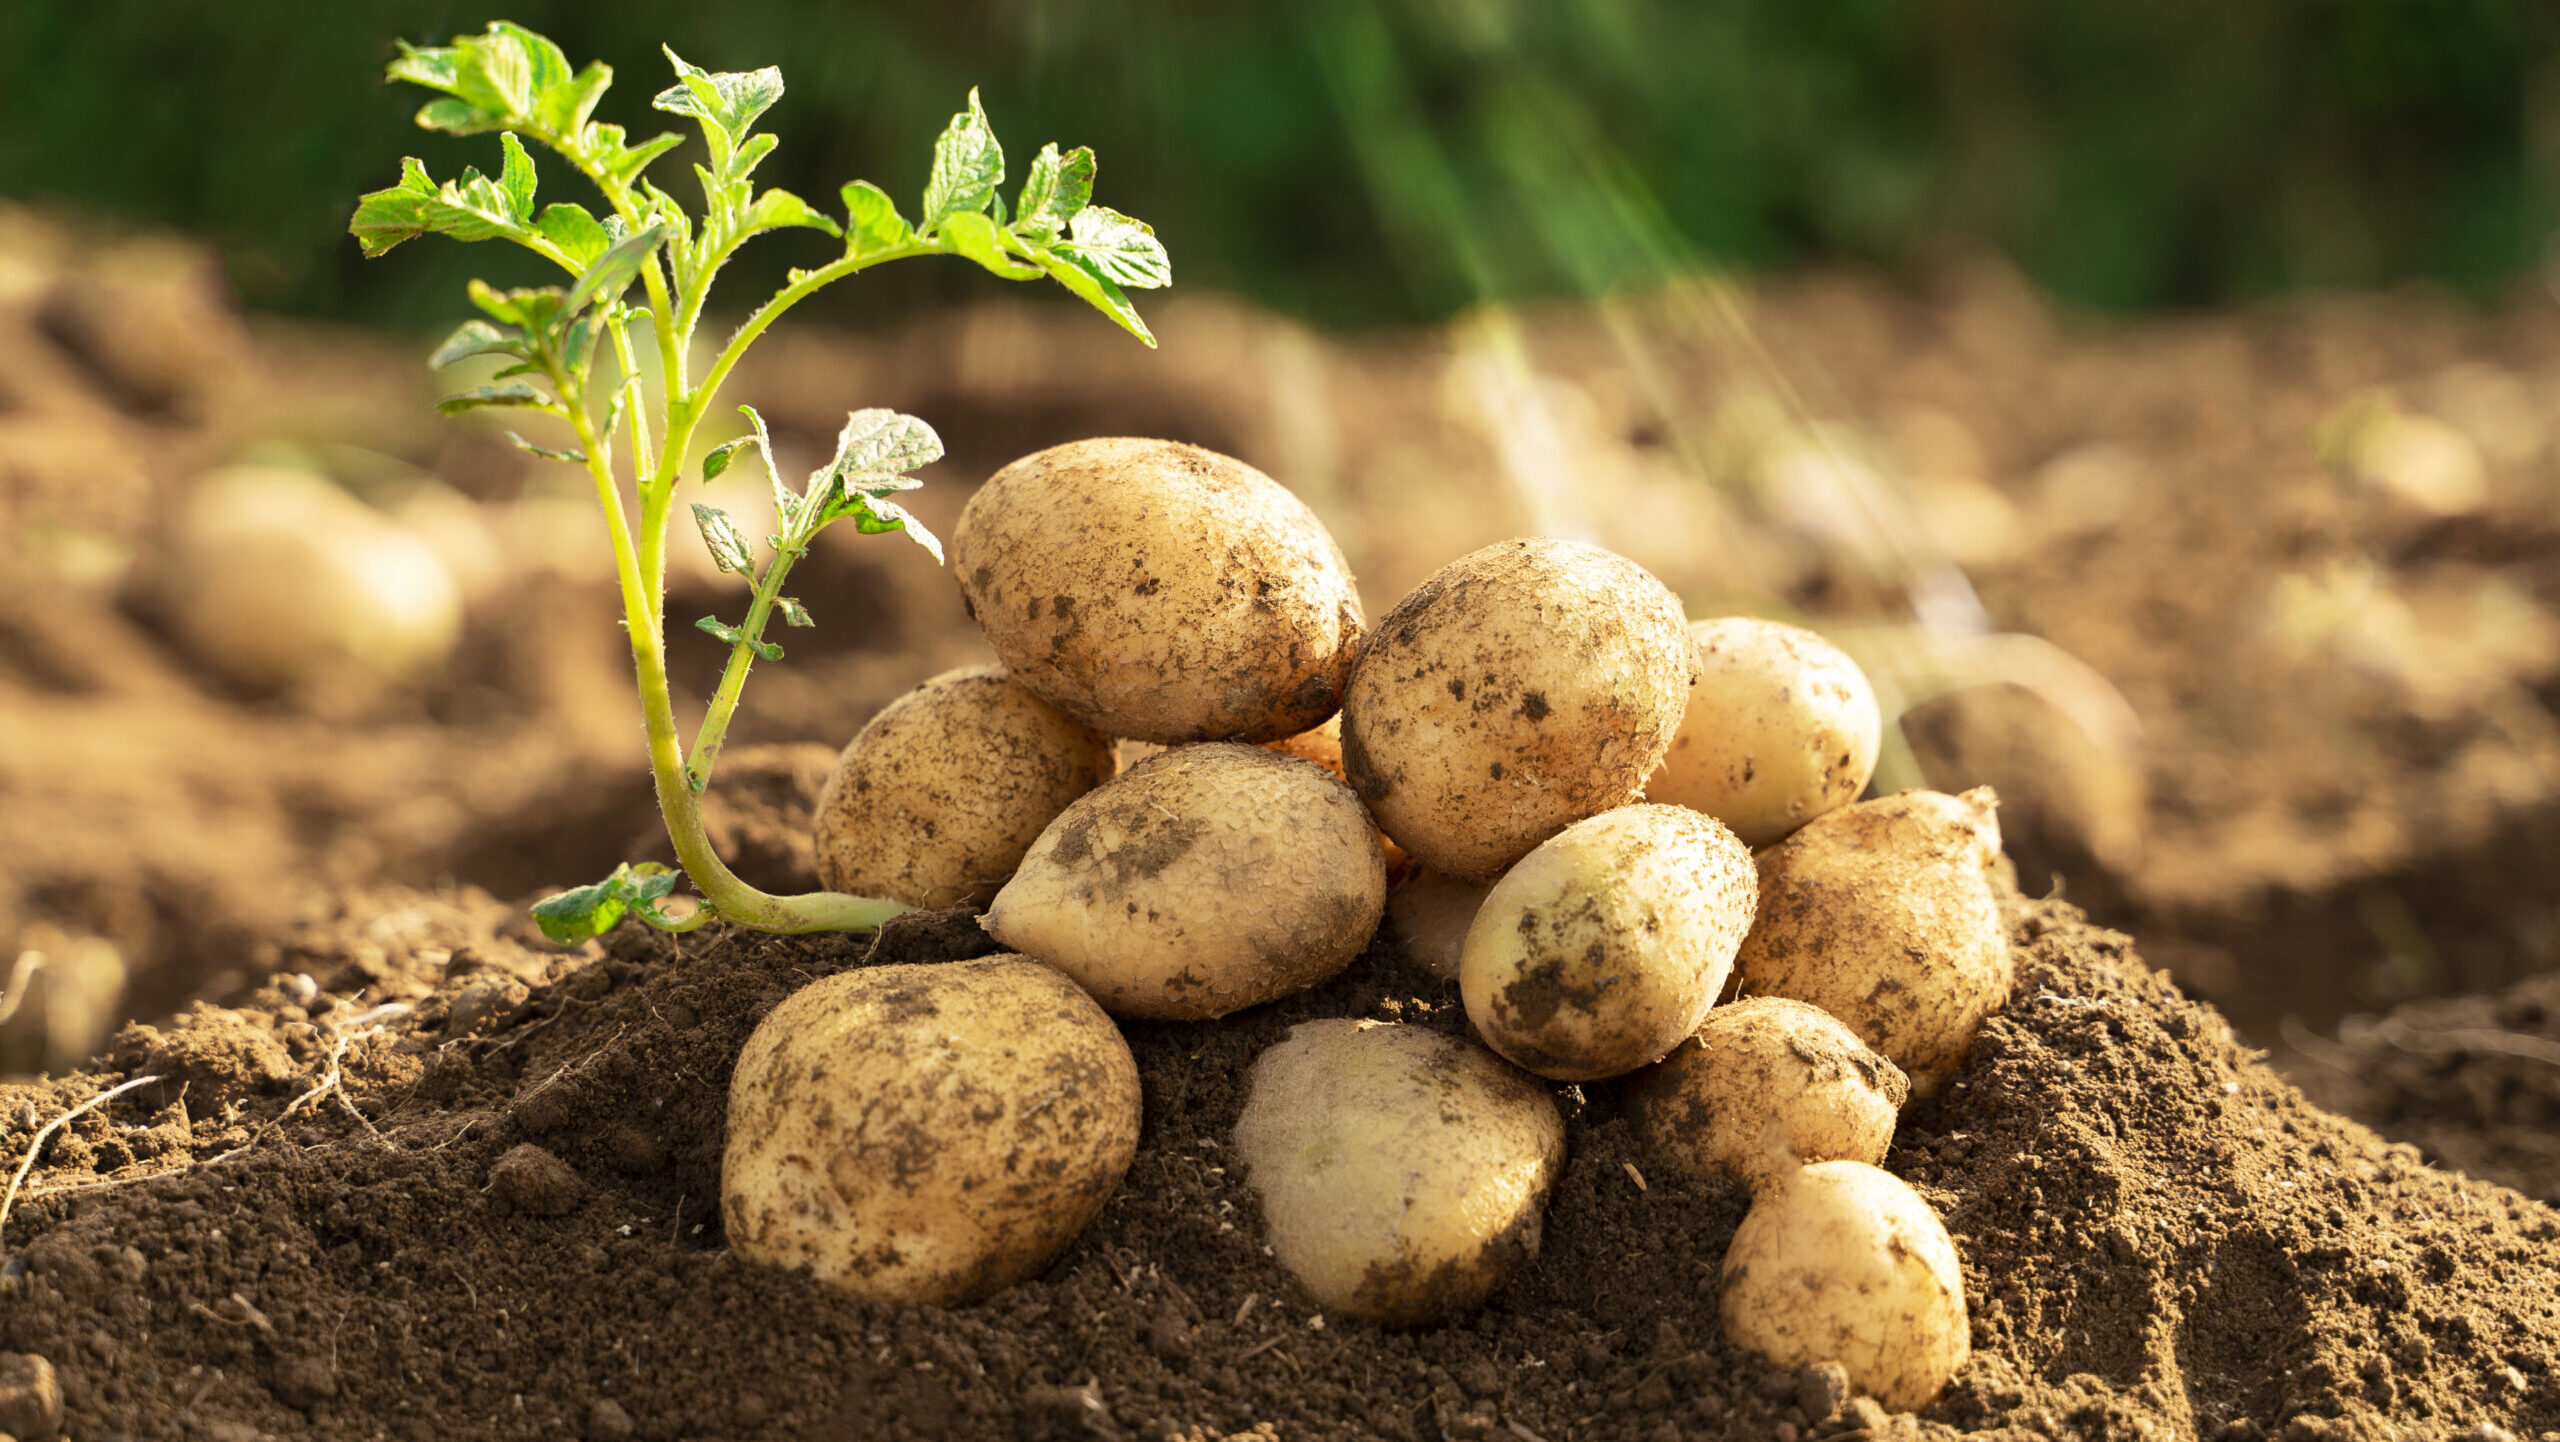
8. Harvesting Your Potatoes
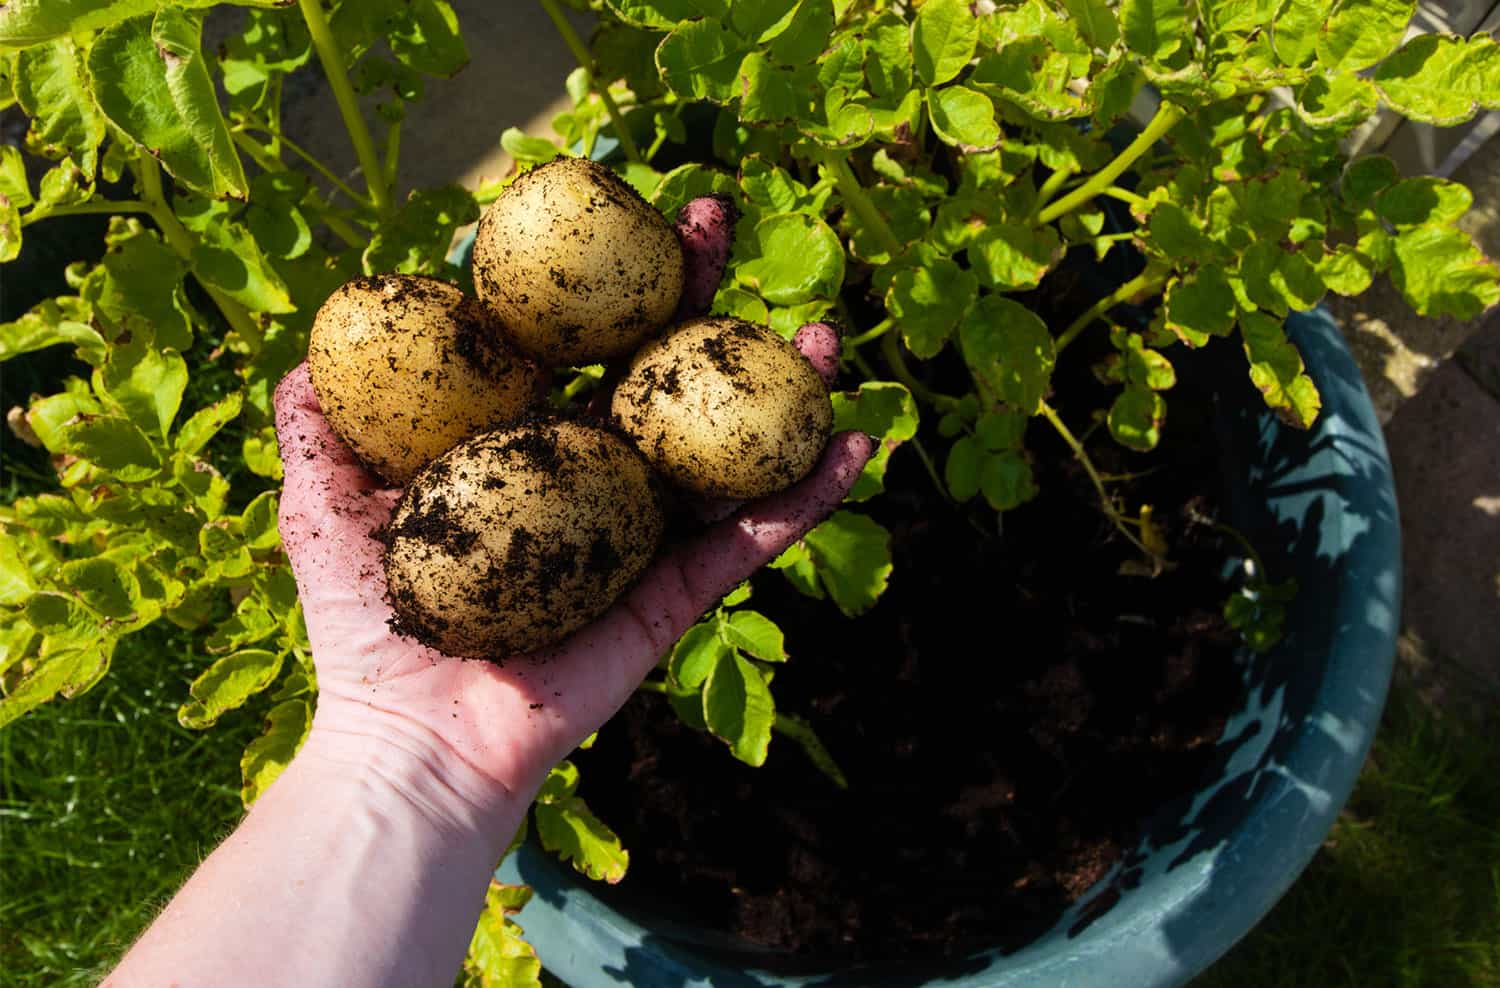
When the plants start to yellow and die back, it’s time to harvest your potatoes. This usually happens about 10 weeks after planting.
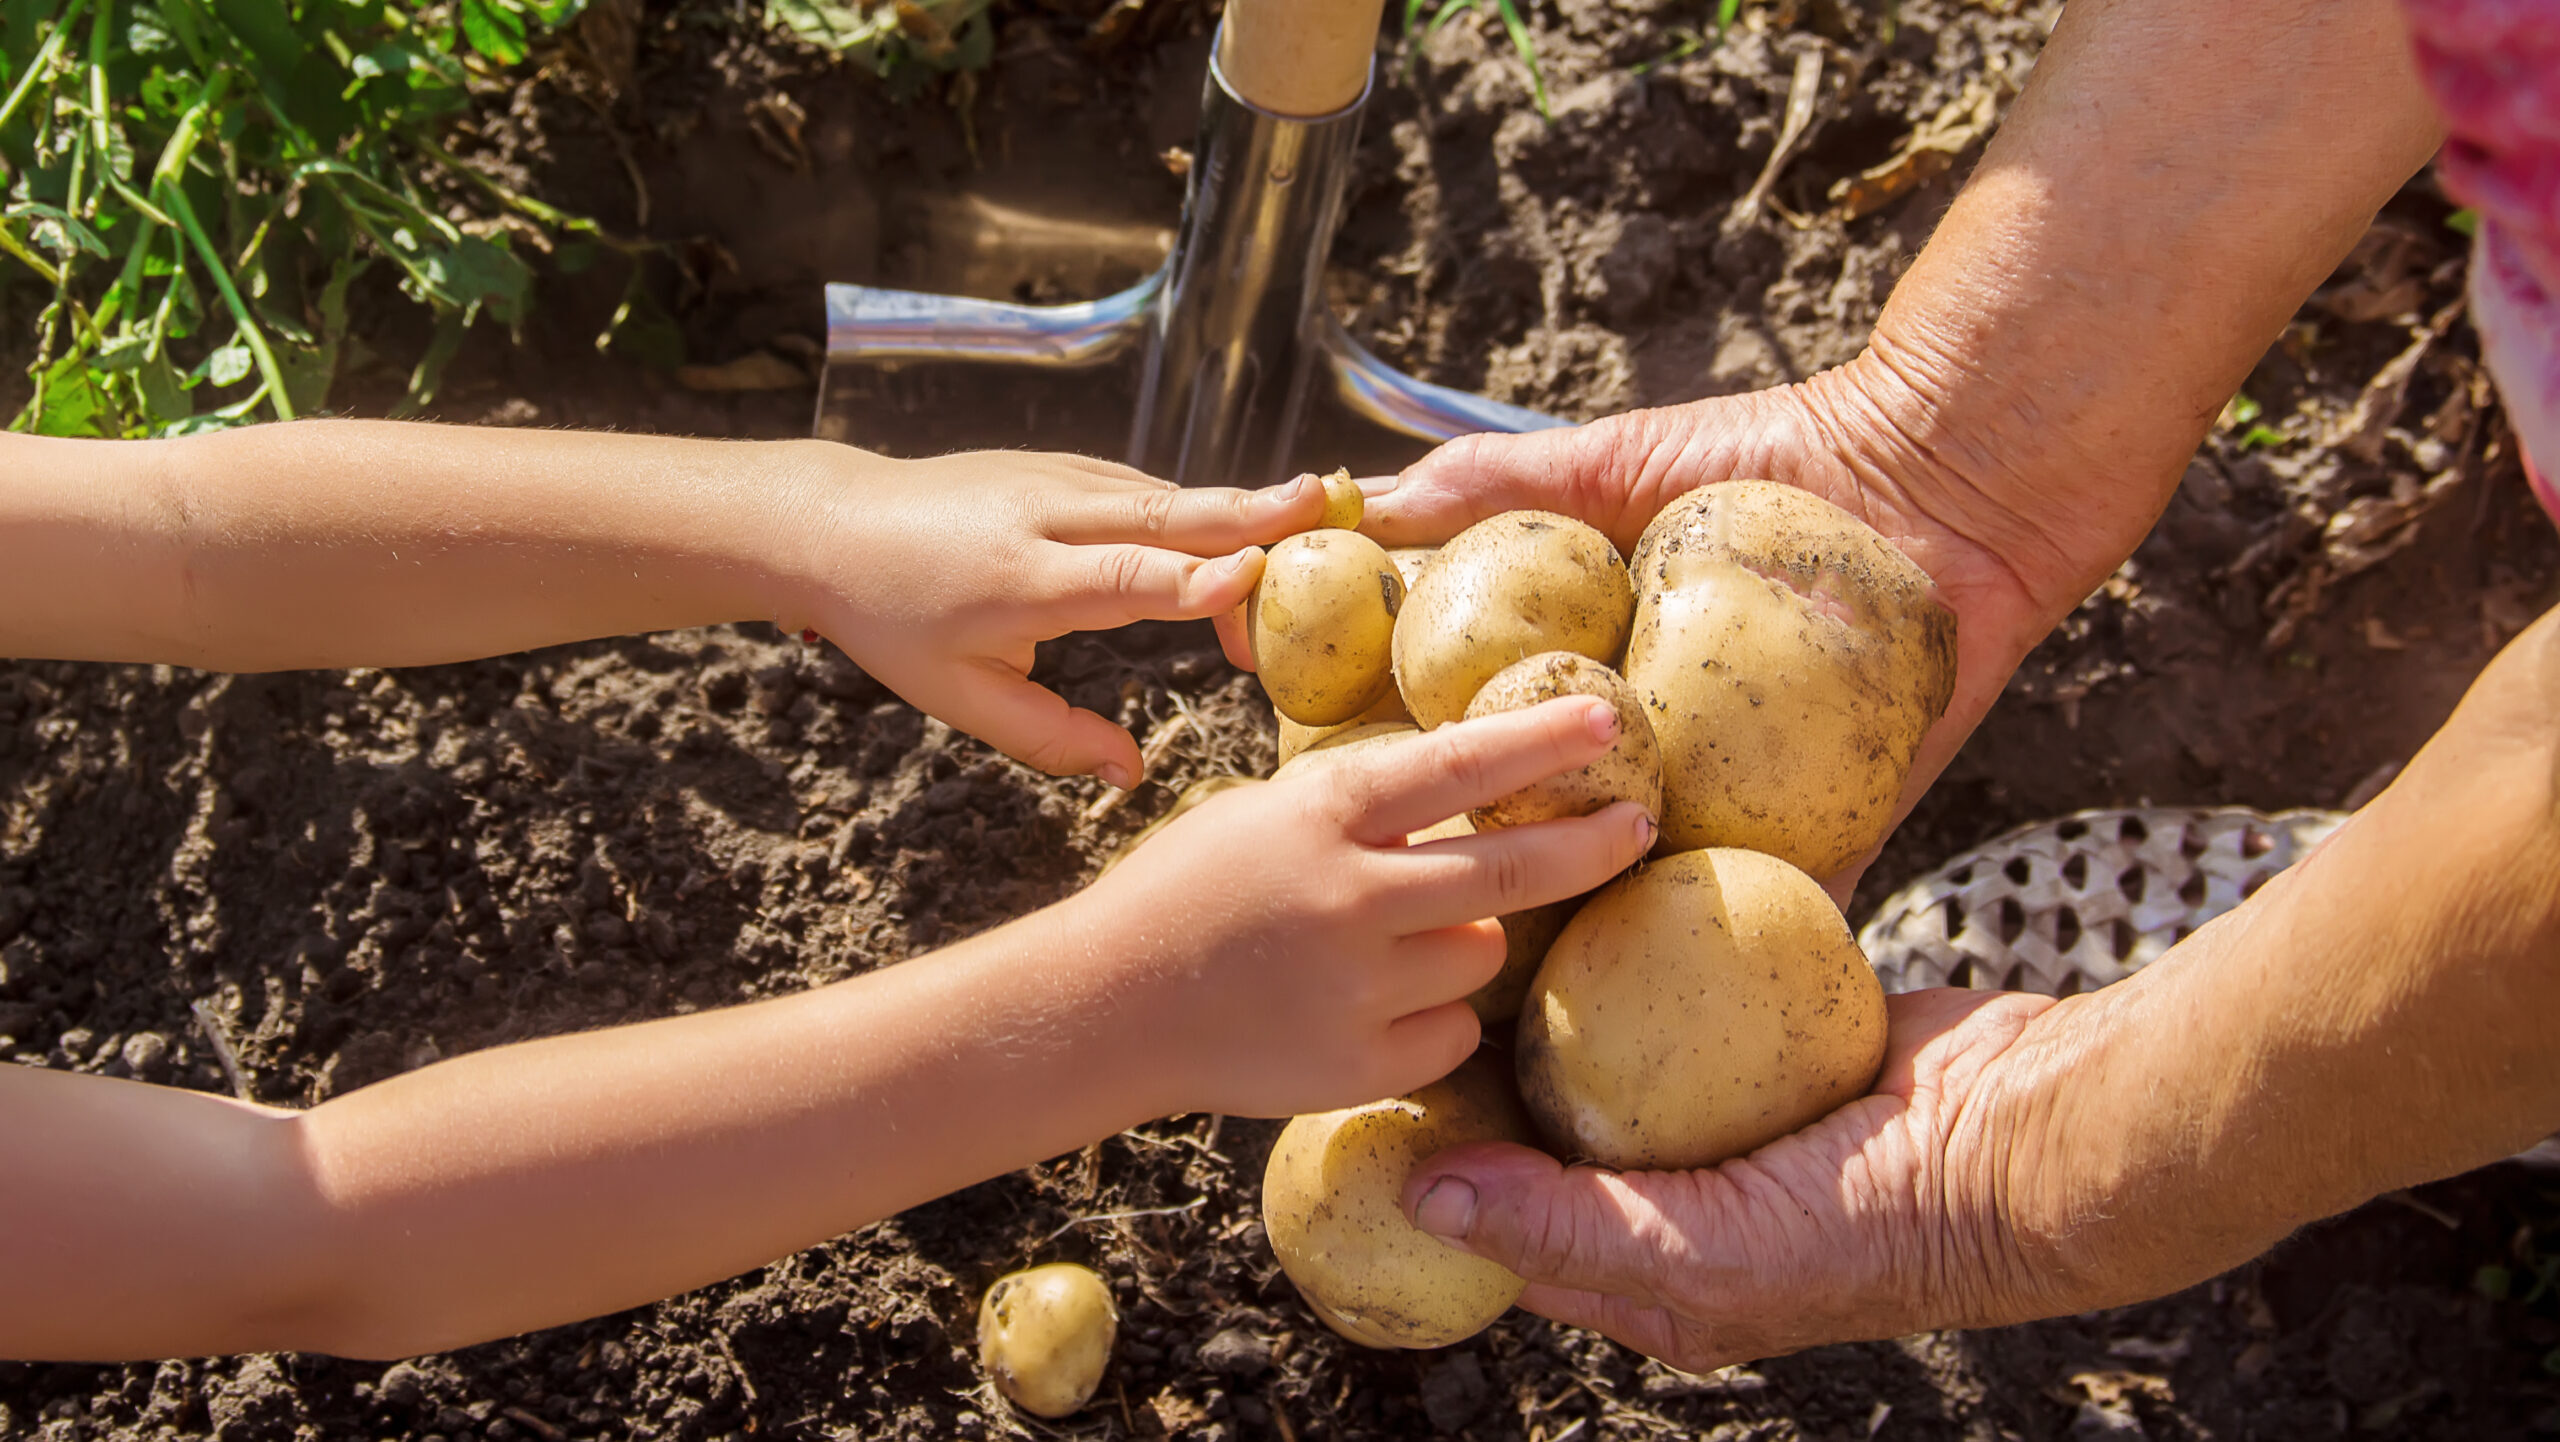
To harvest, simply dump out the container and sift through the soil to find your potatoes. Be gentle to avoid damaging your bounty.
9. Storing Your Potatoes

After harvesting, allow your potatoes to dry in a cool, dark place for a few days. This curing process helps toughen up the skin and extend storage life.
Once cured, store your potatoes in a cool, dark, humid place. A paper bag in a basement or garage works well. Check regularly for any signs of rot.
10. Enjoying Your Homegrown Potatoes
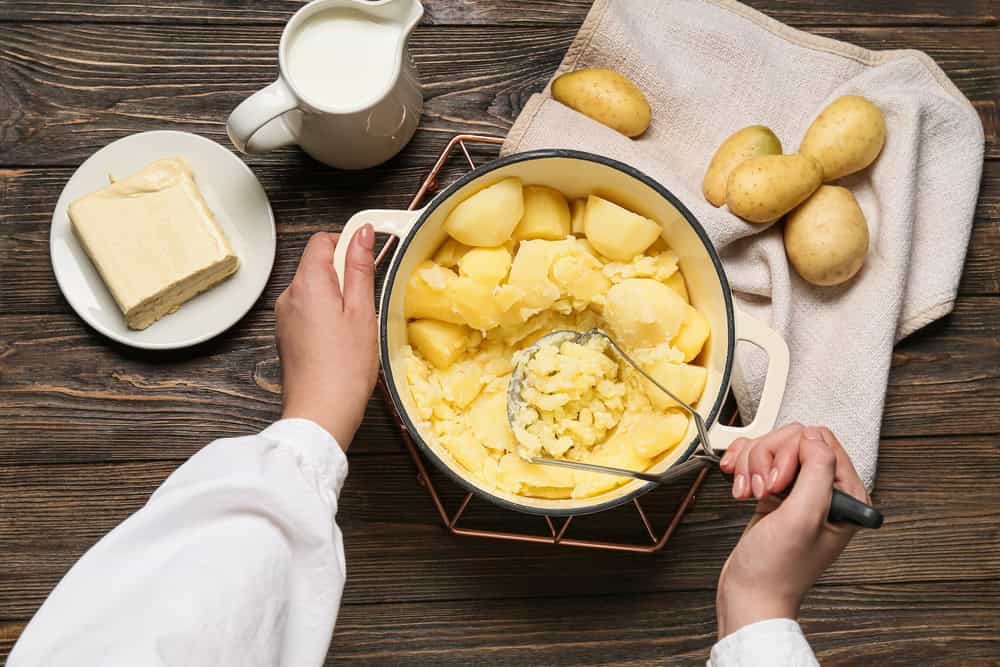
There’s nothing like the taste of homegrown potatoes. Use them in your favorite recipes, or simply boil them and enjoy with a bit of butter and salt.
Growing your own potatoes is not only rewarding but can also save you money and reduce your carbon footprint. Happy growing!