Creating a beautiful flower garden from scratch can be a rewarding and therapeutic experience. Growing flowers from seeds allows you to choose from an enormous variety of plant species that are not typically available as seedlings or mature plants at local nurseries. Moreover, this process can save you a lot of money, and it gives you the added satisfaction of nurturing beautiful blooms from their very beginnings. If you’re new to gardening or just want to try your hand at starting flowers from seeds, here are eight simple steps to guide you through the process.
1. Choose the Right Seeds for Your Garden

Selecting the right seeds is the first and most crucial step in growing flowers from seeds. Consider your local climate, soil type, and the amount of sunlight your garden receives when making your selection.
Advertisement
For example, marigolds thrive in sunny areas, while impatiens prefer shade. Some plants like zinnias are drought-tolerant, making them perfect for arid climates, whereas primroses prefer cooler, damp conditions. Research your chosen seeds carefully to ensure they’re suitable for your garden’s conditions.
2. Start Seeds Indoors

Starting seeds indoors can help them germinate more successfully as it allows you to control the environment closely.
Seed trays or small pots filled with seed compost are perfect for this. Remember to keep the soil moist but not waterlogged, and place the trays in a warm spot, like a windowsill. Some seeds, like petunias, need light to germinate, so don’t bury them too deeply.
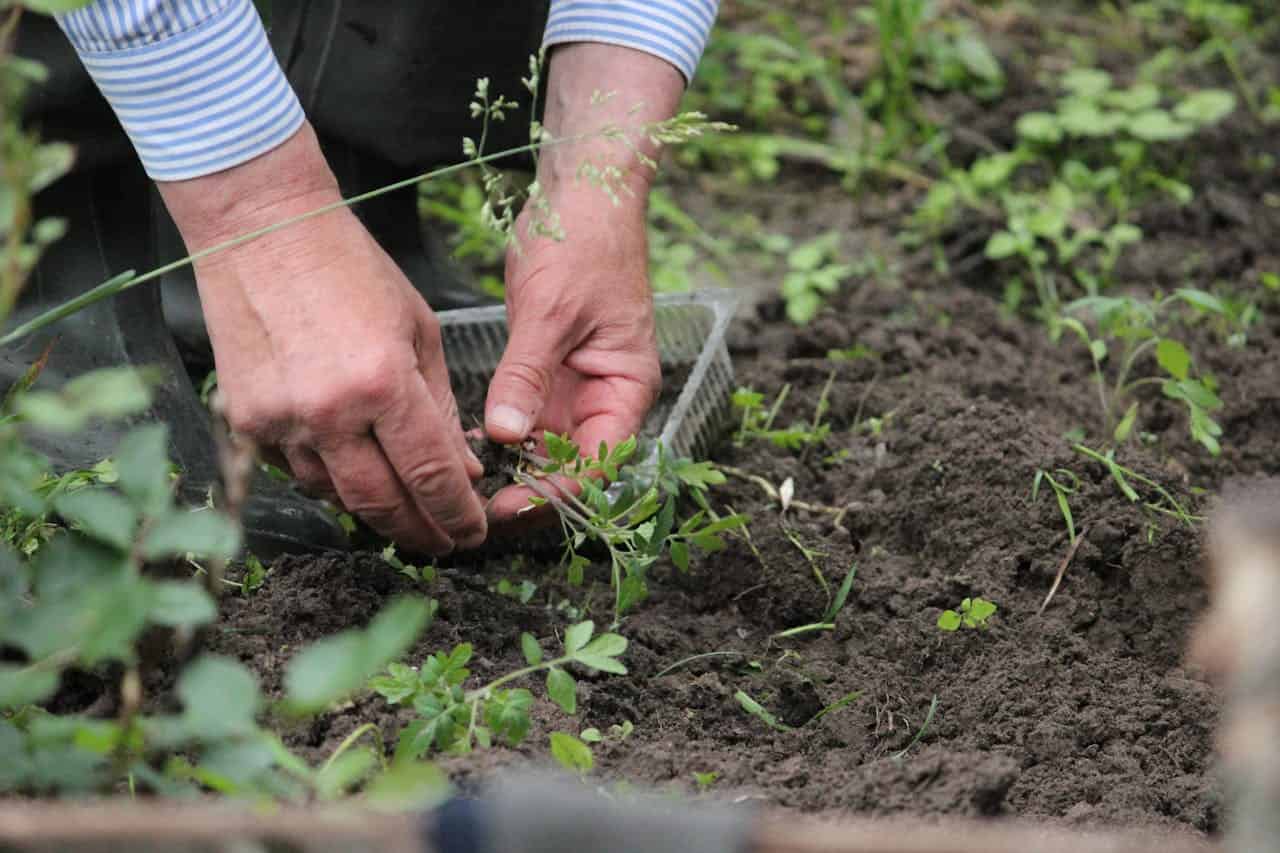
3. Transplant Seedlings Carefully

Once your seeds have sprouted and grown their first true leaves (the second set of leaves that appear), they’re ready to be transplanted to larger pots.
Be very gentle during this process to avoid damaging the delicate roots. Use a spoon or a seedling transplanter to scoop them out, and plant them at the same depth they were growing before.
4. Harden Off Seedlings
Before planting your seedlings outside, they need to be hardened off. This process involves gradually acclimating them to outdoor conditions over a week or two to prevent shock.
Start by placing them outside in a shaded, sheltered location for a few hours each day, gradually increasing the time and exposure to sun and wind. This helps them adjust to the different temperatures and conditions they’ll experience in the garden.
5. Prepare Your Garden Soil

Good soil is key to growing healthy flowers. Before planting your seedlings, prepare your garden soil by removing weeds and adding organic matter like compost or well-rotted manure.
This not only provides nutrients for your plants but also improves soil structure and drainage. If your soil is heavy clay or sandy, you might want to consider raised beds or containers filled with a good quality topsoil.
6. Plant Your Seedlings
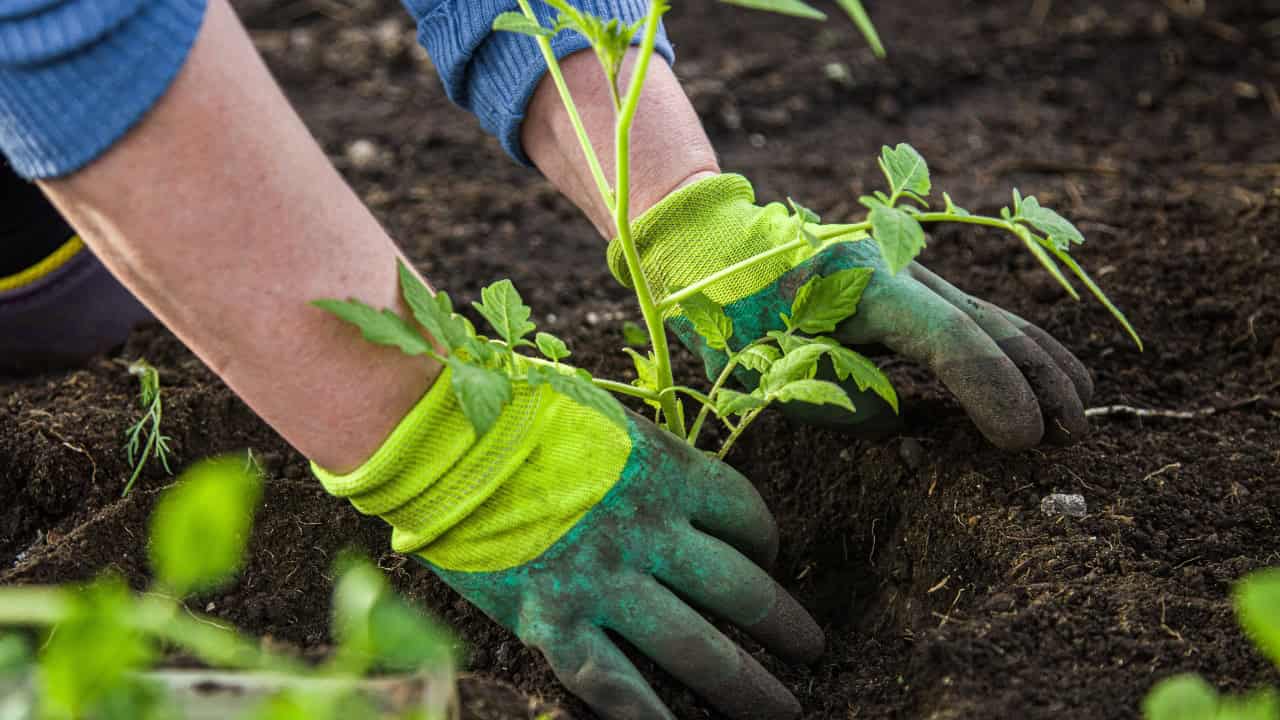
Plant your hardened-off seedlings in your prepared soil, making sure they’re at the same depth they were in their pots.
Water them in well, and keep the soil consistently moist until they’re established. Mulching around the plants can help conserve moisture and suppress weeds.
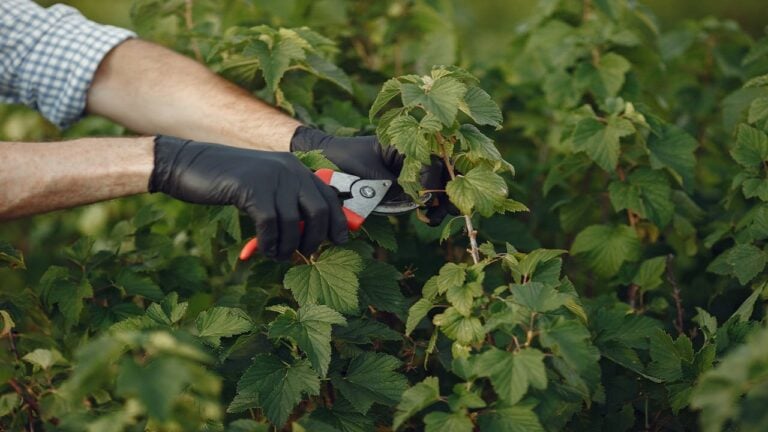
7. Regular Maintenance

Once your plants are growing, they’ll need regular watering, weeding, and feeding.
Most flowers benefit from a balanced fertilizer applied according to the package directions. Deadheading, or removing spent flowers, can also help many varieties bloom more profusely.
8. Save Seeds for Next Year

Many flowers produce seeds that you can save for planting next year, making this a sustainable and cost-effective way to keep your garden blooming.
As the flowers fade, you’ll often see seed pods developing. Once these are dry, you can collect the seeds and store them in a cool, dry place for next year. Be sure to label them clearly so you remember what they are!