As spring approaches, gardeners start thinking about how to prepare their plots for the growing season. Getting your garden ready before the last frost can set you up for a more fruitful harvest and a healthier garden overall. It’s an exciting time filled with possibilities, and understanding what tasks to tackle will make a big difference in your gardening success.
From soil preparation to selecting the right plants, there’s plenty to consider. You’ll want to make sure you cover the essential steps that ensure your garden can thrive once the warm weather sets in. If you’re keen on making the most of your garden this year, paying attention to these tasks will help you create a vibrant and productive space.
Advertisement
1. Start indoor seeds like tomatoes and peppers

Starting seeds indoors gives you a head start for a bountiful garden. Tomatoes and peppers thrive when sown indoors about 6 weeks before the last frost date.
Use a warm spot like on top of the fridge or invest in a heating mat for the best germination results. Consistent warmth helps your seedlings grow strong roots.
Be sure to use a quality seed-starting mix for optimal growth. Keep an eye on moisture levels to prevent your seeds from drying out.
2. Direct sow peas for early harvest
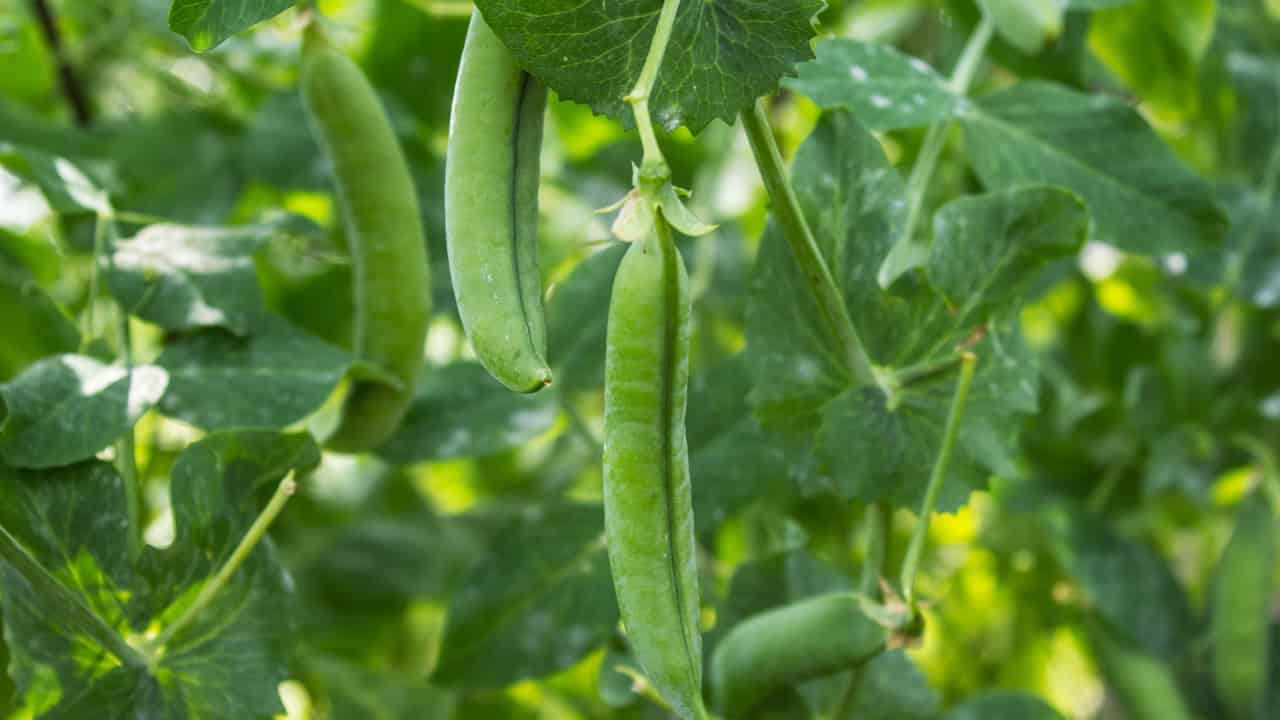
Direct sowing peas is a great way to jump-start your garden. You can plant them as soon as the soil is workable, typically about 4 to 6 weeks before the last frost date.
Choose a sunny spot where the soil drains well. Space your seeds about 1 to 2 inches apart and 1 inch deep for optimal growth.
If you’re in the right climate, you can even sow multiple crops throughout the season. By doing this, you’ll enjoy fresh peas early in the spring!
3. Plant onion sets and shallots
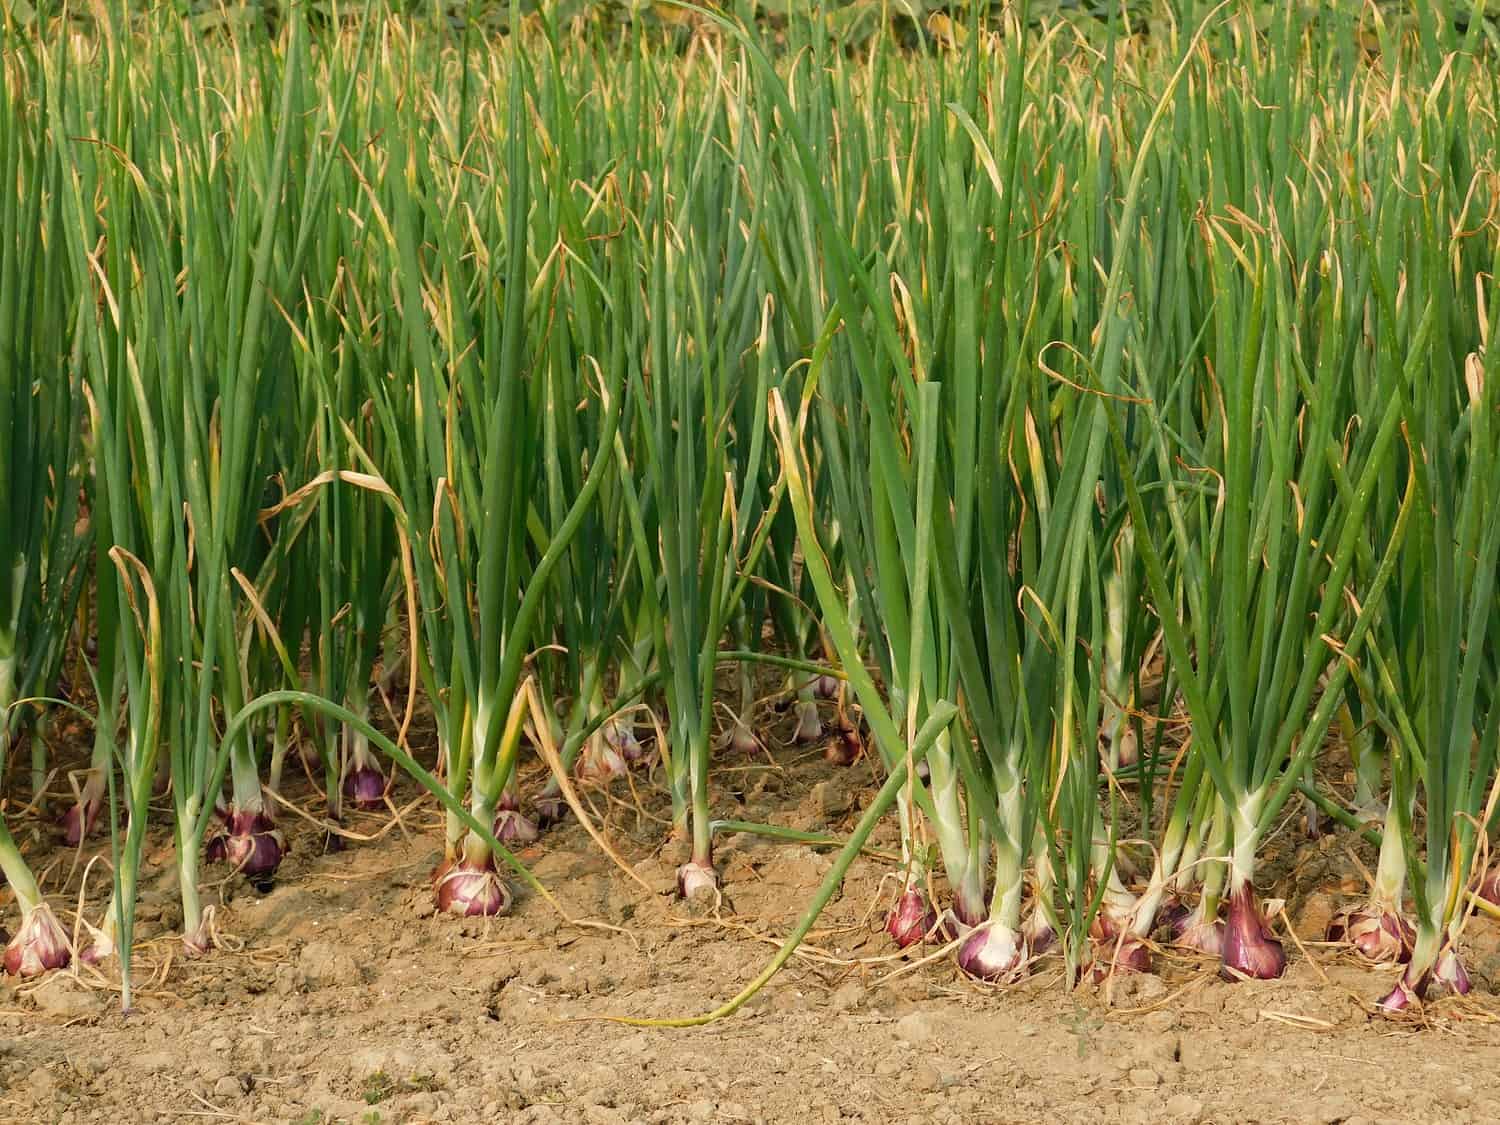
Now is a great time to plant onion sets and shallots in your garden. You can typically get these in the ground 2 to 4 weeks before the last frost date.
Onions are quite resilient, but planting them too early can lead to bolting. If you’re opting for shallots, they can also be planted in the same timeframe.
Choosing the right time helps ensure a healthy harvest later in the season. Always check your local frost dates to get it just right!
4. Prepare your mulch and compost
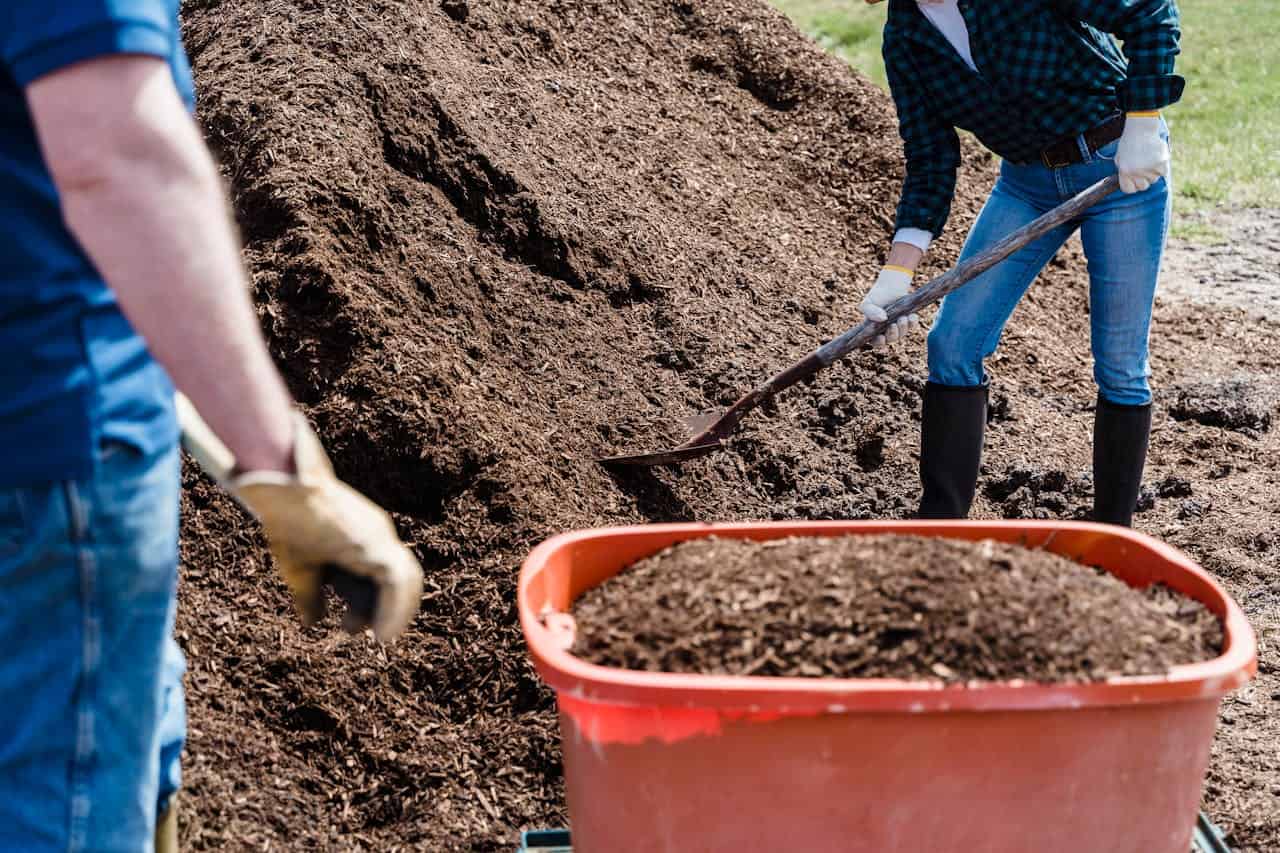
Before the frost hits, get your mulch and compost ready. A good layer of mulch helps retain moisture and suppress weeds.
Use organic materials like leaves or straw for mulching.
Make some compost by combining kitchen scraps with yard waste. This creates nutrient-rich soil, ready for spring planting.
If you’ve got finished compost, spread it around your plants to give them a boost.
This will set you up for a thriving garden when the warm weather returns.
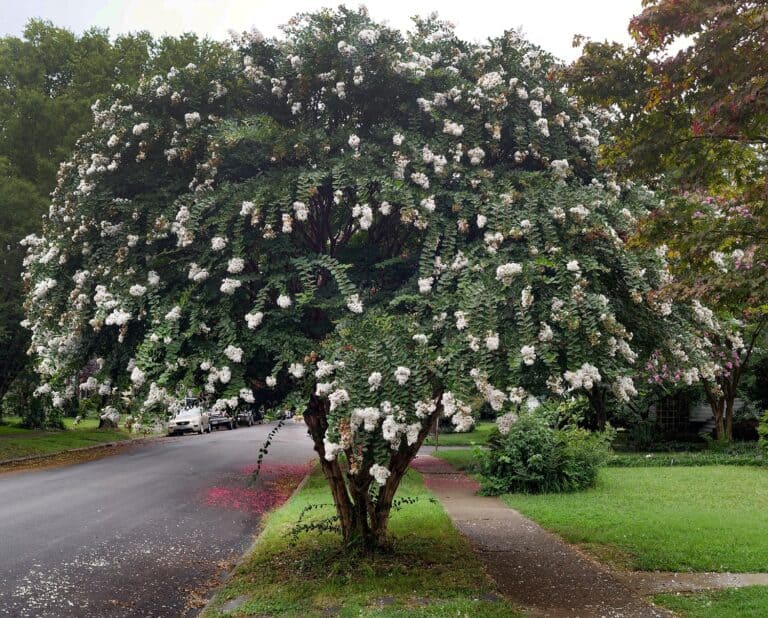
5. Prune dormant fruit trees

Pruning your fruit trees while they’re dormant is a smart move. It helps you see what needs to be done without the distraction of leaves.
Focus on removing dead or weak branches to encourage healthy growth.
Make sure to choose a dry spell of at least two weeks after pruning to prevent any potential damage.
This way, your trees will be ready to thrive when the growing season kicks in. Happy pruning!
6. Protect young plants with row covers

Using row covers is a simple way to shield your young plants from unexpected frosts. These lightweight fabrics trap heat and create a cozy environment.
They also protect against pests while allowing sunlight and moisture to reach your plants. You can easily secure them in place with rocks or garden stakes.
Make sure to check them regularly. If temperatures start to rise, you might want to remove the covers to prevent overheating. This helps your plants thrive as the weather warms.
7. Get a soil test for nutrient planning

Before planting, it’s smart to check your soil’s nutrient levels. A soil test can reveal key information about nitrogen, phosphorus, and potassium, which are essential for plant growth.
You can often find soil testing kits at garden centers or send samples to a local extension service. Testing helps you know what amendments to add, ensuring your plants get what they need.
Timing is important, so aim for a test after the soil thaws. This way, you’ll have ample time to make adjustments before planting season. It’s a straightforward step that pays off in healthier plants and a thriving garden.
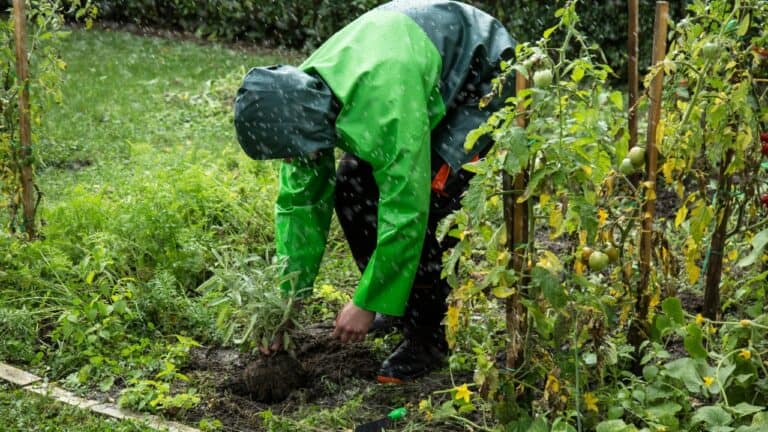
8. Divide and replant perennials
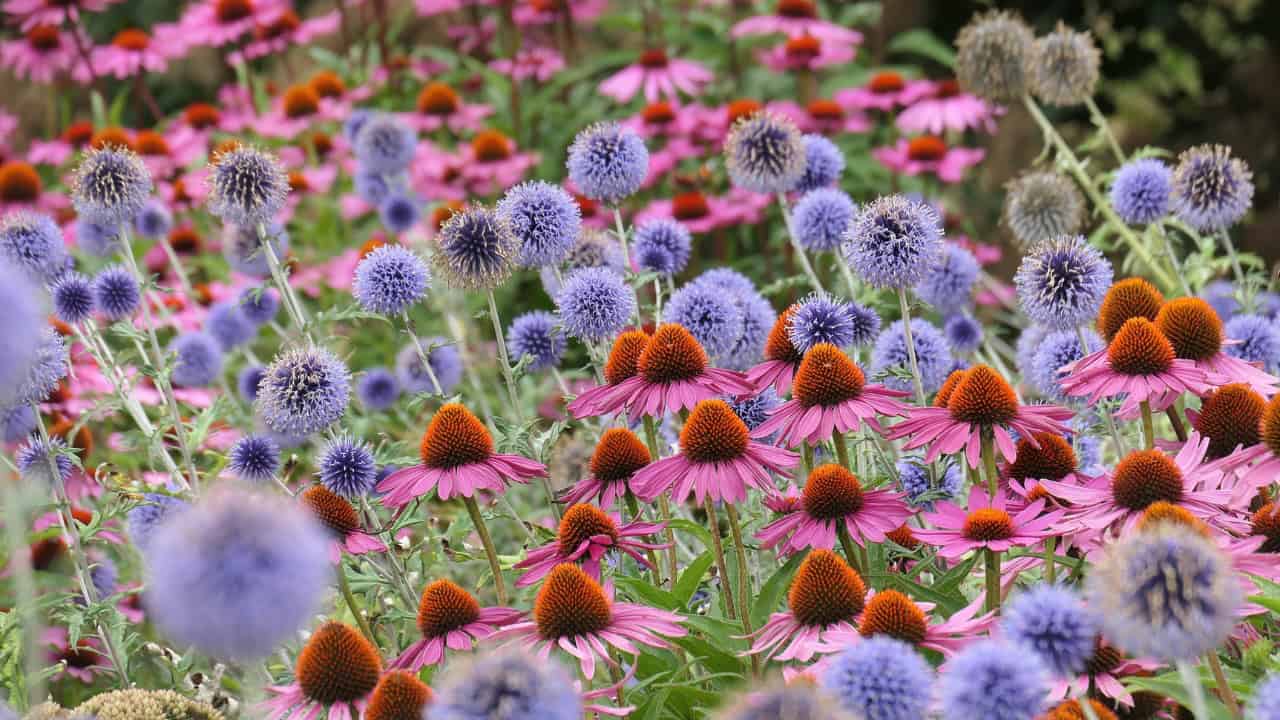
Dividing perennials is a great way to rejuvenate your garden. It helps manage plant size and encourages new growth.
You should aim to do this in early spring or fall. Make sure to choose a day when the weather is cool and damp.
Gently dig up the plant and separate it into smaller sections. Replant these divisions in well-prepared soil.
You can even share some of the extras with friends or neighbors. It’s a win-win!
9. Plan your garden layout
Planning your garden layout is essential for maximizing space and sunlight. Start by sketching your garden on paper or using an app designed for garden planning.
Consider the size and needs of each plant. Some plants thrive in full sun, while others prefer partial shade.
Group plants with similar watering needs to simplify maintenance. Don’t forget to leave pathways for easy access to your plants.
You’ll appreciate having a well-organized garden when it’s time to tend to your growing plants.
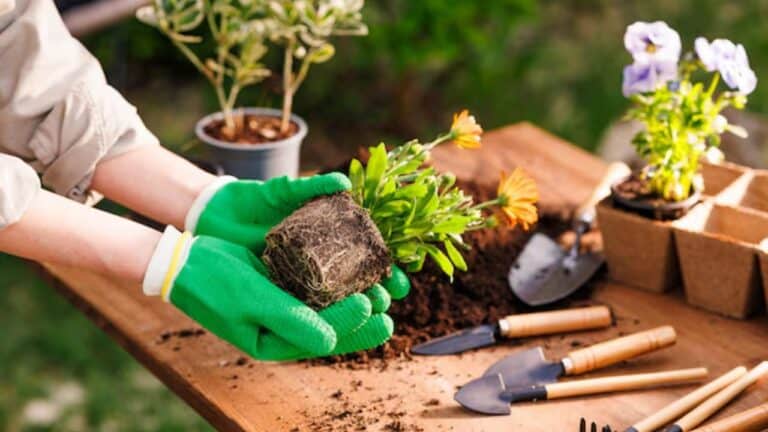
10. Clean and sharpen garden tools
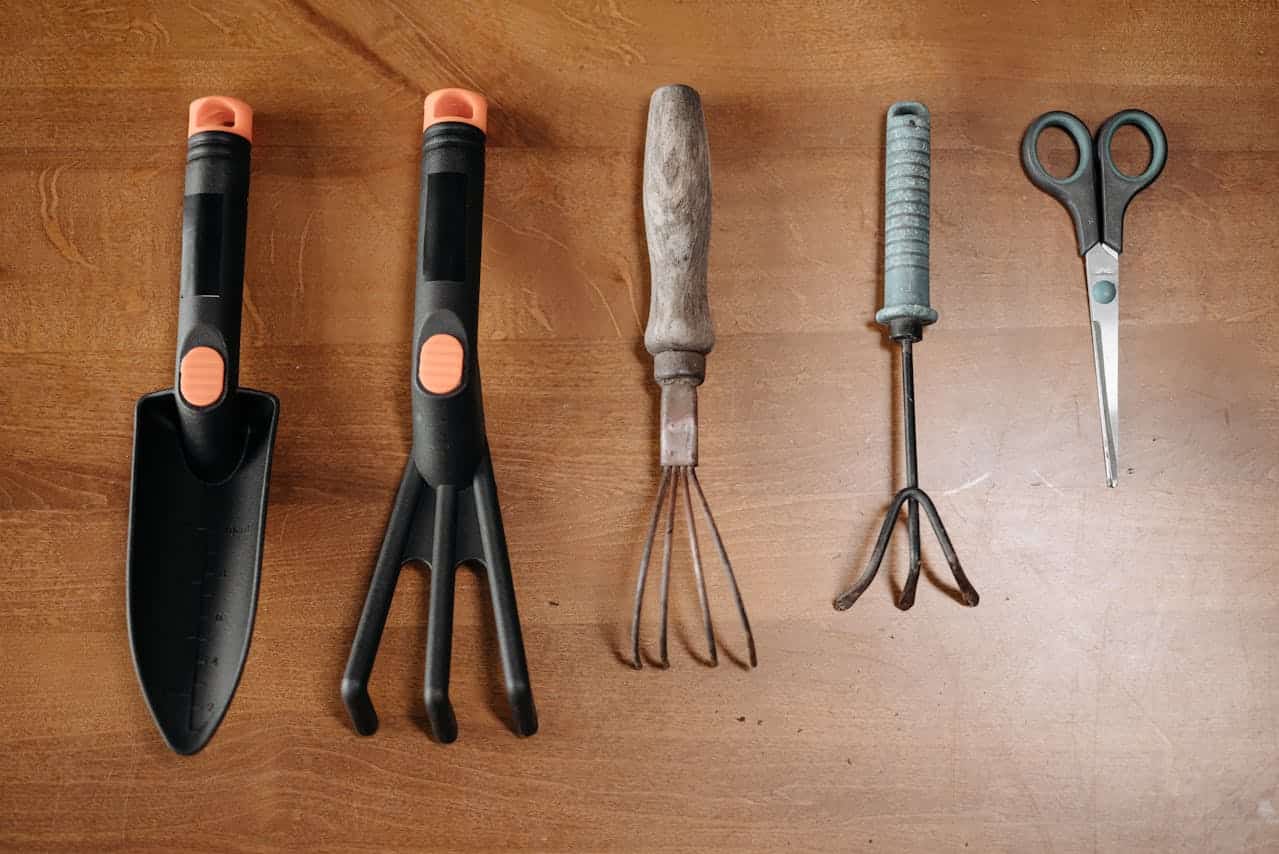
Cleaning and sharpening your garden tools is essential for a productive spring. Start by removing dirt and debris; a stiff brush works well for this task.
Once they’re clean, check for any rust. You can use a rust remover or a wire brush to get those spots off.
Finally, sharpen the edges of your tools, like spades and pruners, to ensure they cut through soil and plants easily when you’re ready to dig in. Regular maintenance makes a real difference in how your tools perform.
11. Check the last frost date for your region

Knowing your last frost date is crucial for successful gardening. It helps you decide when to plant your seeds and transplants safely.
Different regions have varying dates, so check local resources or gardening websites to find yours. For example, if you’re in NYC, you might aim for around May 15.
Be cautious if that date falls during the week. Avoid planting too early to prevent damage from unexpected frost.
12. Build raised beds for better drainage

Building raised beds can significantly improve drainage in your garden. They allow excess water to flow away, preventing plants from sitting in soggy soil.
Raised beds warm up faster in spring, which helps extend your growing season. You can also customize the soil mix for optimal plant health.
They reduce soil compaction, making it easier for roots to grow. Plus, it’s simple to create an organized gardening space that looks nice and functions well.
13. Tidy up any leftover winter debris

As winter fades, take a little time to clean up your garden. Remove any dead plants, fallen branches, and leaves that collected during the colder months.
This not only makes your garden look better but also reduces the risk of pests and diseases.
Check for any remaining mulch or protective coverings and clear those away as well.
A tidy space will help your plants thrive as they start to grow again. Plus, it can be a satisfying way to welcome spring!
14. Sort and organize your seed supply

Take some time to go through your seed collection. Sorting seeds can save you a lot of hassle during planting season.
Group seeds by type, like vegetables, herbs, and flowers. You can even organize them alphabetically within those groups.
Use clear containers or labeled envelopes to make everything easy to find. This way, you’ll know exactly what you have and what you might need.
Consider creating a section for new seeds and another for those you’ve had for a while. This will help keep track of what needs to be planted first.
15. Install rain barrels for water conservation

Installing rain barrels in your garden is a smart move for conservation. It allows you to collect rainwater, which can be used to water your plants during dry spells.
Choose a durable barrel and place it under a downspout for easy collection. Remember to empty the barrels before freezing weather to prevent damage.
Consider adding a screen to keep out debris and insects. This simple setup can help you save water and reduce your utility bills while keeping your garden thriving.