Taking on DIY projects can be a great way to personalize your space without spending a lot. You might worry about whether your efforts will look polished or professional, but with the right approach, you can achieve results that don’t scream “homemade.”
This article shows you 15 DIY projects that are simple enough to tackle yourself yet look like they were done by pros. Whether you’re new to DIY or have some experience, these ideas can help upgrade your home with a clean, polished finish.
Advertisement
Use high-quality solid wood for durability
Choosing solid wood helps make your projects sturdy and long-lasting.
It holds up better over time compared to cheaper materials like particleboard or plywood.
Solid wood also looks nicer, which adds a professional touch to your finished piece.
Make sure the wood is smooth and free from cracks or knots that could weaken your project.
Sand surfaces thoroughly between coats
You should sand lightly between each coat to keep your finish smooth. Use fine sandpaper, like 220 to 400 grit, depending on the project.
Wet sanding with 400-grit works well on finishes because it prevents dust and helps smooth the surface.
Taking this extra step helps the next coat stick better and keeps your project looking clean and polished.
Apply multiple thin paint layers for smoothness
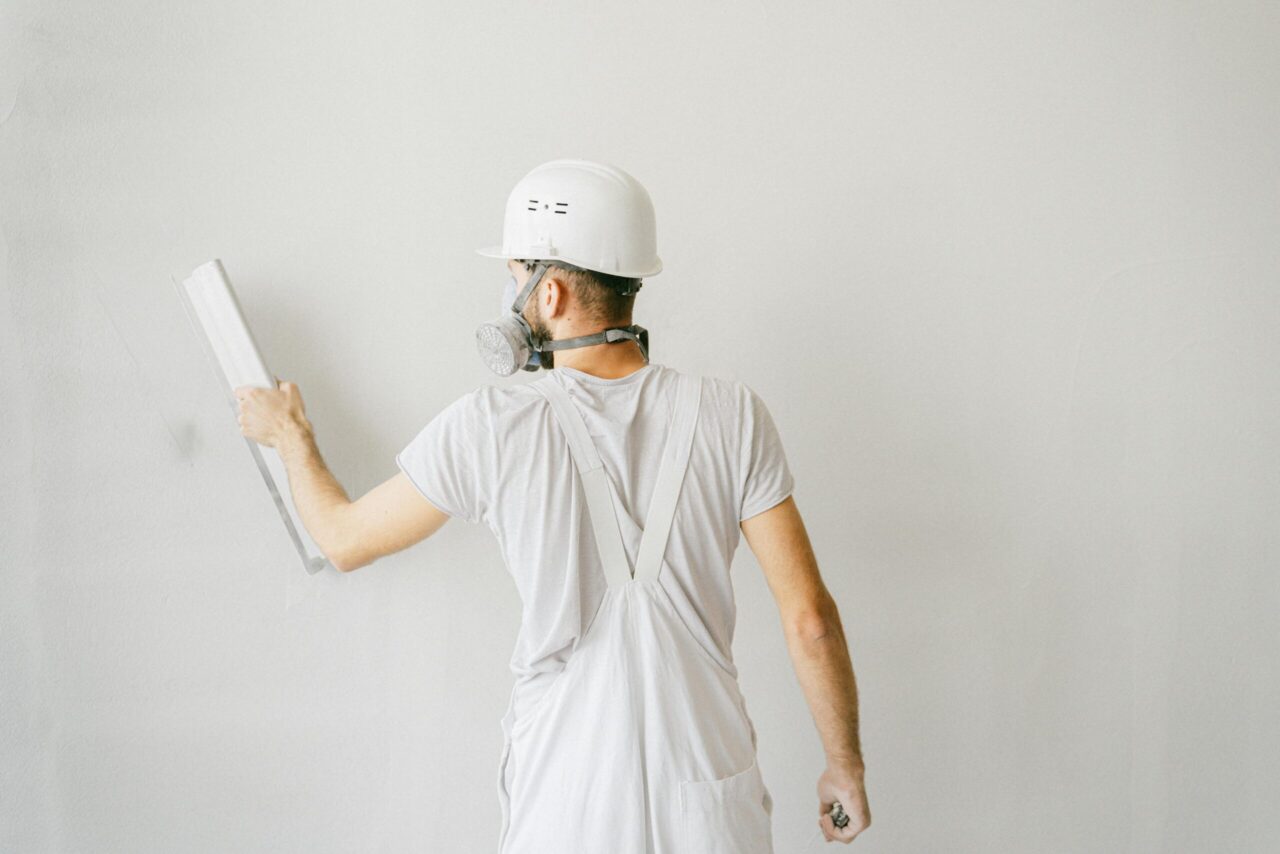
When you paint, try using thin layers instead of thick ones. Applying several thin coats helps avoid drips and uneven patches.
You don’t need to overload your brush. Just a little paint goes a long way.
Give each layer time to dry before adding the next. This builds up a smooth, even finish that looks more polished.
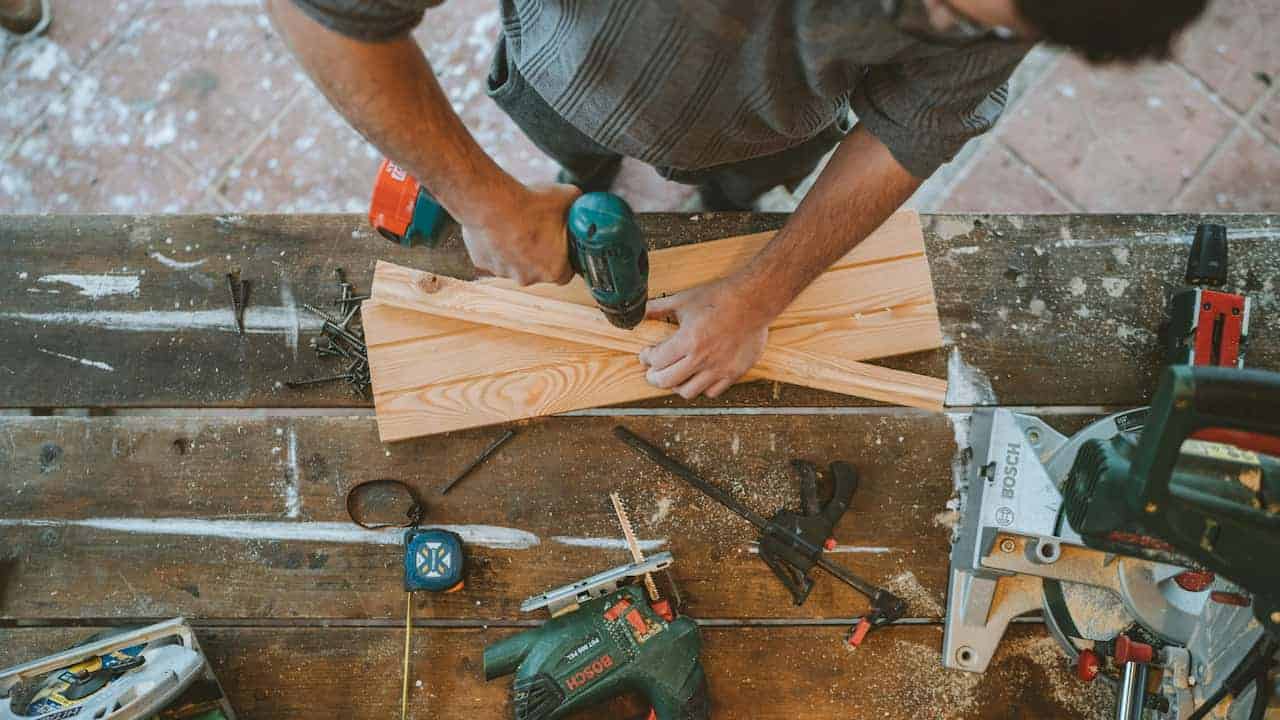
Measure twice, cut once for precision
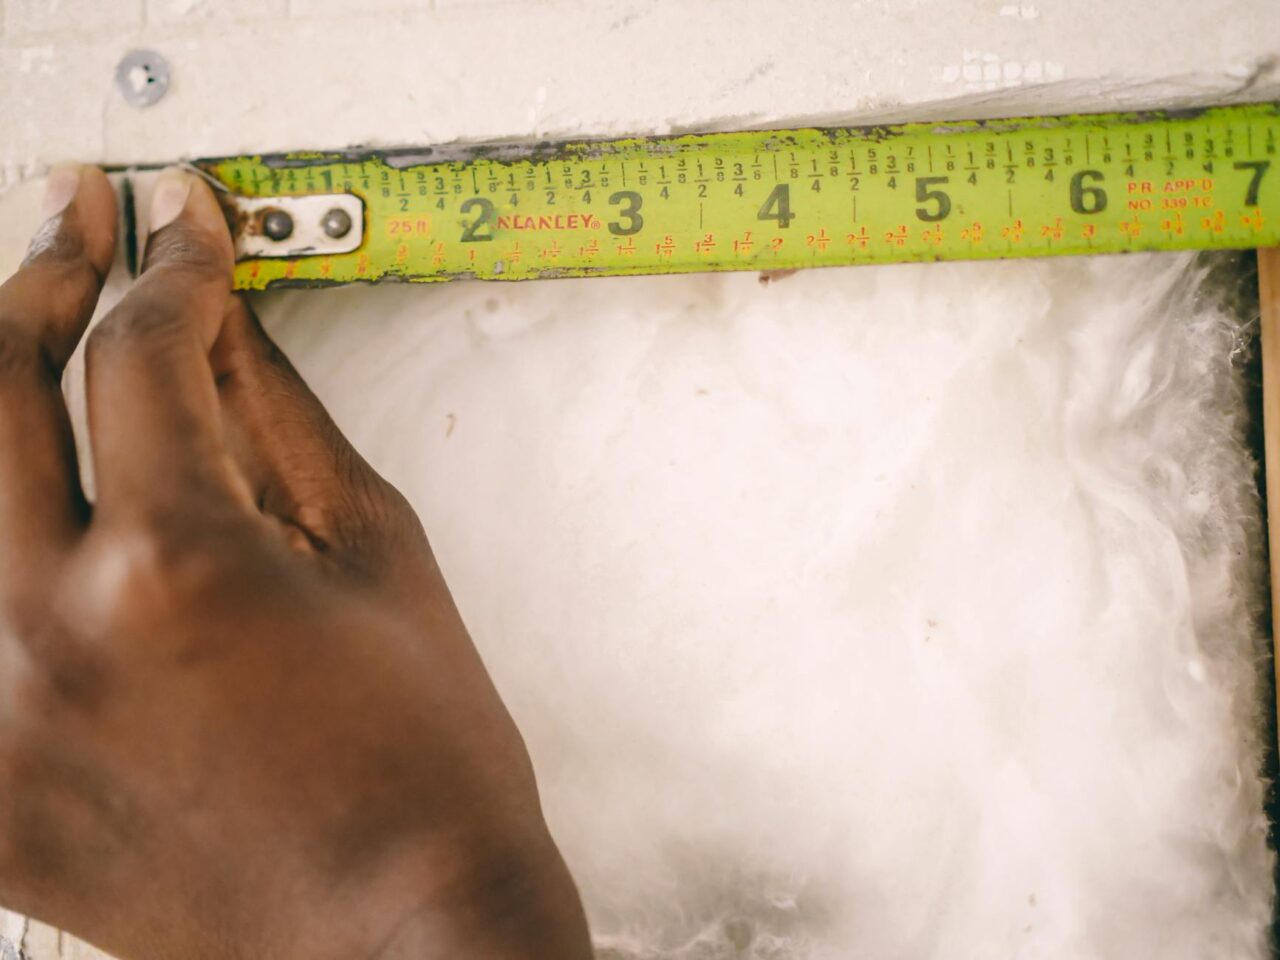
When you’re working on any DIY project, getting your measurements right saves you from costly mistakes. Take your time to measure carefully before making any cuts.
By measuring twice, you reduce the chance of errors and ensure your pieces fit perfectly. This simple habit helps your work look cleaner and more professional.
Remember, rushing to cut without checking can lead to wasted materials and extra frustration. It’s a small step that makes a big difference in your project’s final quality.
Use a sharp blade or saw to avoid rough edges
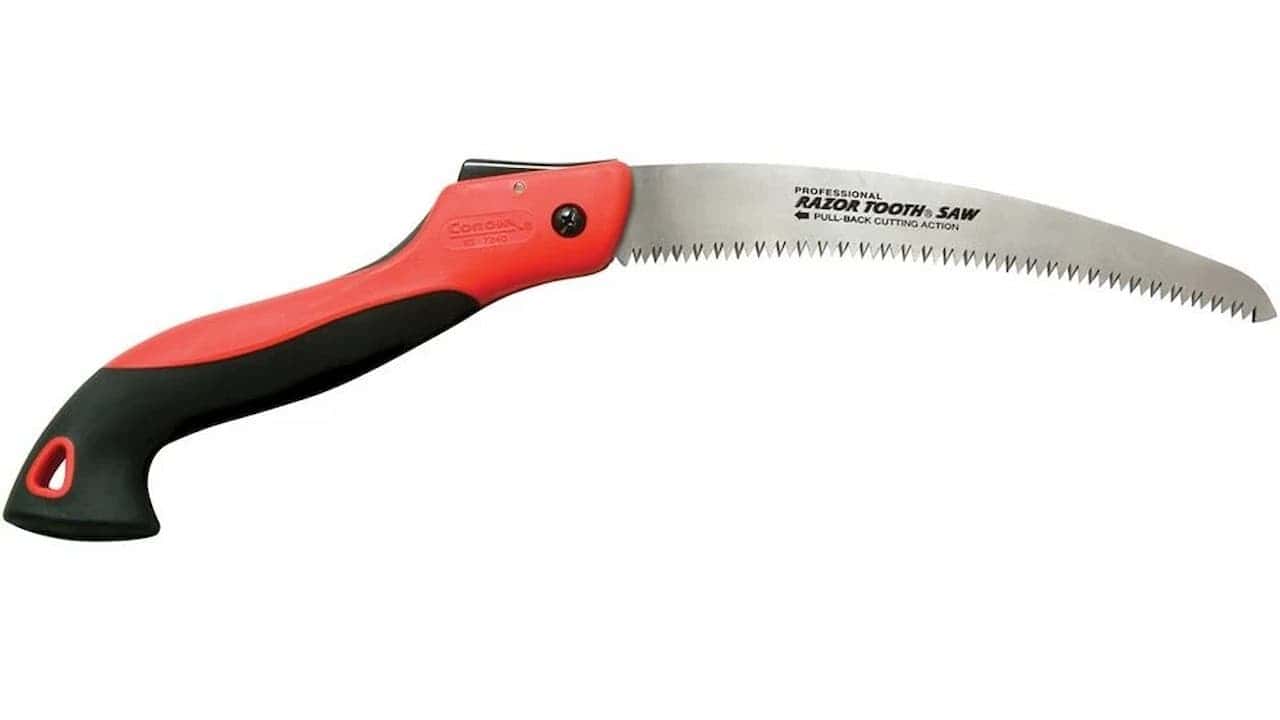
Using a sharp blade is key when cutting wood for your projects. Dull blades can cause splintering and rough edges that make your work look sloppy.
Make sure your saw blade is clean and sharp before starting. This helps you get smoother cuts and saves time on sanding later.
If you’re working with rough lumber, take extra care to secure it properly. This prevents movement that can lead to uneven cuts.
Choose premium wood finishes like oil-based toner
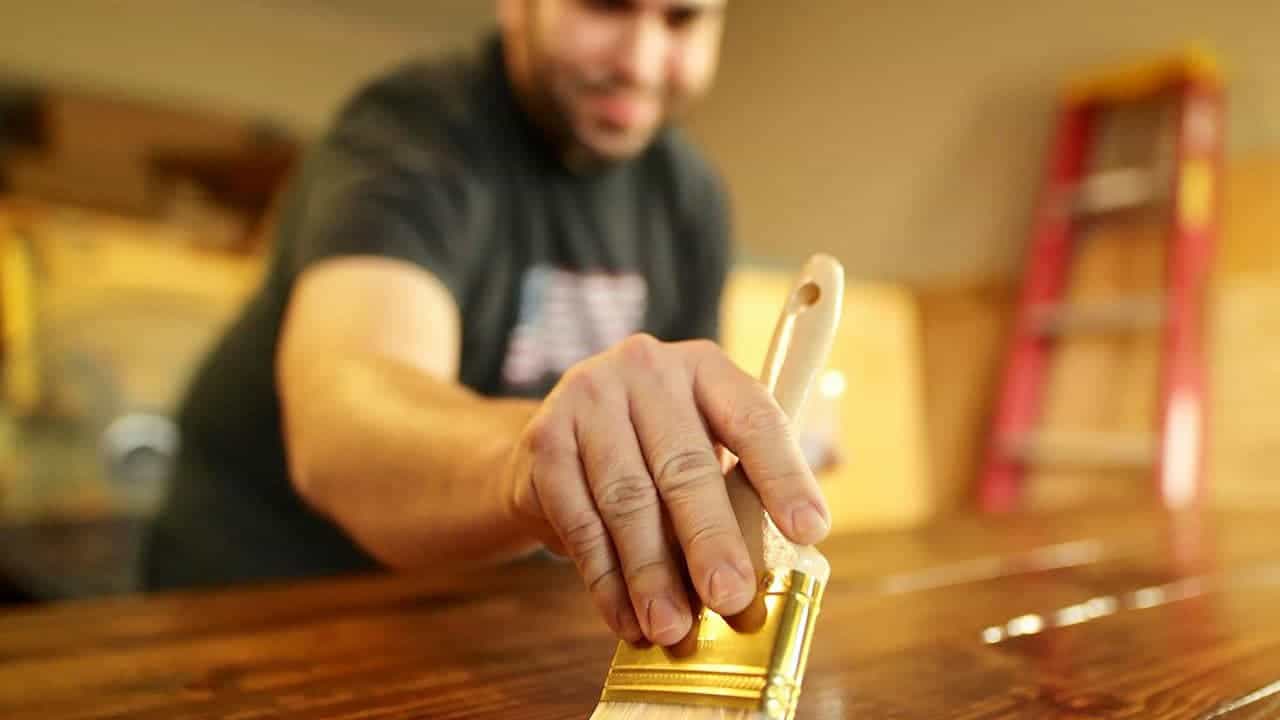
If you want your project to look sharp, pick a good-quality wood finish. Oil-based toners are a solid choice because they soak into the wood and highlight its natural character.
They also add a bit of color and depth without hiding the grain. Plus, these finishes tend to last longer and protect better than cheaper options. Applying them is pretty straightforward, so you can get a smooth, professional look with some patience.
Incorporate funky, intricate joinery techniques
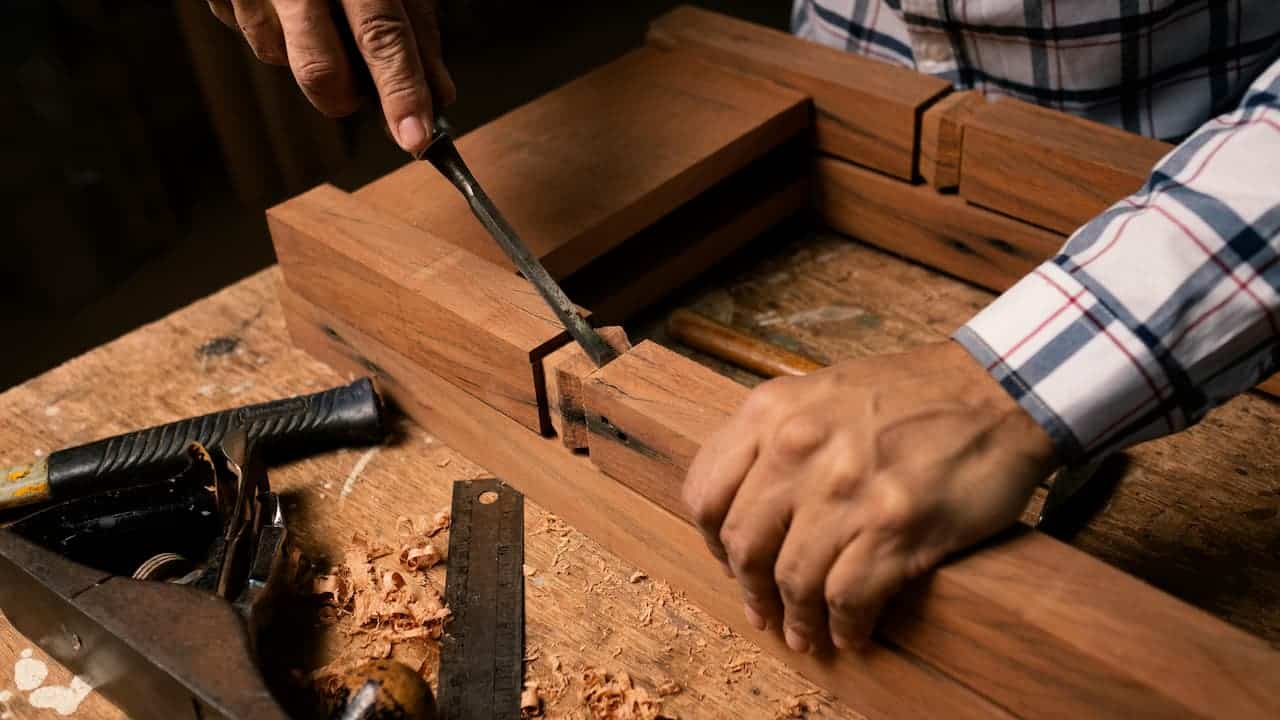
Try using joinery styles that go beyond the basics, like dovetails or finger joints. These add a unique look and show off your skill.
You don’t need screws or nails to make strong connections. Precise cuts and fitting can do the job and look clean.
Mixing in decorative or specialty joints can make your project stand out without needing complicated tools. It’s all about the details you choose.
Invest in quality clamps for steady assembly
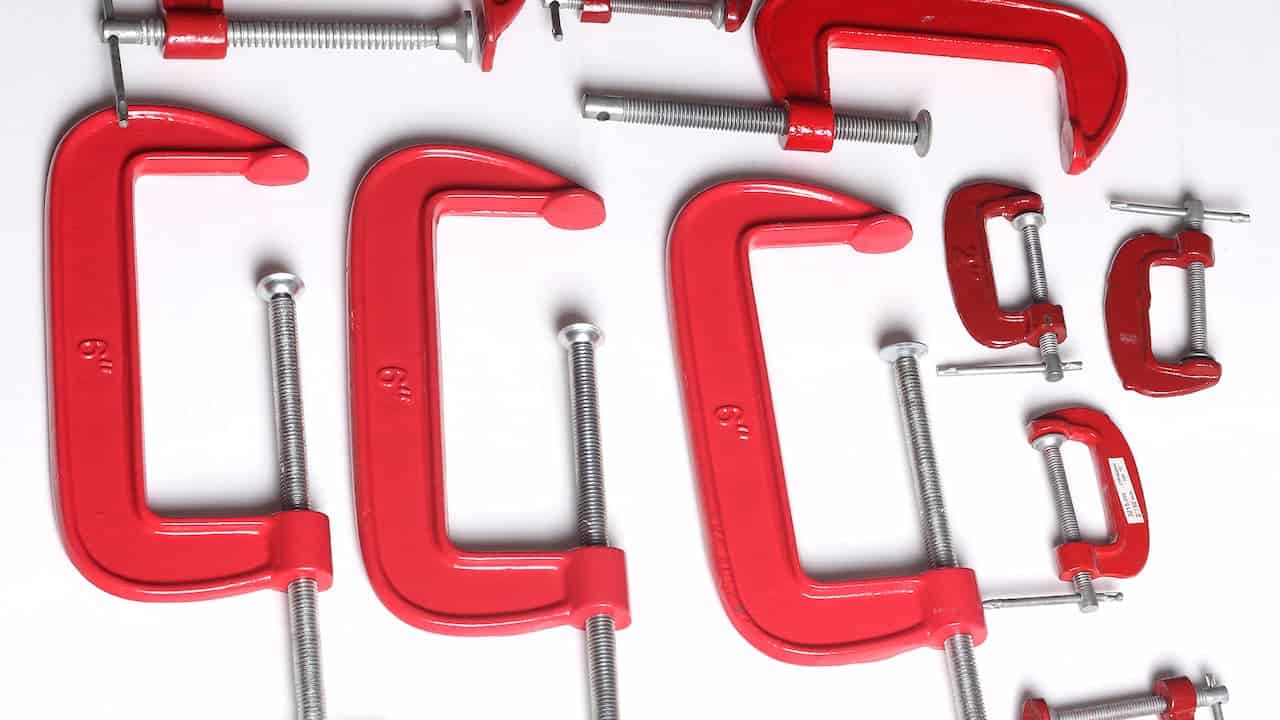
Using good clamps can make a big difference in how your project turns out. They hold pieces firmly, so you don’t have to worry about shifting while you work.
Look for clamps with strong, durable materials like alloy steel or aluminum. Features like adjustable grips and non-marking pads help protect your work while keeping it secure.
Having reliable clamps on hand makes assembling parts easier and keeps everything aligned perfectly, giving your DIY projects a cleaner, more professional look.
Clean surfaces before painting or staining

Before you start painting or staining, make sure your surface is clean. Dirt, dust, and grease can stop paint from sticking properly and mess up the finish.
Use a damp cloth with plain water or a mild cleaner. Change the water often and dust first to avoid spreading grime. Sand rough spots for a smoother result.
Taking this simple step helps your project look sharper and last longer.
Use painter’s tape to get clean paint lines
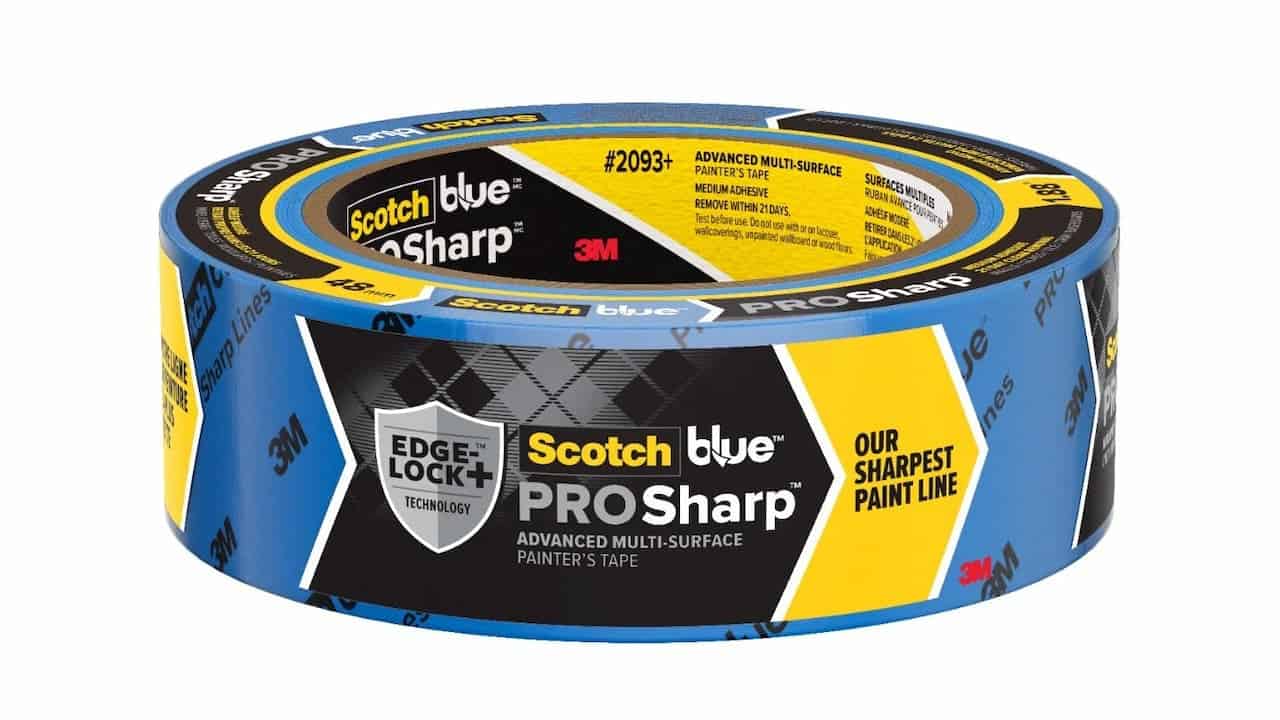
Use painter’s tape to mark the edges where you want sharp lines. Make sure the surface is clean and dry before applying the tape for better sticking.
For even cleaner edges, try adding a thin line of caulk along the tape seam and smooth it out with your finger. Then paint over it quickly.
When you finish painting, peel the tape off while the paint is still wet. This helps you get crisp, clean paint lines every time.
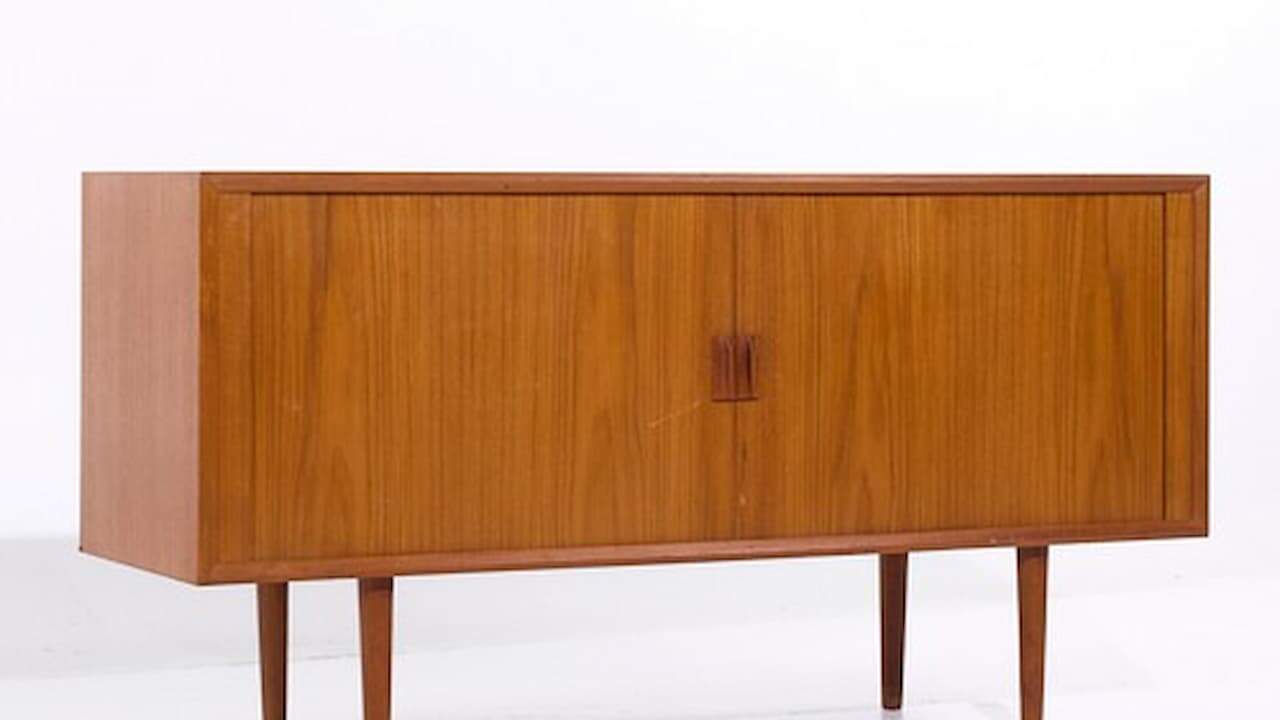
Add soft-close hinges on cabinets
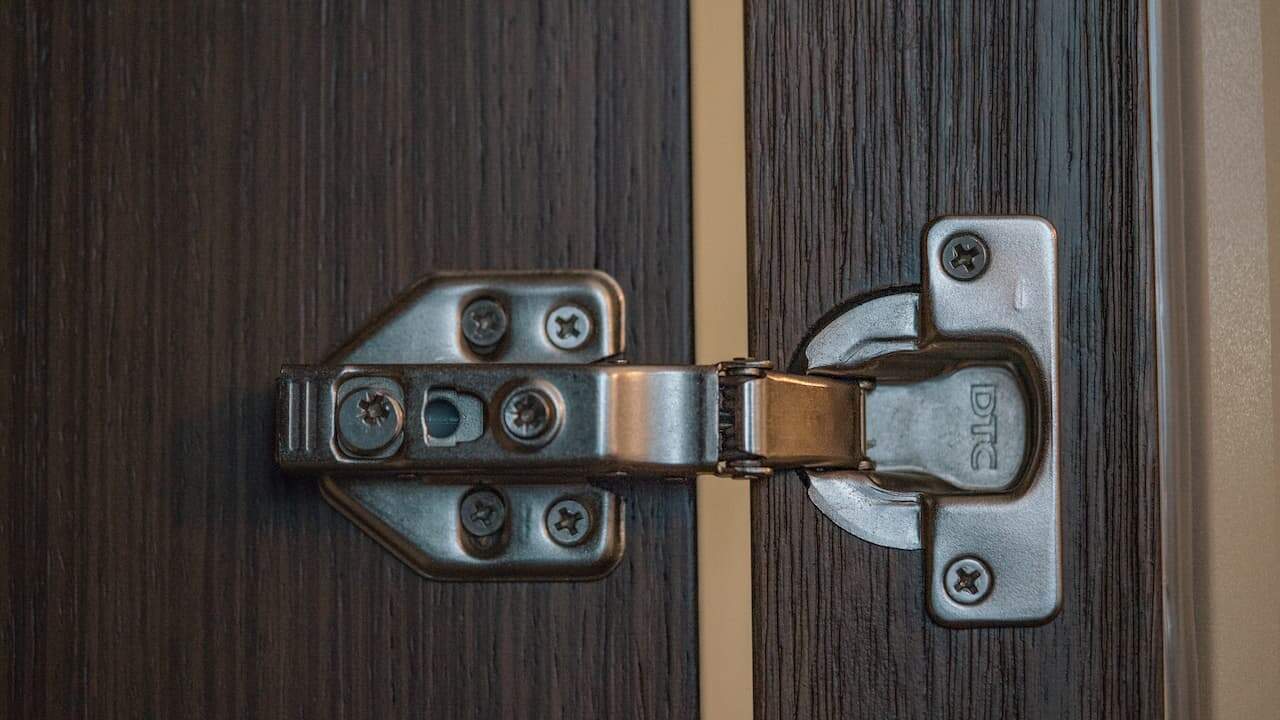
Adding soft-close hinges to your cabinets is a simple way to upgrade their feel. You can replace your existing hinges or add soft-close adapters that fit onto your current hardware.
Make sure to pick hinges that fit your cabinet style and door thickness. Installation usually just requires a screwdriver and a bit of patience.
Adjust the tension using screws on the hinge to get the perfect closing speed. It’s a small change that can make your cabinets feel much smoother.
Use pocket hole joinery for hidden screws
If you want your project to look clean and polished, pocket hole joinery is a great choice. It hides screws inside the wood, so you don’t see any fasteners on the surface.
All you need is a pocket hole jig, a drill, and special screws made for this technique. It’s pretty easy to learn and gives your DIY projects a professional touch without much hassle.
Seal edges with wood filler for a seamless look
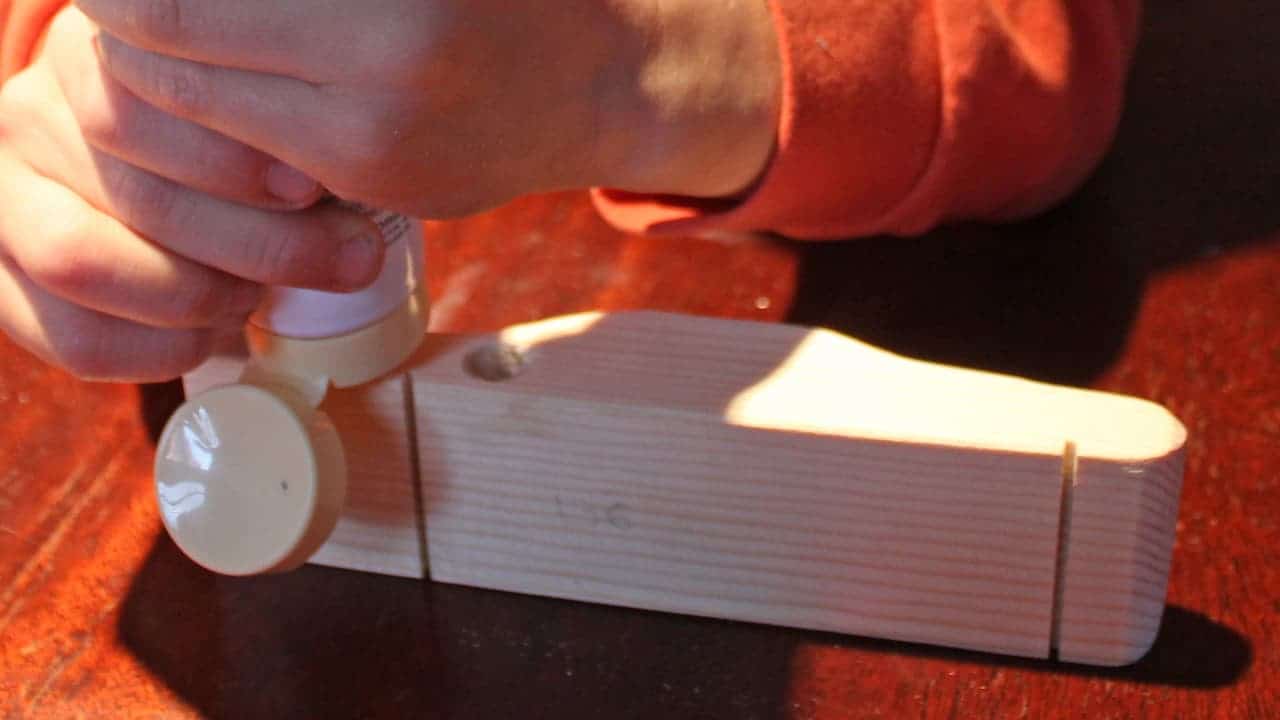
When you work with plywood or wood panels, the edges can look rough or uneven. Using wood filler helps smooth out gaps and imperfections for a cleaner finish.
Choose a filler that matches your wood or paint color for the best results. Apply it with a putty knife, then sand once dry to get a flat, even surface.
This simple step makes your project look more polished and helps protect against moisture or damage along the edges.
Use a random orbital sander for even sanding
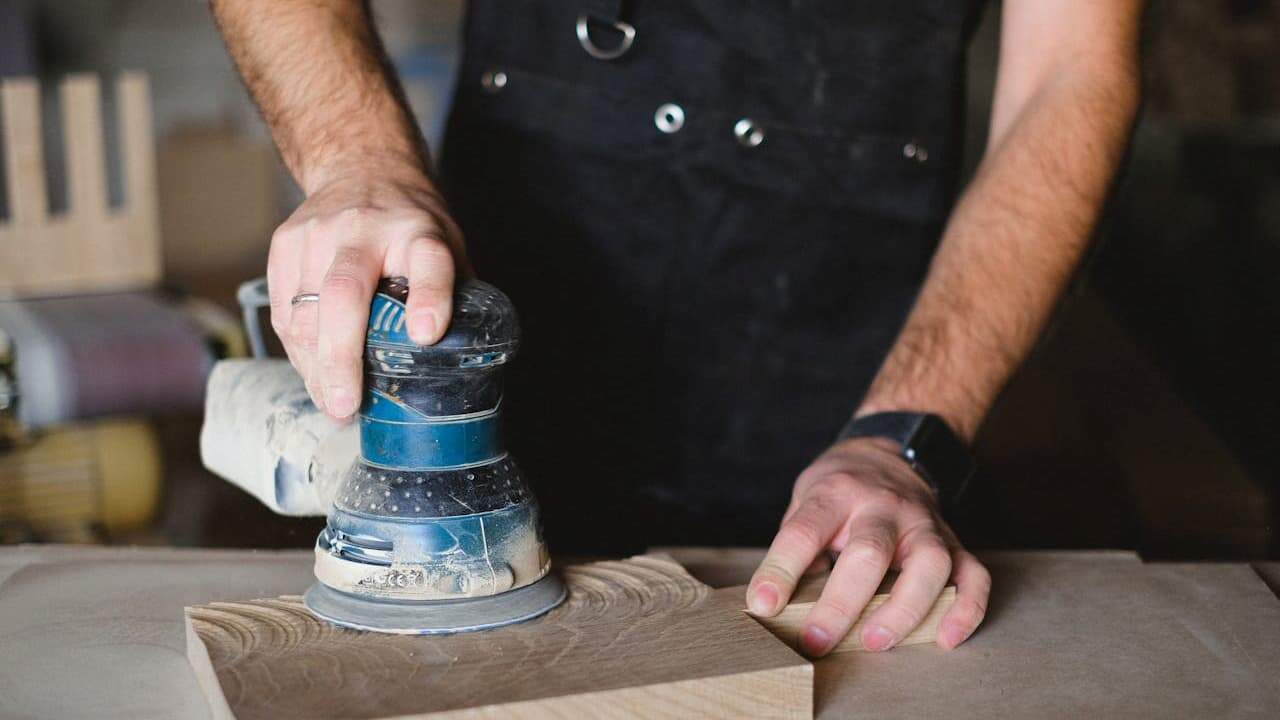
If you want smooth, even sanding without visible marks, try using a random orbital sander. Its unique motion spins and vibrates the pad, reducing swirl patterns and making sanding faster.
Make sure to pick the right sandpaper grit for your project and wear safety gear. Don’t lean too hard or tilt the sander, or you might leave uneven spots. Keep the sander moving gently across the surface for the best results.
Add decorative molding for depth

You can easily give your walls more character by adding decorative molding. It’s a simple way to create depth without a big renovation.
Start with ready-made trim or create built-up molding by layering trim pieces. Using a jig can save you time and help keep your lines straight.
Once installed, a fresh coat of paint will make the molding stand out and give your space a polished, professional look.