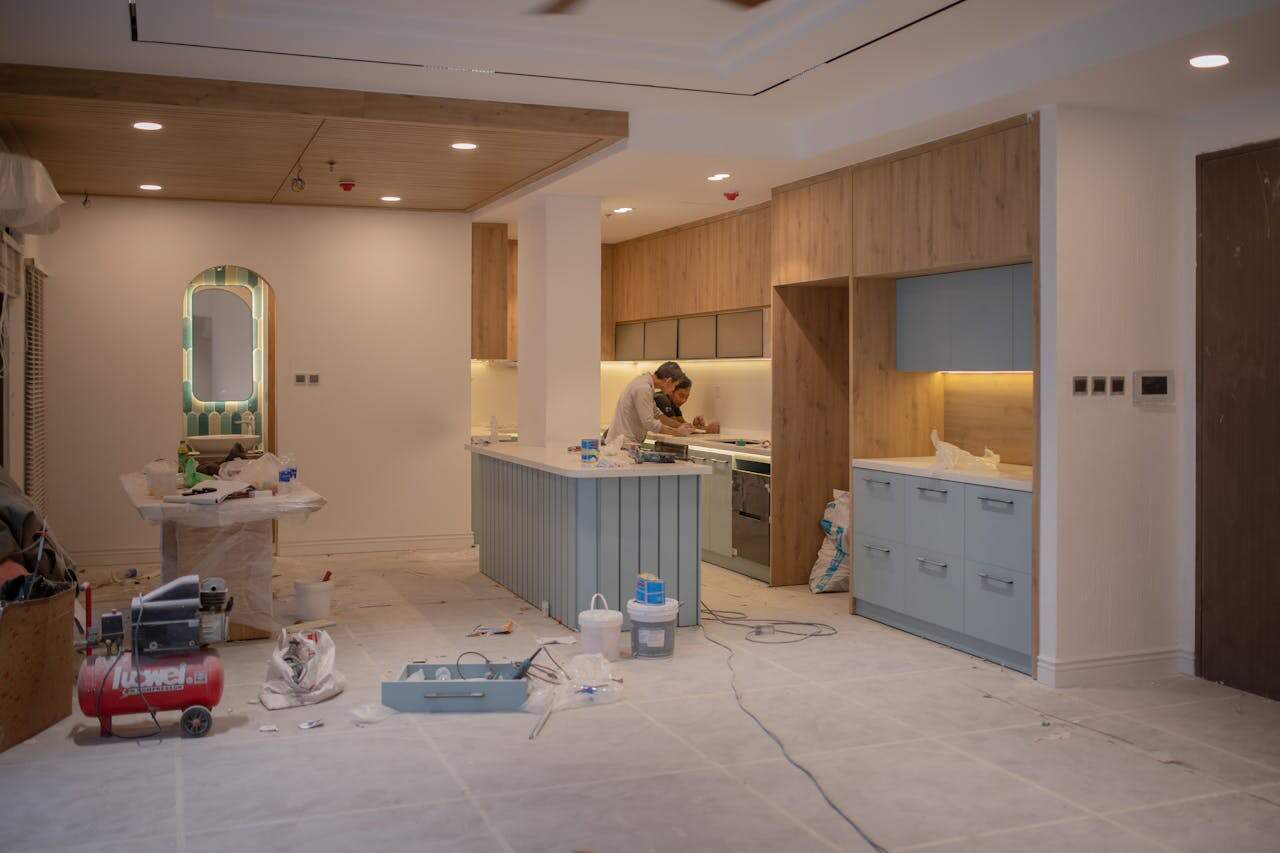
Whether you’re a seasoned DIY enthusiast or a novice just dipping their toes into the world of do-it-yourself, planning is a crucial part of every project. It’s not just about gathering the right tools and materials, but also knowing what to do, how to do it, and what to expect. Being unprepared can lead to wasted time, effort, and resources. And that’s why I’ve put together this list of 12 things I always do before starting a DIY project. These steps help me ensure that I’m ready to tackle whatever I plan to do — and they might just help you too.
1. Determine the Project Scope

Before you even pick up a hammer, it’s essential to know exactly what your project entails. It’s easy to underestimate the complexity of a DIY project if you don’t fully understand its scope.
Advertisement
For example, painting a room might seem straightforward, but have you considered the time it will take to move furniture, tape off baseboards, apply multiple coats, and clean up? By determining your project’s scope, you can accurately estimate the time, effort, and resources required, thereby avoiding disappointment and unnecessary stress.
2. Research the Process

Knowledge is power, and this is especially true in the world of DIY. Take the time to thoroughly research your project. Look for step-by-step guides, watch instructional videos, and read about common pitfalls and how to avoid them.
As an example, when I first decided to build a raised garden bed, I spent hours researching different designs, materials, and techniques. This helped me understand what was involved and allowed me to avoid common mistakes like not considering the drainage or the quality of the soil.
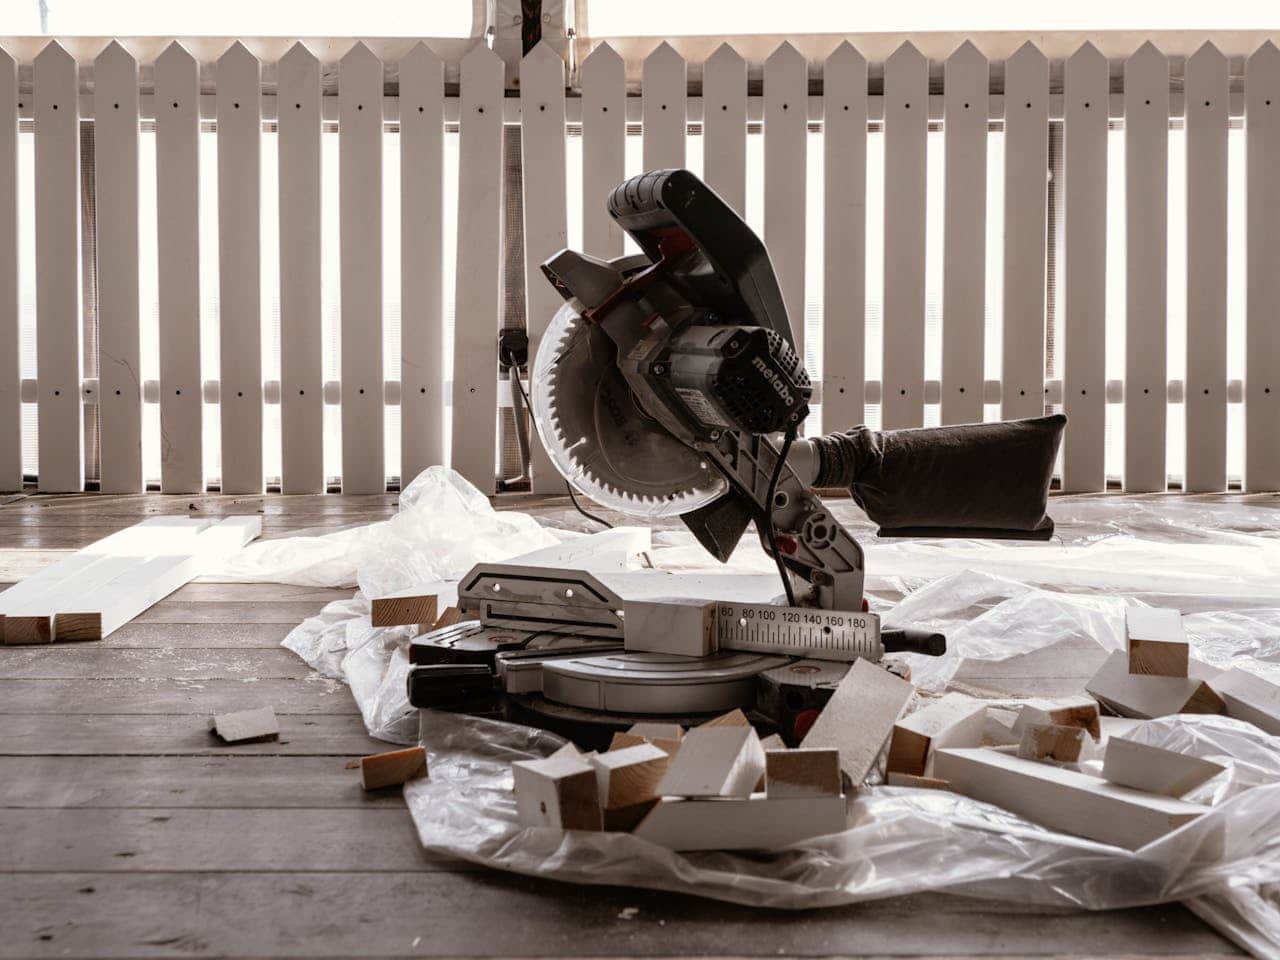
3. Gather Tools and Materials
There’s nothing worse than starting a project only to realize you’re missing a critical tool or material. I always make a list of everything I’ll need, then gather it all before I start.
For instance, if you’re planning to install a new light fixture, you’ll need not only the fixture itself, but also a ladder, a wire stripper, a voltage tester, and more. It’s much easier to gather everything beforehand than to have to stop and search for missing items in the middle of your project.
4. Set a Realistic Timeline
DIY projects always seem to take longer than expected. It’s crucial to set a realistic timeline for your project, including time for unexpected issues or breaks.
For example, if you’re planning to repaint your kitchen cabinets, don’t expect to finish the project in a single weekend. Consider the time it will take to remove the doors, clean and sand the surfaces, apply primer and paint, and then reinstall everything. A realistic timeline will keep you from rushing and making mistakes.
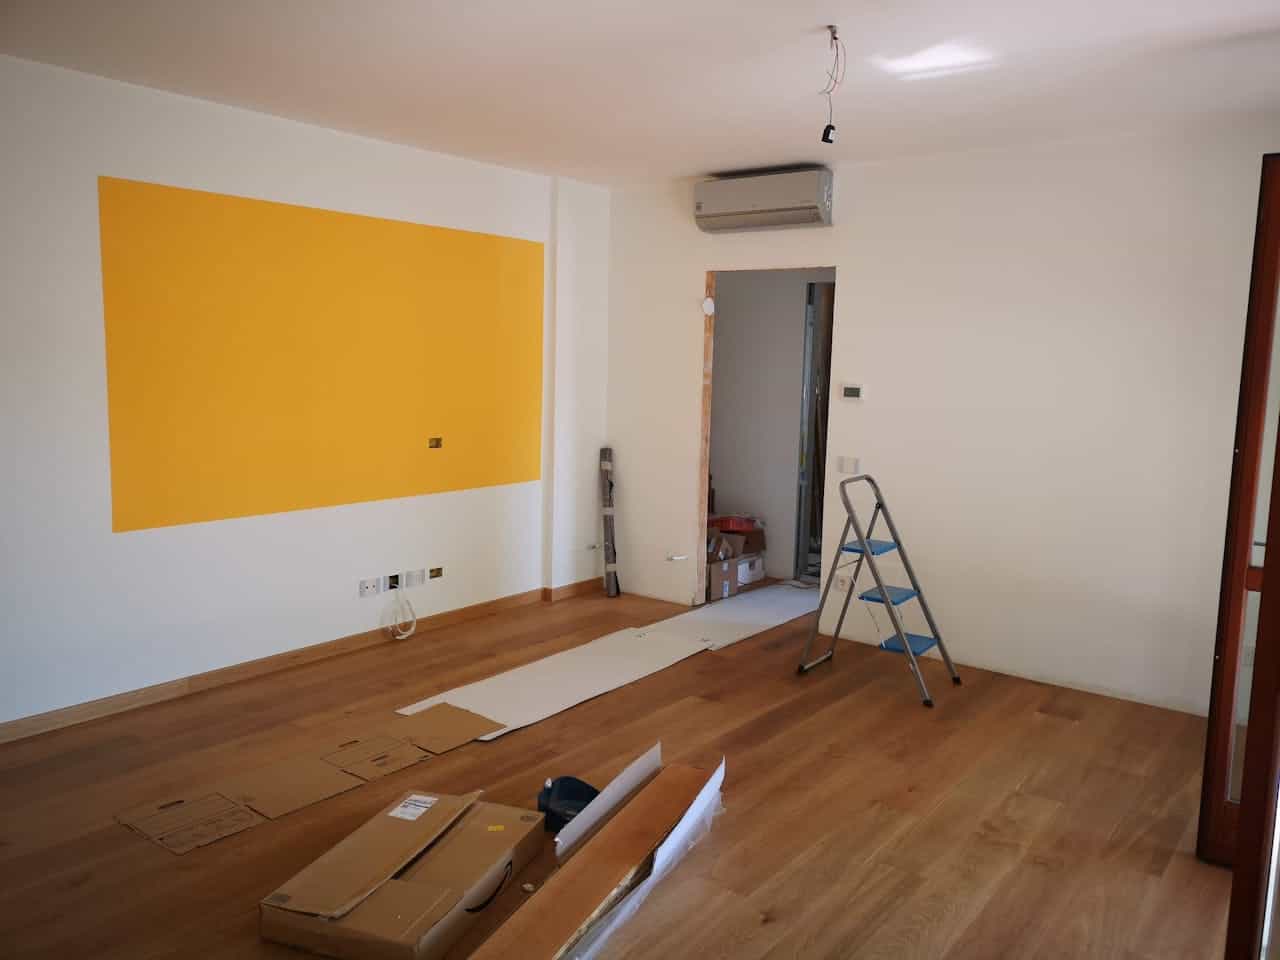
5. Prepare Your Workspace
A well-organized workspace is key to a successful DIY project. Before starting, I always clear and clean my workspace and make sure I have adequate lighting.
Whether you’re crafting in your dining room or building furniture in your garage, make sure your workspace is safe and usable. Remove any unnecessary items, ensure you have plenty of light, and have all your tools and materials within easy reach.
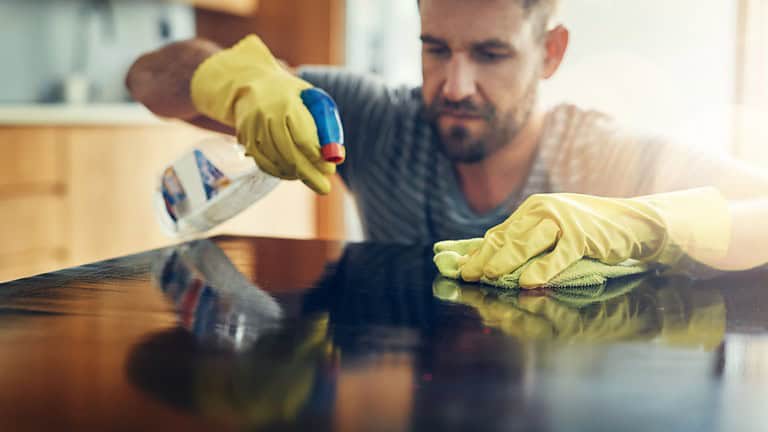
6. Plan for Cleanup
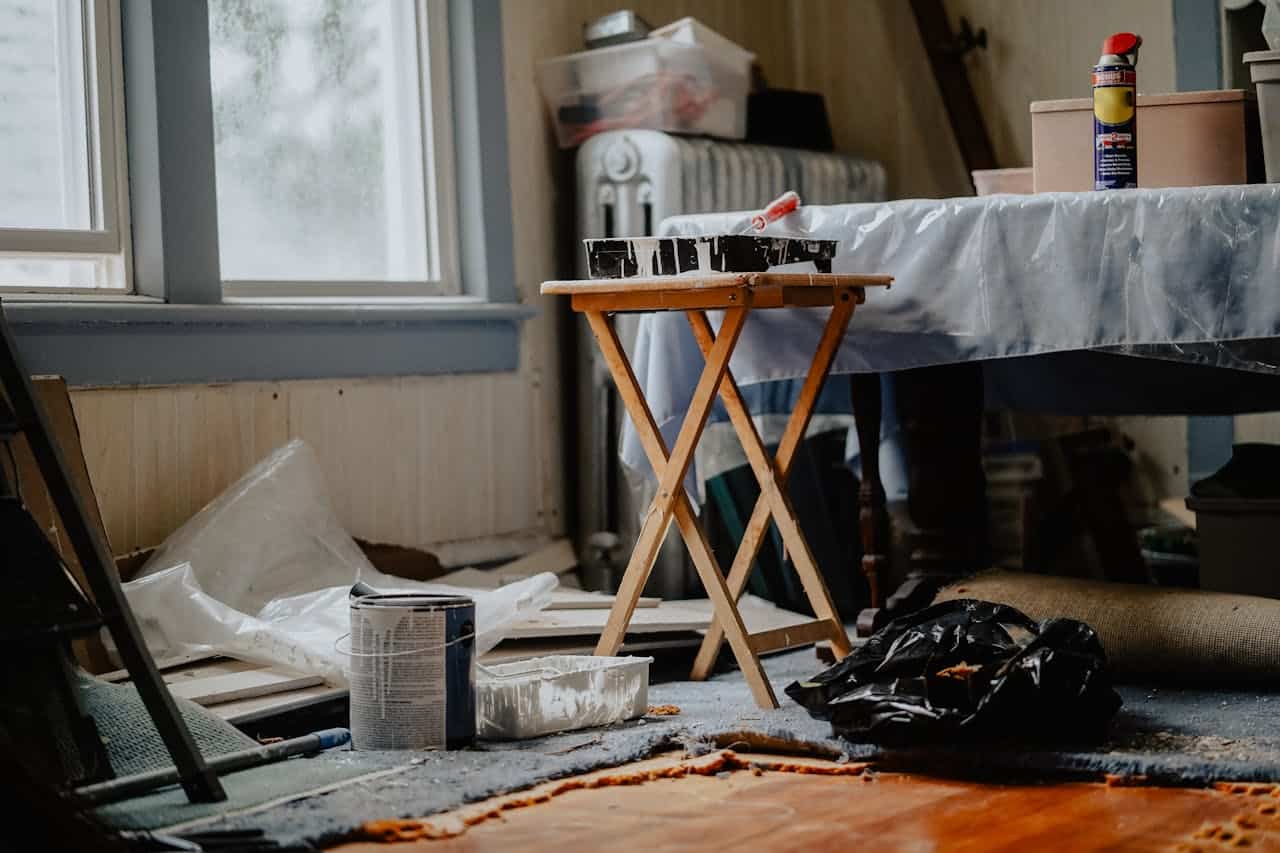
Every DIY project comes with its own mess. Whether it’s sawdust, paint drips, or packaging materials, you should have a plan for cleanup before you start.
For instance, when I’m painting, I always have a roll of paper towels and a bucket of soapy water on hand for quick cleanups. I also cover my work surface with a drop cloth to catch any spills or drips. Planning for cleanup ahead of time can save you a lot of headaches later on.
7. Check Local Regulations
Depending on the nature of your project, you may need to check local regulations or even get a permit. This is especially true for major renovations or changes to your home’s structure.
For example, if you’re planning to add a deck to your home, you’ll likely need a building permit. You may also need to follow specific codes regarding the size, height, and location of the deck. Ignoring these regulations can result in fines or other legal issues, so it’s best to do your homework ahead of time.
8. Practice Safety Measures
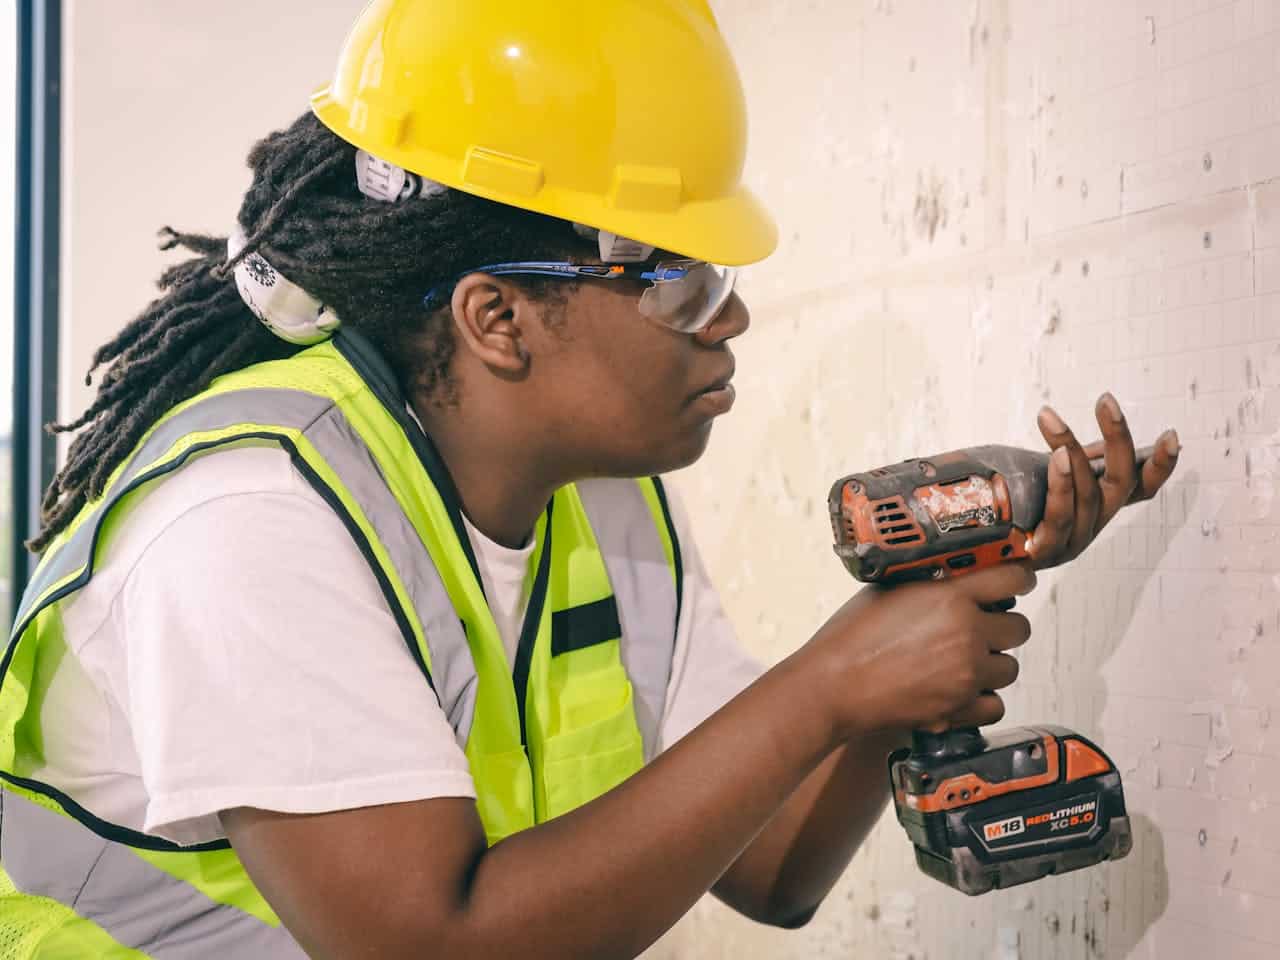
Safety should always be a top priority when doing any DIY project. This means using the right tools for the job, wearing protective gear, and knowing how to operate your tools properly.
For instance, if you’re using power tools, always wear safety glasses and hearing protection. Also, make sure you understand how to use each tool correctly. A few minutes spent reviewing the owner’s manual can prevent accidents and injuries.
9. Plan for Breaks

Don’t underestimate the physical effort a DIY project can require. It’s important to schedule regular breaks to rest and refresh.
For example, when working on a physically demanding project like tiling a bathroom, I always plan to take a short break every hour or so. This helps prevent fatigue and keeps my work quality high.
10. Have a Backup Plan
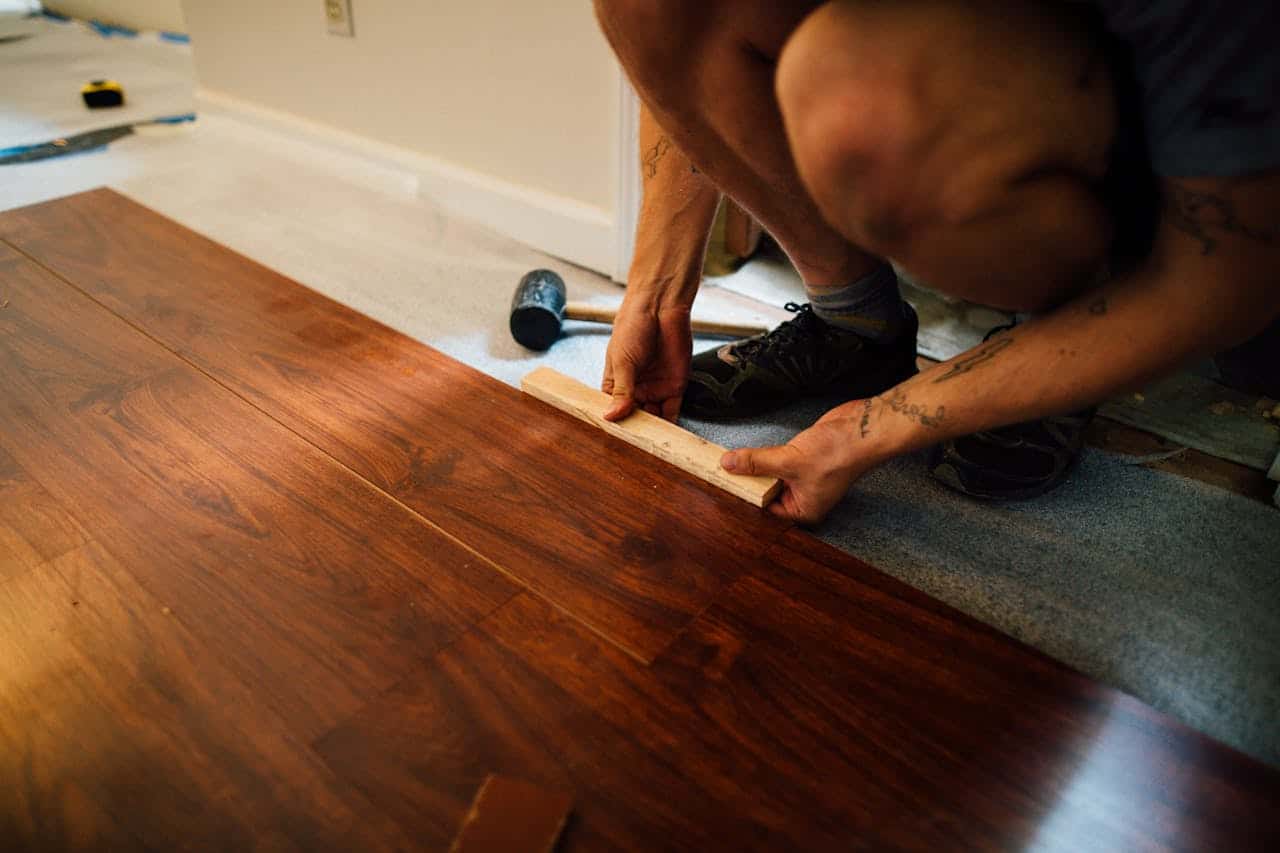
Even with the best planning, things can go wrong. Whether it’s a tool that breaks, a material that’s out of stock, or a process that’s harder than you expected, it’s good to have a backup plan.
For instance, when I was laying laminate flooring, I discovered that the subfloor was uneven. Because I had researched potential issues beforehand, I knew that I could use a self-leveling compound to solve the problem.
11. Get a Second Opinion
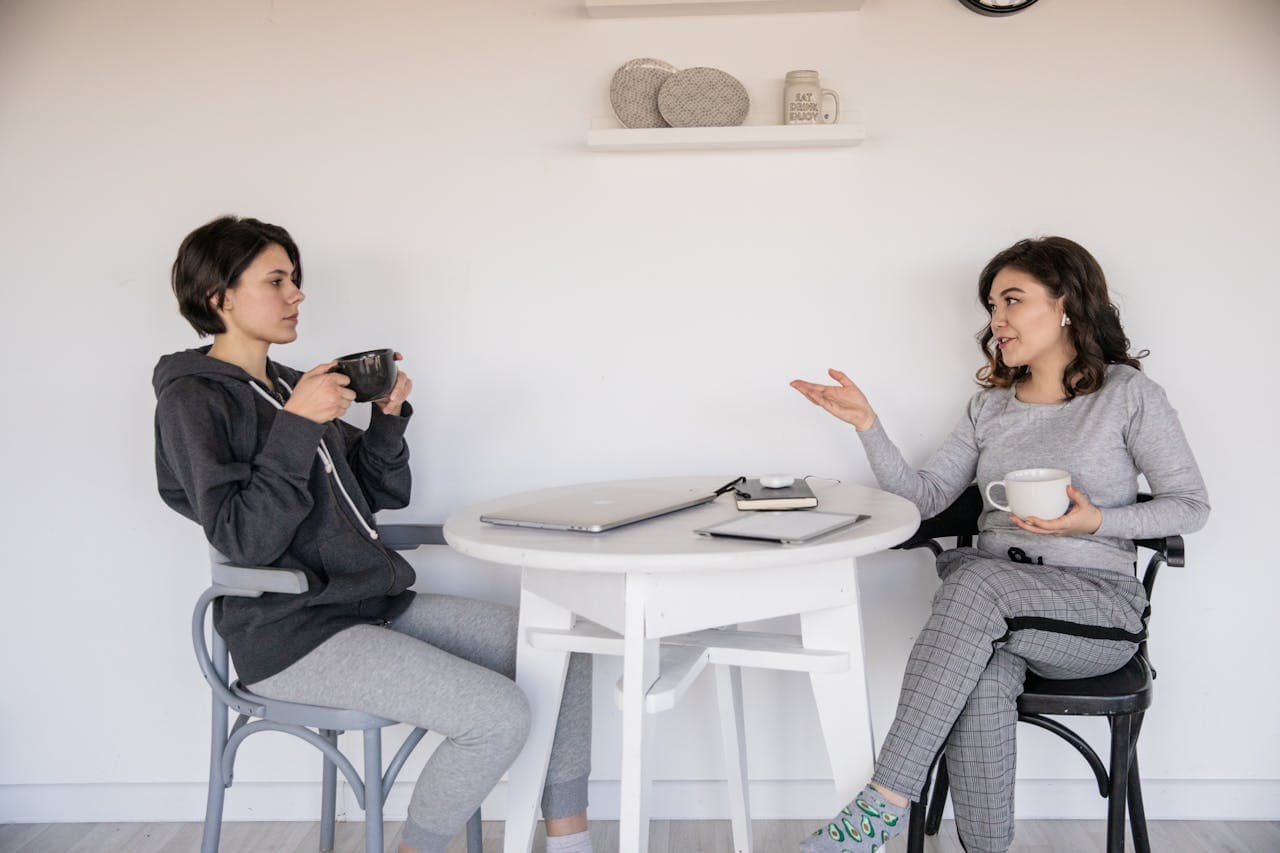
Sometimes, it’s hard to see potential issues or solutions when you’re too close to a project. Getting a second opinion can provide a fresh perspective and valuable advice.
For example, when I was planning to build a bookcase, a friend suggested using adjustable shelves. I hadn’t considered this, but it was a great idea that made the bookcase much more versatile and functional.
12. Stay Flexible
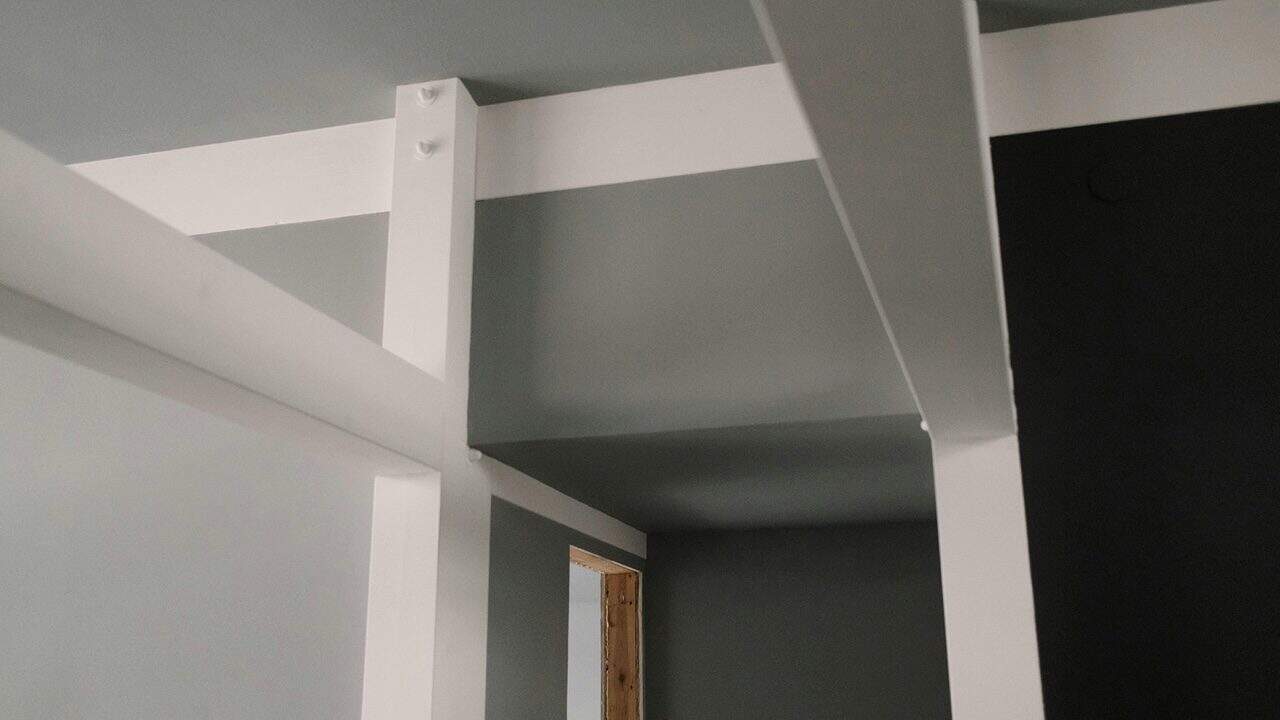
Finally, stay flexible. No matter how well you plan, unexpected issues will arise. Being able to adapt and adjust your plans is a crucial part of successful DIY.
For instance, when I was renovating my kitchen, I discovered that the wall I planned to remove was load-bearing. Rather than abandon the project, I adjusted my plans and installed a beam to support the weight. It wasn’t what I originally planned, but the end result was even better than I had imagined.