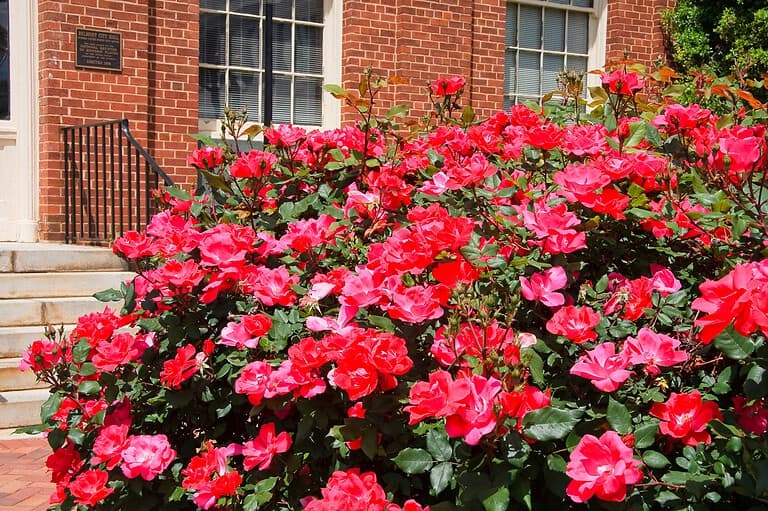
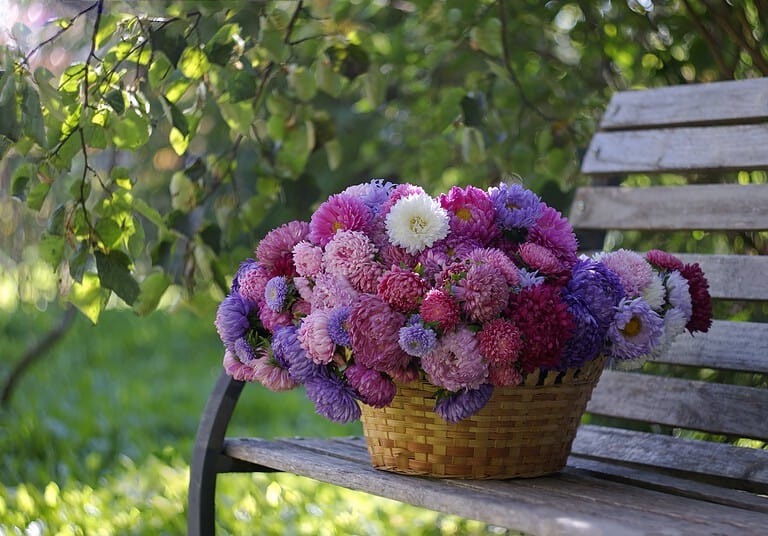
When I purchased my first rose bush from a big box store clearance sale, I had no idea it would lead to a decade-long obsession with these classic blooms. Like many beginners, I started with visions of a picture-perfect rose garden, only to face the harsh reality of black spot, Japanese beetles, and mysterious yellowing leaves.
That first rose – a struggling hybrid tea that I’m amazed survived my novice care – taught me more about gardening than any book could. Through countless trials, spectacular failures, and eventually, sweet successes, I’ve learned that growing roses isn’t about having a natural green thumb. It’s about understanding these magnificent plants and providing what they truly need to thrive.
Advertisement
After ten years of experimenting with everything from heirloom varieties to modern bred-for-beginners roses, I’ve discovered that success often lies in the details. Whether you’re planting your first rose or looking to elevate your existing garden, these professional tips will help you avoid the mistakes I made and fast-track your way to spectacular blooms.
Pick the Right Rose Type
Not all roses are created equal. After planting a fussy hybrid tea in my backyard and watching it struggle, I learned this lesson the hard way. Modern shrub roses like ‘Knock Out’ varieties thrive with minimal care, while old garden roses offer incredible fragrance and disease resistance.
For beginners, I always recommend starting with easy-care varieties before moving on to more challenging types. Understanding the different rose categories changed my entire gardening game and saved me from countless failures.
Perfect Your Soil
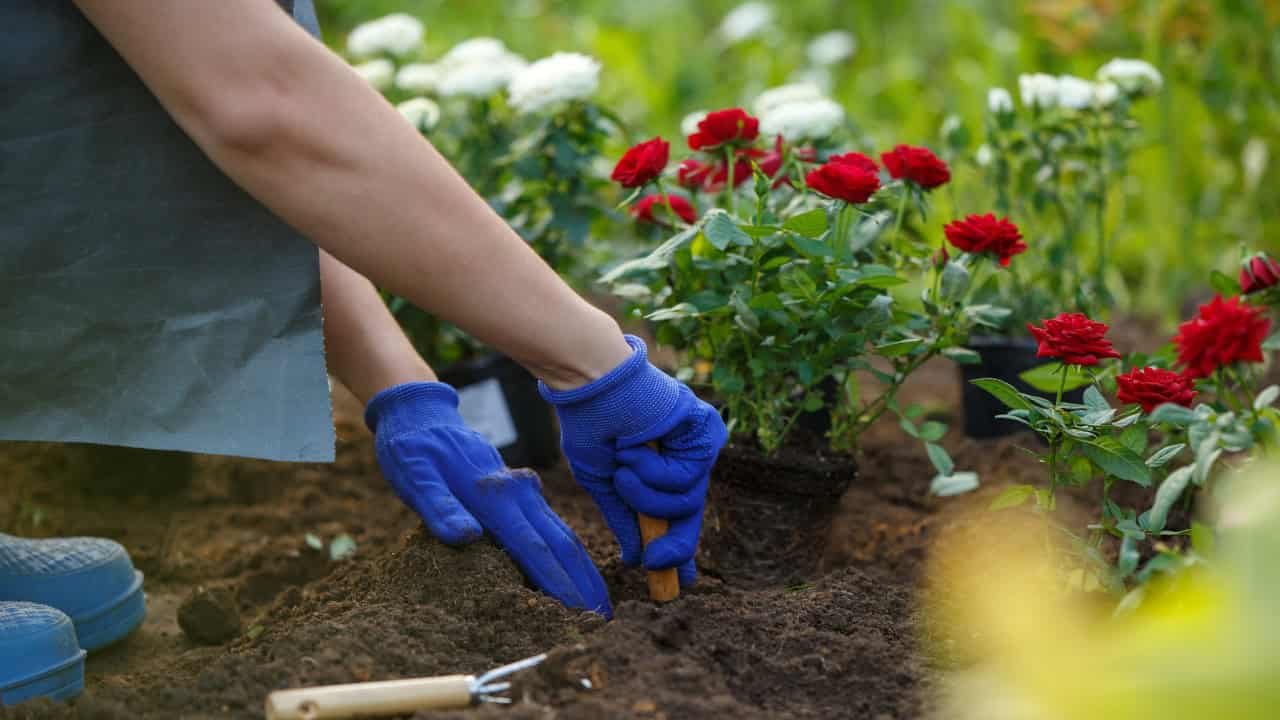
The day I realized my roses were struggling because of poor soil was a game-changer. Roses demand well-draining, rich soil to thrive. I now use a specific mix: one-third native soil, one-third compost, and one-third coarse sand. Each spring, I add a fresh layer of compost around each plant.
In containers, I use premium potting mix amended with aged manure. This foundation literally feeds every bloom in my garden and has transformed my rose growing success rate.
Choose the Right Location
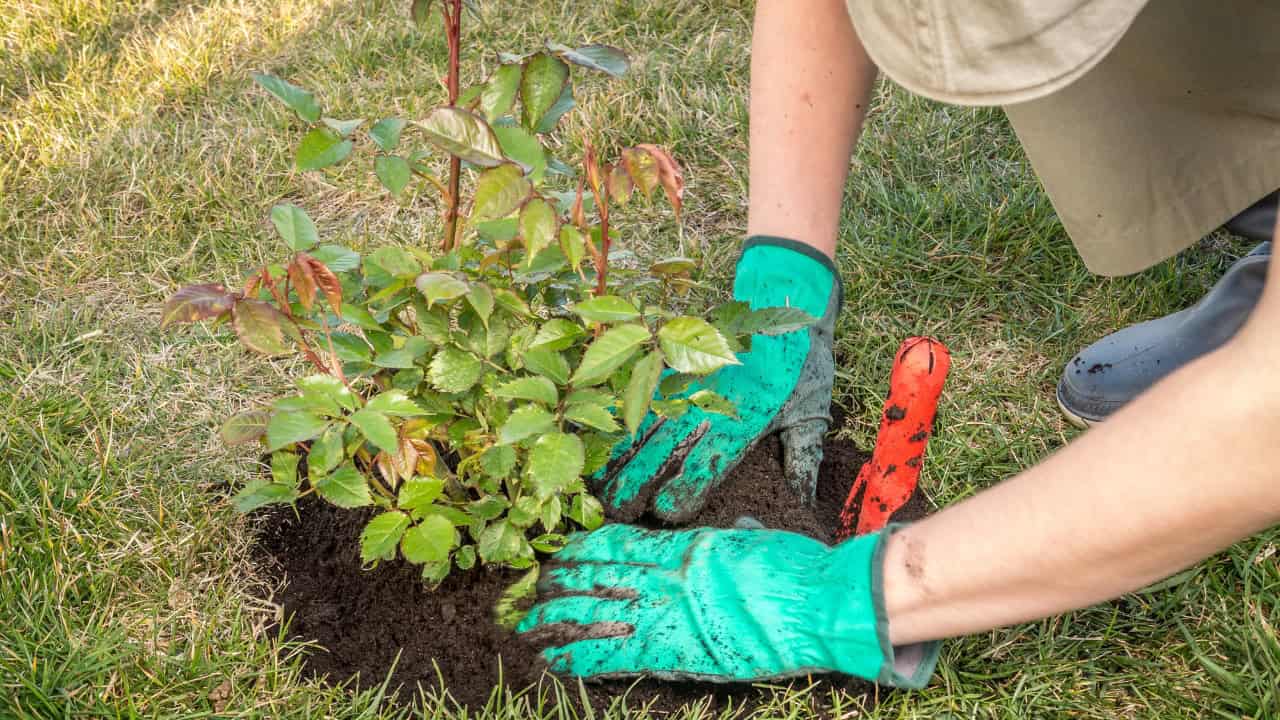
My first climbing rose produced exactly three blooms all season because I planted it in partial shade. Roses need at least six hours of direct sunlight daily to thrive. In hot climates, I’ve found afternoon shade helps protect delicate blooms.
Space between plants is crucial – I keep at least 3 feet between shrub roses and 8-10 feet for climbers. This spacing prevents disease problems and ensures each plant gets proper air circulation.
Water Correctly
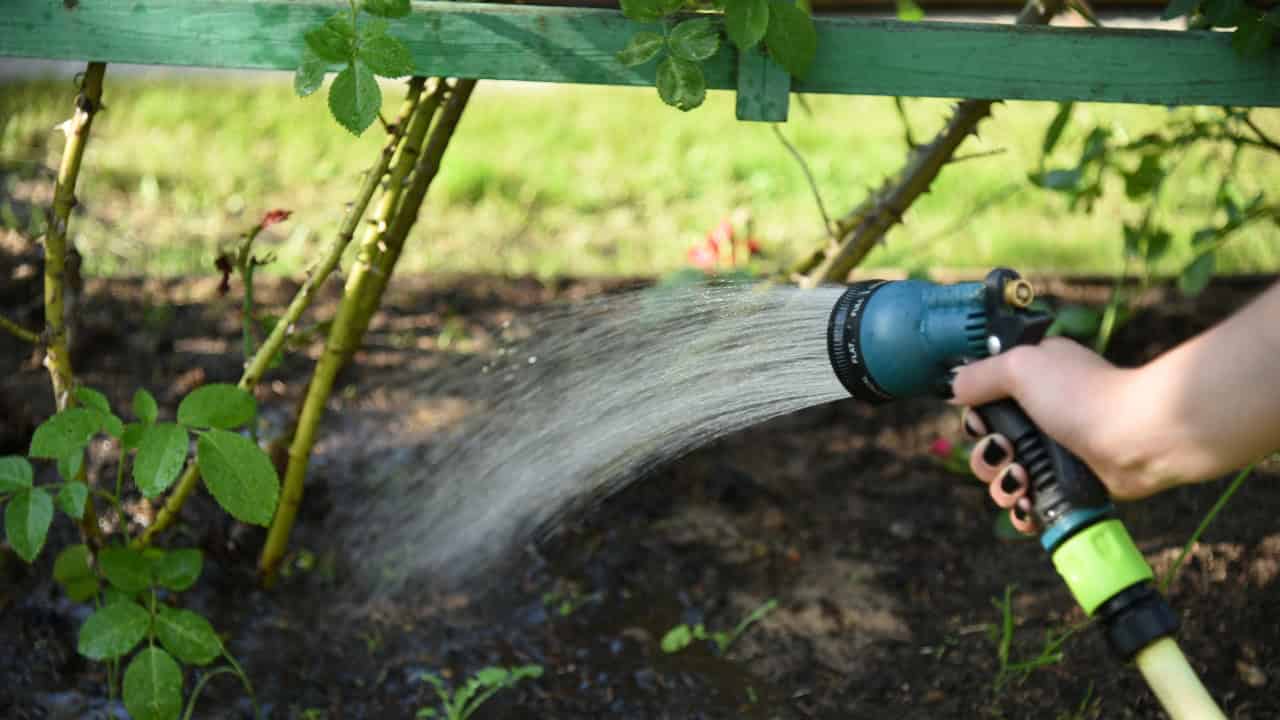
After killing two roses from overwatering, I finally learned the golden rule: deep but infrequent watering. I now give my roses a thorough soaking 2-3 times per week rather than daily light sprinkles. This encourages deep root growth and makes plants more drought-resistant.
Most importantly, I water at the base of the plant, avoiding wet foliage that can lead to fungal problems. Installing a drip irrigation system was worth every penny, ensuring consistent moisture without creating disease-friendly conditions.
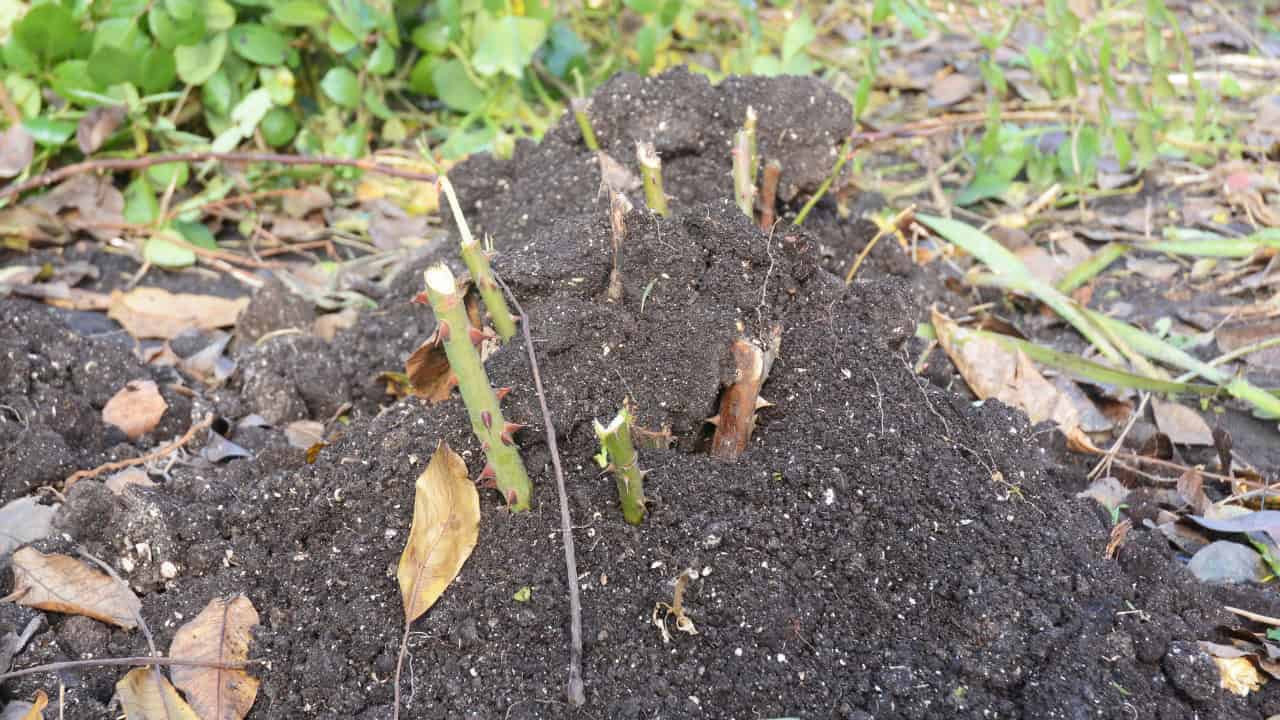
Master Pruning Basics

Proper pruning intimidated me until I learned this simple approach: remove dead, damaged, or crossing branches first. For most roses, major pruning happens in early spring before new growth starts. I cut back to outward-facing buds at a 45-degree angle, which encourages outward growth and better air circulation.
During the growing season, I deadhead spent blooms regularly, cutting back to the first set of healthy leaves. This simple maintenance keeps plants blooming consistently through the season.
Feed Your Roses Right

My roses struggled until I developed a proper feeding schedule. I start with slow-release fertilizer in early spring when new growth appears. Throughout the growing season, I supplement with liquid fertilizer every 4-6 weeks, stopping about six weeks before first frost.
The key is consistency – roses are heavy feeders, but overfeeding can burn them. I learned to watch the leaves; yellow leaves often signal nitrogen deficiency, while dark green leaves with few blooms suggest too much nitrogen.
Control Pests Early
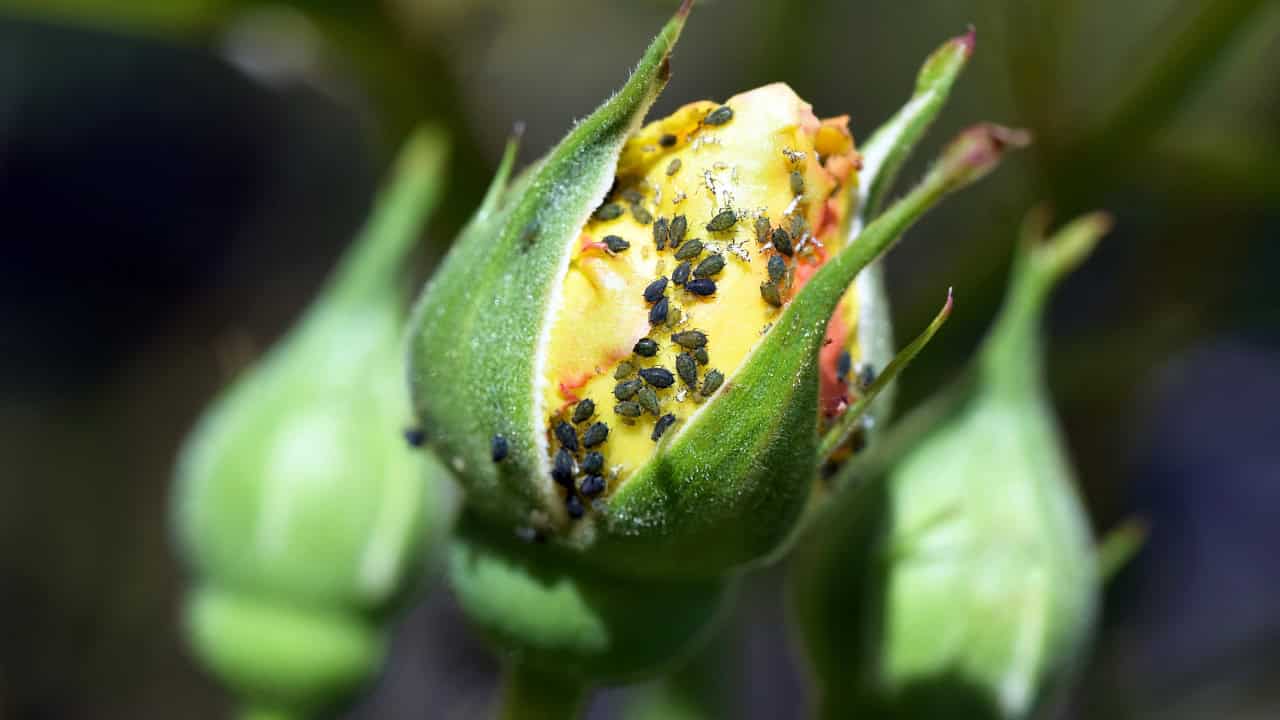
Prevention beats treatment every time with rose pests. I inspect my plants weekly, checking under leaves for early signs of problems. Japanese beetles taught me to hand-pick pests early in the morning before they become widespread. For aphids, a strong blast of water often works better than chemicals.
I’ve also learned to encourage beneficial insects by planting companion herbs like lavender and thyme nearby. Natural predators now handle most pest problems in my garden.
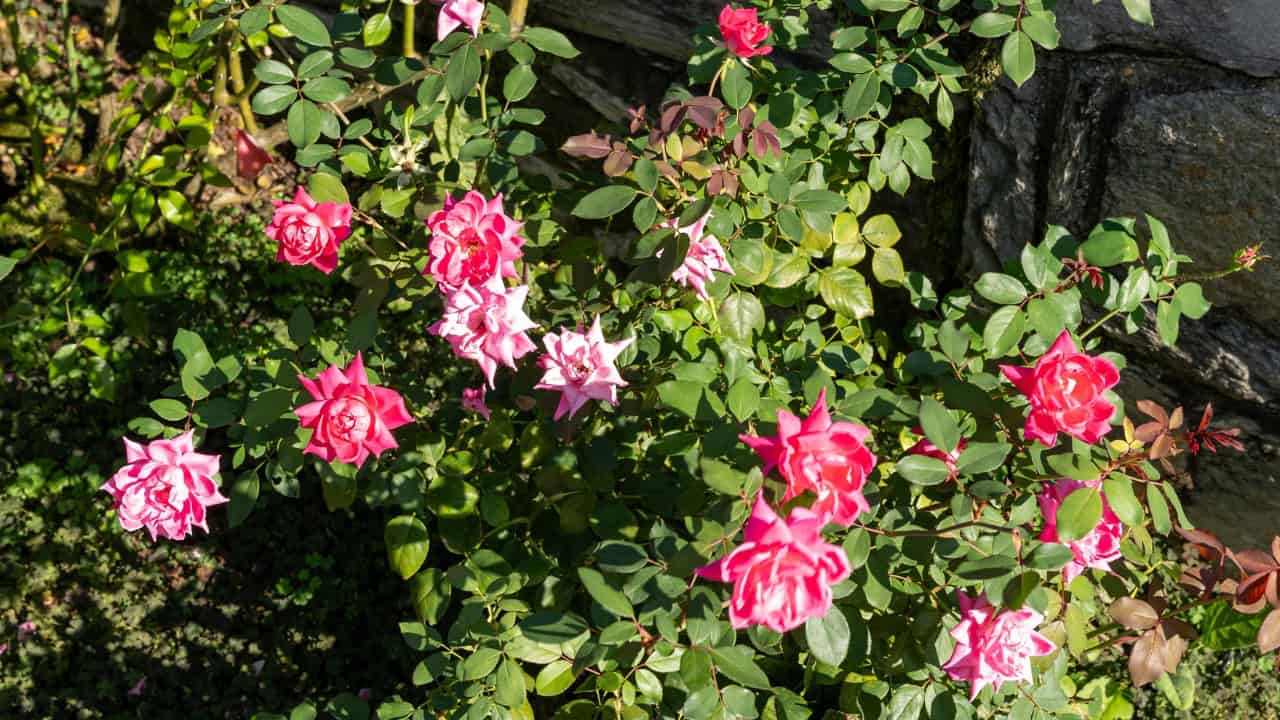
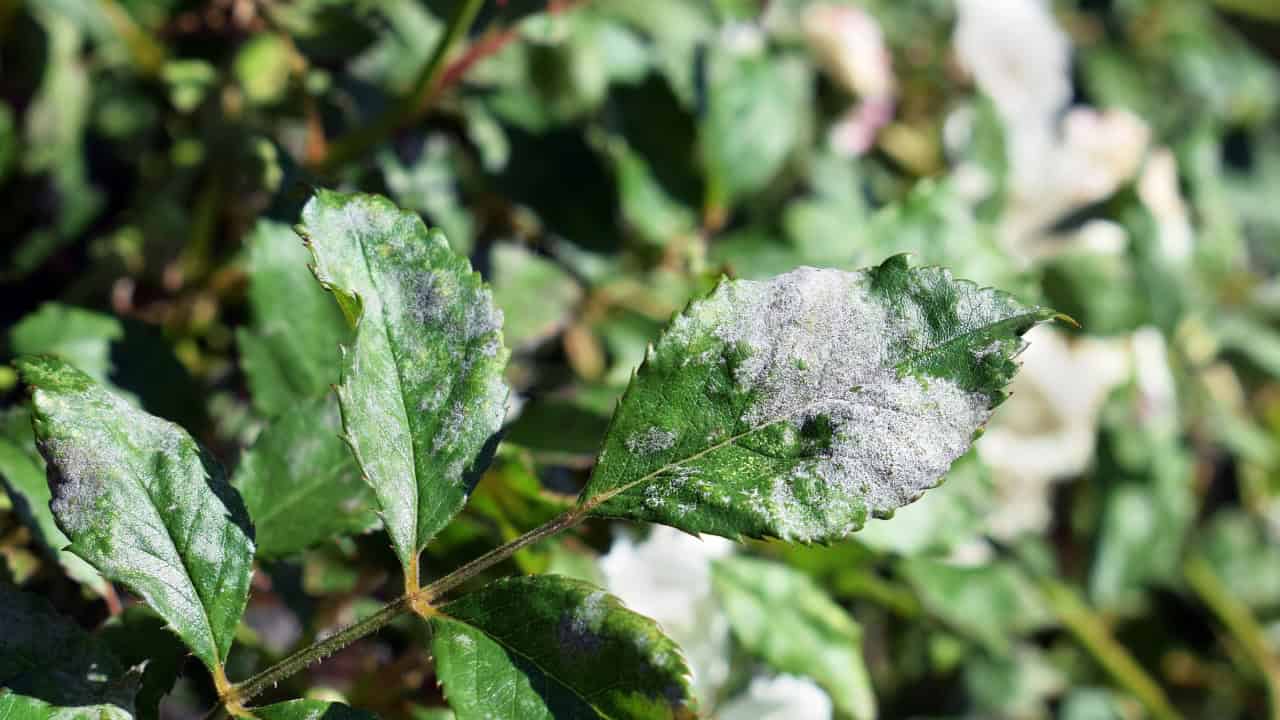
Prevent Black Spot

The first time I saw black spots on my rose leaves, I panicked. Now I know prevention is key. I space plants properly for good air circulation and water at ground level only. My morning routine includes removing any spotted leaves immediately to prevent spread.
A weekly spray of neem oil during humid periods has kept most of my roses disease-free. Most importantly, I clean up all fallen leaves religiously in autumn to prevent diseases from overwintering. Since implementing these practices, black spot has become a minor nuisance rather than a garden disaster.
Winter Protection
Living in a cold climate taught me that winter protection starts well before the first frost. I stop fertilizing six weeks before first frost to prevent tender new growth. Once temperatures drop, I mound 8-12 inches of soil or mulch around the base of each plant.
For my climbing roses, I wrap the canes in burlap after securing them to their support. The most surprising lesson was learning not to protect too early – waiting until after several hard frosts helps plants enter proper dormancy.
Plan Your Rose Garden
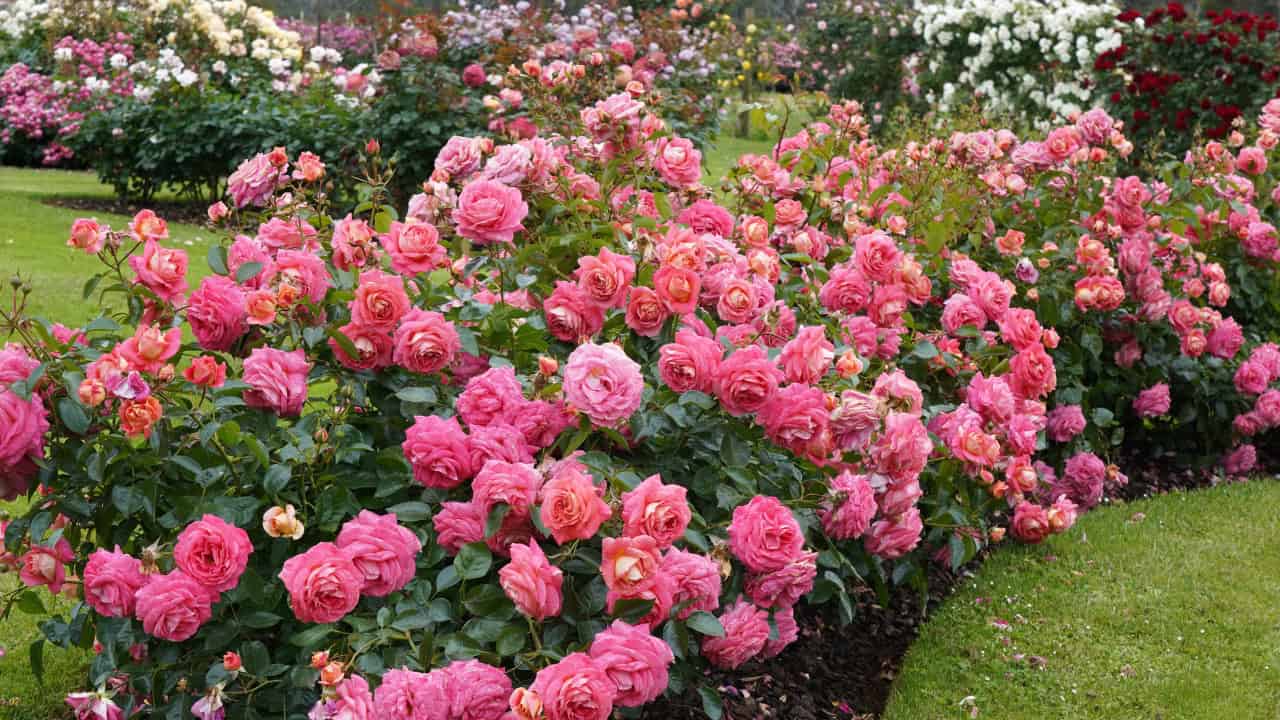
My most successful rose beds came from careful planning rather than impulse planting. I now group roses with similar care needs together, making maintenance more efficient. Tall varieties go in the back, compact growers in front, and I leave enough space between for easy access during pruning and deadheading.
I’ve learned to plant roses where I can enjoy their fragrance – near patios, along walkways, or outside windows. Including companion plants like lavender and catmint helps deter pests and fills gaps while roses recharge between bloom cycles.
Monitor for Disease
Weekly inspections have saved countless roses in my garden. I check the undersides of leaves for powdery mildew and watch for any changes in leaf color or texture. When I spot trouble, I immediately remove affected parts and improve air circulation.
Growing disease-resistant varieties has made a huge difference – after switching to more resilient roses, my disease problems dropped dramatically. I keep detailed notes about which varieties resist problems in my climate, helping me make better choices for future plantings.
*This article was created with the help of AI.