Starting your own garden from seeds can be a rewarding and cost-effective way to grow your own vegetables. It allows you to have control over the types of vegetables you grow, their quality, and the timing of your harvest. It can also be a fun and educational activity for kids, teaching them the importance of patience, care, and the cycle of life. Here are nine tips for starting vegetables from seeds, both indoors and outdoors.
1. Choose the right seeds

The first step in starting a vegetable garden from seeds is to choose the right seeds. Not all vegetables grow well from seeds, and some may require a longer growing season than what your climate can offer. Start by researching the types of vegetables you want to grow, and check if they are suitable for your climate and soil type.
For example, root vegetables like carrots and radishes are best grown directly from seeds outdoors, while tomatoes and peppers usually do better when started indoors. You can find this information on seed packets or online. Also, consider the size of your garden. Some vegetables like squash and cucumbers need a lot of space, while others like lettuce and radishes can grow in small spaces.
2. Start seeds indoors at the right time

Starting seeds indoors can give you a head start on the growing season, especially if you live in a cold climate. However, timing is crucial. Start your seeds too early, and the plants may become leggy and weak before it’s time to transplant them outdoors. Start them too late, and they won’t have enough time to mature and produce a harvest.
The best time to start seeds indoors is usually 6-8 weeks before the last expected frost in your area. You can find this date by checking a local planting calendar. Once your seeds have sprouted, they need plenty of light. Place them near a south-facing window or under grow lights to ensure they get the light they need to grow strong and healthy.
3. Prepare your seed starting mix

When starting seeds indoors, it’s best to use a seed starting mix rather than regular garden soil. A seed starting mix is sterile, lightweight, and designed to retain moisture, which promotes seed germination and healthy root development.
You can buy a pre-made seed starting mix or make your own by combining equal parts peat moss, vermiculite, and perlite. Before sowing your seeds, moisten the mix so that it’s damp but not waterlogged. This helps the seeds absorb water and encourages them to germinate.
4. Use the right containers

When starting seeds indoors, you can use a variety of containers, such as seed trays, peat pots, plastic cups, or even egg cartons. The important thing is that the containers have drainage holes to prevent waterlogging, which can cause seeds to rot.
Seed trays are ideal for starting a large number of seeds, while peat pots and other biodegradable containers are great for plants that don’t like their roots being disturbed when transplanted. If you’re reusing containers, make sure to clean them thoroughly to kill any disease-causing organisms.
5. Sow seeds at the correct depth

The depth at which you sow your seeds can greatly affect their germination. As a general rule, seeds should be sown at a depth two to three times their width. Small seeds can be lightly pressed into the surface of the soil, while larger seeds need to be buried.
Seed packets usually provide specific sowing instructions for each type of vegetable. Be sure to follow these instructions, as some seeds need light to germinate and should not be covered at all.
6. Keep seeds warm and moist

Seeds need warmth and moisture to germinate. After sowing, cover your containers with a plastic bag or a dome to create a mini greenhouse that retains moisture. Keep the soil evenly moist but not waterlogged, as too much water can cause the seeds to rot.
Most seeds germinate best at temperatures between 70-80°F (21-27°C). You can use a heat mat to provide bottom heat and speed up germination. Once the seeds have sprouted, remove the cover and reduce watering to prevent damping off, a common disease that causes seedlings to rot at the soil line.
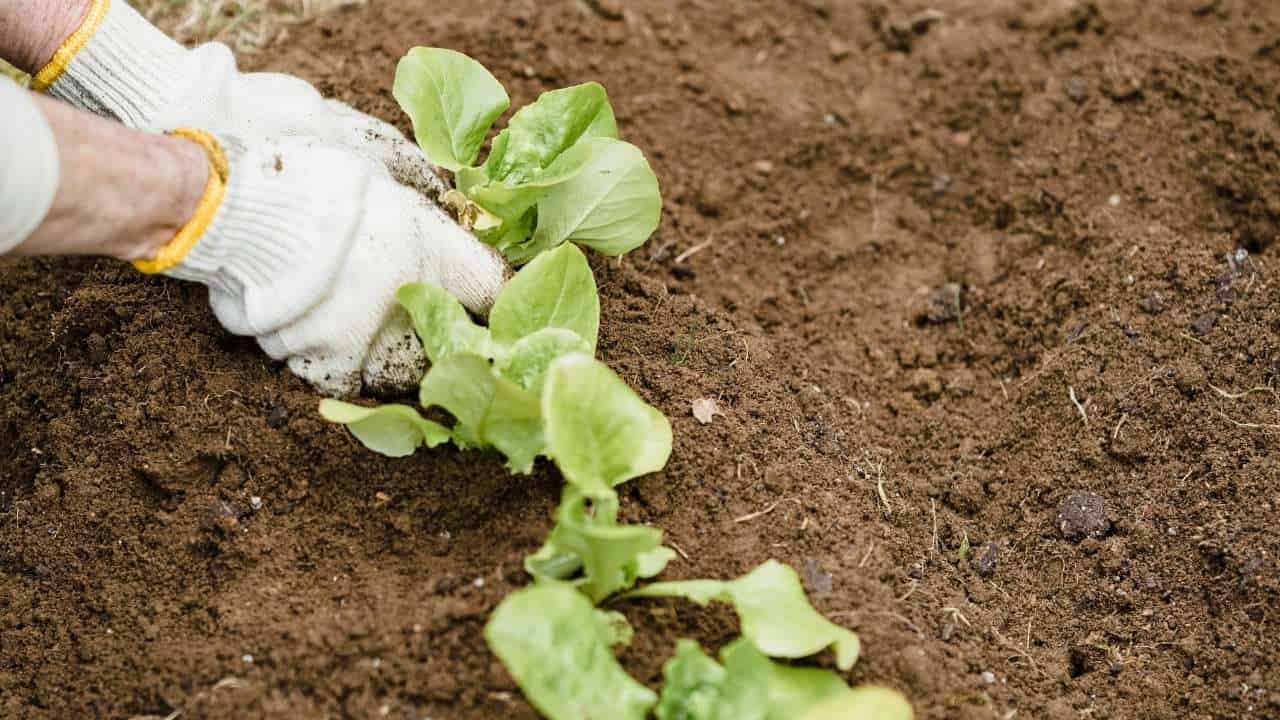
7. Harden off seedlings before transplanting

Before transplanting your seedlings outdoors, they need to be hardened off, or gradually acclimated to outdoor conditions. This process helps prevent transplant shock, which can stunt growth and reduce yield.
Start by moving your seedlings outdoors for a couple of hours a day, increasing the time gradually over a week or two. Avoid exposing them to strong wind, direct sunlight, or cold temperatures at first. Once the seedlings can stay outdoors all day and night, they’re ready to be transplanted.
8. Choose the right time to transplant

Knowing when to transplant your seedlings outdoors is crucial. Transplanting too early can expose your plants to damaging frost, while transplanting too late can stress your plants and reduce yield.
The best time to transplant is after the last expected frost in your area, when the soil has warmed up. Most vegetables can be transplanted when they have 2-4 true leaves, but always check the specific instructions for each type of vegetable. After transplanting, water your plants thoroughly to help them establish their roots.
9. Practice crop rotation
Finally, practicing crop rotation can help keep your soil healthy and prevent diseases. Crop rotation involves changing the location of your vegetables each year, so that the same type of vegetable is not grown in the same spot for at least three years.
This practice helps break the life cycle of pests and diseases that are specific to certain vegetables. It also helps balance soil nutrients, as different vegetables have different nutrient requirements. For example, legumes like peas and beans can fix nitrogen from the air and add it to the soil, benefiting leafy greens and other vegetables that need a lot of nitrogen.

