If there is one plant-it-and-forget-it vegetable for your garden, it’s garlic. Garlic (Allium sativum) is easy to grow, has a high success rate, requires little maintenance, and is easy to harvest.
How to grow garlic
Some gardeners I know shy away from growing garlic, as it costs so little to buy in grocery stores. But I don’t subscribe to that “best return on my planting investment” philosophy – I simply grow things because I like them. Plus, if you open any seed catalog, you’ll find hundreds of varieties of garlic that you’ll never spot in your local market.
Garlic is reputed to be an awesome pest control. Plant it around the perimeter of your peppers, tomatoes, or blueberry bushes, and it will deter rabbits, squirrels, and some insects. Old school rose growers also recommend planting garlic near roses to keep Japanese beetles and aphids at bay.
Types of garlic
Garlic is divided into two main varieties, hardneck (ophioscorodon) and softneck (sativum). Softneck garlic is the type you’re probably most familiar with – it’s the most commonly stocked garlic in stores, but the garlic universe is much larger and more exciting than you’d imagine.
In the hardneck and softneck categories are hundreds of varieties, each with a distinctly different flavor, running from the mild “California Early” (the most common in stores) to the purple-streaked, hot, and full-flavored Rocambole garlic. Many types of garlic, however, are unique to certain regions of the world, and as many of them don’t store well, you’ll probably never taste them unless you’re a world traveler.
As a rule of thumb, if your area has winters with hard frosts and snow, grow a hardneck variety. If you live in a mild climate, grow a softneck variety.
It’s suggested that you don’t plant garlic bought at your local supermarket, as it may be treated with chemicals that inhibit sprouting. This may be true, but I’ve had success with them when I forgot to order garlic from a seed catalog in time for planting. The bigger concern is that the store-bought variety of garlic is not adapted to your local weather conditions, and will fail after sprouting – the winter will be too cold for the bulb to overwinter. So whenever possible, order a variety of garlic from a seed catalog that’s recommended for your area.
When to plant garlic
Garlic requires a cold treatment of about 40 degrees (F) for 2 months to encourage healthy and large bulbs.
Plant garlic in the fall around the same time you plant flower bulbs, for harvest the following summer. In the mid-atlantic and northeast U.S., that means planting in October for harvest in July – your planting should be 4-6 weeks before you expect a hard frost (not first frost). Planting at this time helps the bulb germinate and get roots established before winter sets in. Depending on how warm your fall is, you may or may not see any shoots emerge until the following spring.
Garlic planting tips
Plant garlic in an area of your garden that receives full sun – at least 6 hours a day, as the garlic will need an enormous amount of solar energy to produce a bulb. The garden soil needs to be well-drained and rich in organic matter (which usually goes hand in hand) and should have a neutral pH between 6 and 7.
- Work in two inches of compost into your garden soil before planting so that plenty of nutrients are available for the garlic come spring.
- Just before planting, separate the cloves from the garlic bulb, leaving the papery skins intact.
- Plant the garlic cloves 2 – 3 inches deep and 4 – 6 inches apart, with the pointed end up.
- If you’re a flat earth gardener planting in rows, space the rows 12 inches apart.
- If you’re planting garlic in spaces around leafy greens, tomatoes, and other vegetables, plan to leave room for seedlings and seeds in the spring.
- Water in. Do not overwater during fall, as you may encourage cloves to rot. Unless your fall is dry as a bone, normal rainfall is usually sufficient for root development.
- Before frost, mulch the planted areas with 3-4 inches of straw, compost, or leaf mulch. This will help to stabilize the temperature of the soil over winter and avoid frost heave, which will wreak havoc on the garlic cloves and newly formed roots.
The following spring after planting garlic:
Early in spring, pull up the straw or leaf mulch to allow the soil to warm and dry, which will keep fungal diseases at bay. Similar to other garden vegetables, garlic needs about one inch of water a week during the growing season.
If necessary (soil tests!), start fertilizing your garlic bed with an organic vegetable garden fertilizer every two weeks as leaf growth begins, and continue until mid-May, when bulbs begin to form. The best fertilizer for bulb development is 1 tablespoon of liquid seaweed mix and 1 tablespoon of fish emulsion mixed in 1 gallon of water. Do not use nitrogen-heavy fertilizers on garlic, as they’ll encourage lots of top growth and little bulb growth.
Around mid-June, your garlic will develop curly, flowery tops which eventually straighten into spiky tendrils. These are known as scapes and should be removed to encourage larger bulb growth. Garlic scapes are wonderful for introducing a mild garlic flavor into dishes like pesto and salads, so keep them on hand and forego the compost pile.
When to harvest garlic
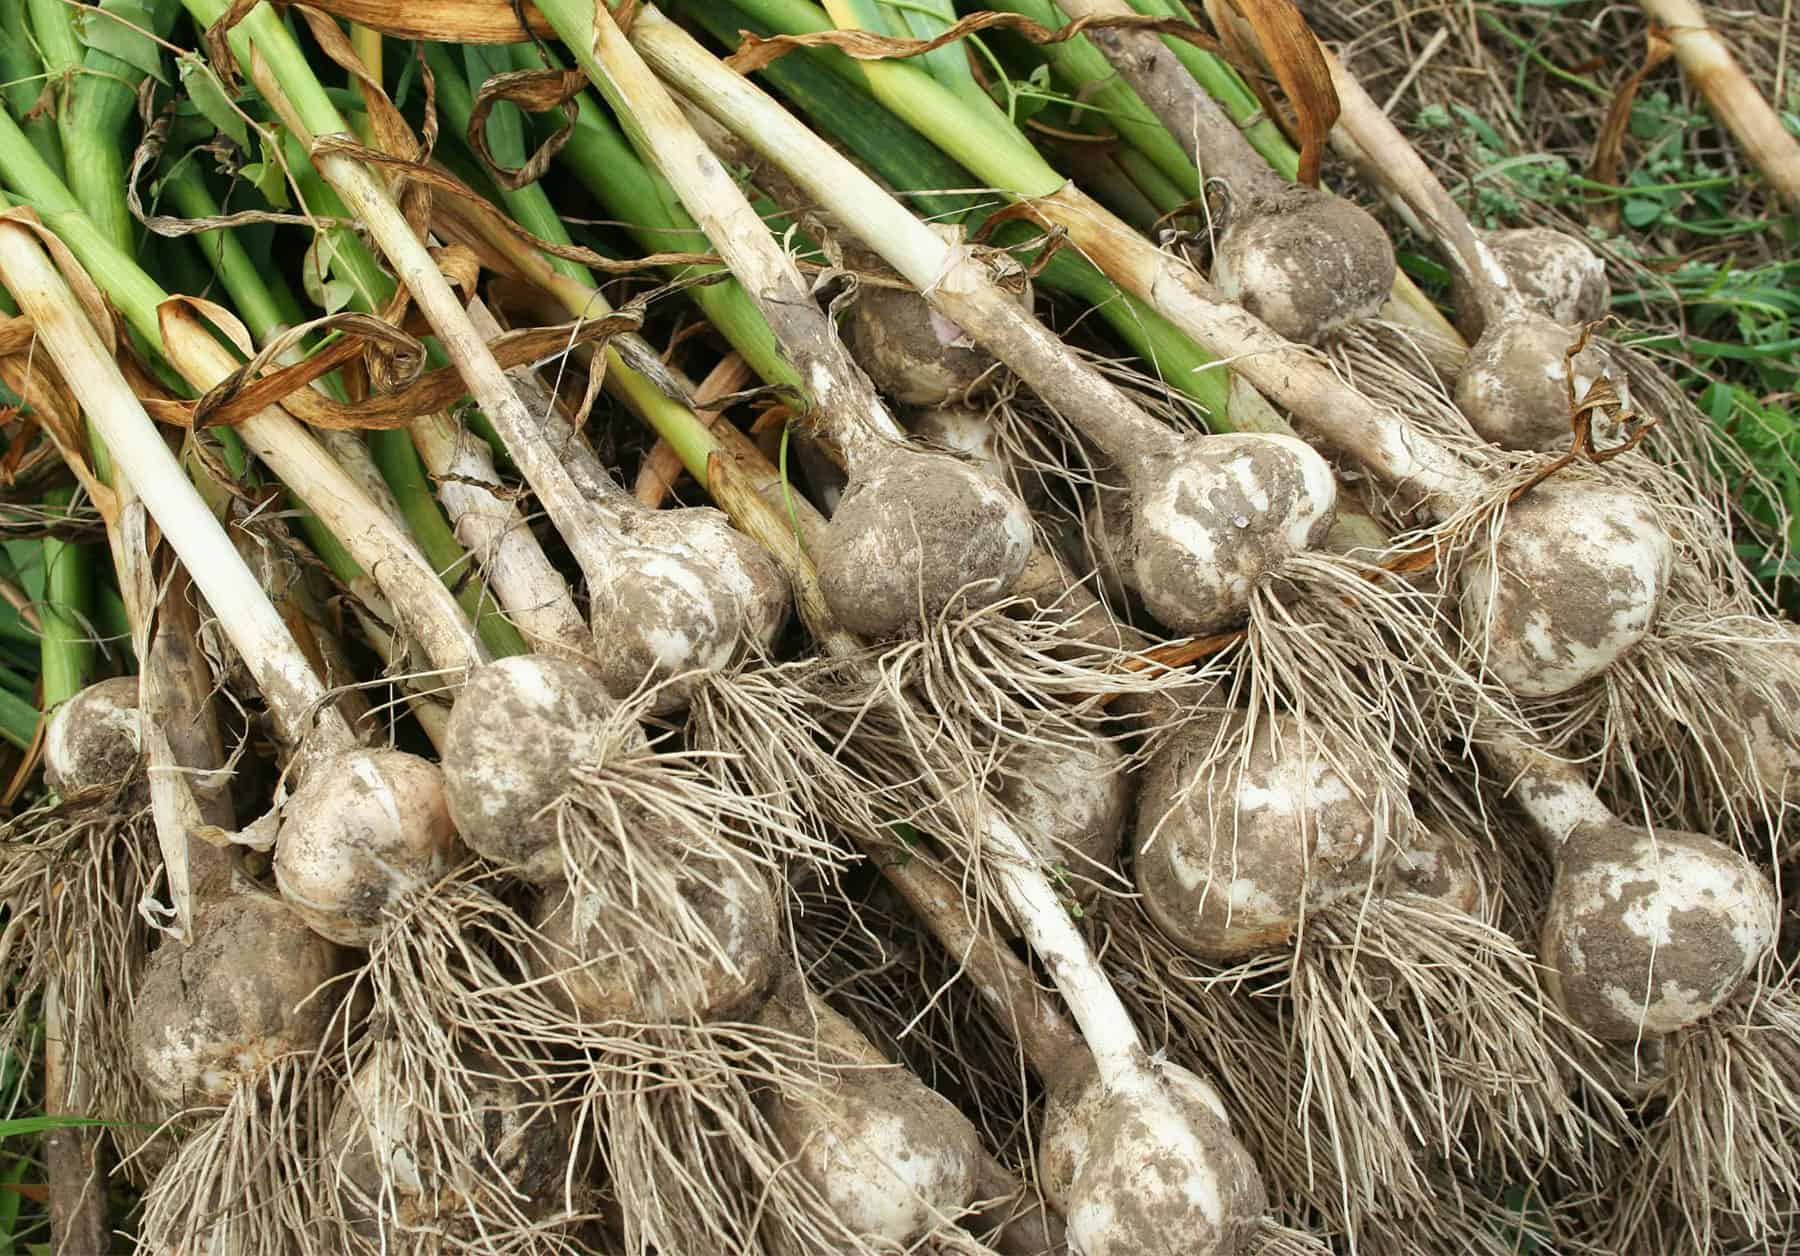
Sometime around midsummer, right about the time tomatoes are maturing, the tops of the garlic leaves will begin to turn pale and wither. When roughly 1/3rd of the leaves have browned, the garlic is ready for harvest. But don’t yank them out by their tops, or you’ll be left with a handful of leaves and no garlic.
With a digging fork or shovel, carefully loosen the soil, and then pull the plants. Shake the soil from the bulbs, but do not brush it off with your hand. Garlic plants fresh out of the soil must be handled delicately because if you bruise the garlic at this stage, it won’t store well (in fact, it will rot in storage). Lay the entire plant – tops, roots, and all with clinging soil – in a dry, warm, airy spot which is protected from direct sunlight and rain (such as a covered porch). Plants will take 1-2 weeks to properly “cure”, after which you can brush the soil from the bulbs and use a pruner to clip the roots to about 1/2 inch. Allow the plants to cure for one more week, and then clip off the stems. Do not remove the papery outer wrappers until you’re ready to use them, as they protect the bulb in storage. Store bulbs in a cool, dry area, as you would sweet potatoes.
The storage life of garlic depends on the variety and growing and storage conditions. When stored at 50 to 60 degrees (F), rocamboles store about four months, other hardneck garlic varieties usually last six months, and softneck and elephant garlic (not really garlic) store for eight months or more.
Gardening Tip: The garlic you plant will fine-tune its growth pattern to your local climate, so save cloves from the bulbs you planted and replant them in the fall for reliable growth and better flavor.
We garden in Pennsylvania, United States, zone 6B. Much of the info we share is based on gardening in our temperate area. But many of the flowers, vegetables, and fruit we write about can be grown in soil other than ours (clay) and significantly different weather conditions and elevations. You might need to choose specific varieties for your region, modify your garden, add soil amendments, or adjust the soil pH to match our results. Please check your local university extension website for specifics for your area.

